Advertisement
Advertisement
Table of Contents

Related Manuals for Technika TPFA 70


Summary of Contents for Technika TPFA 70
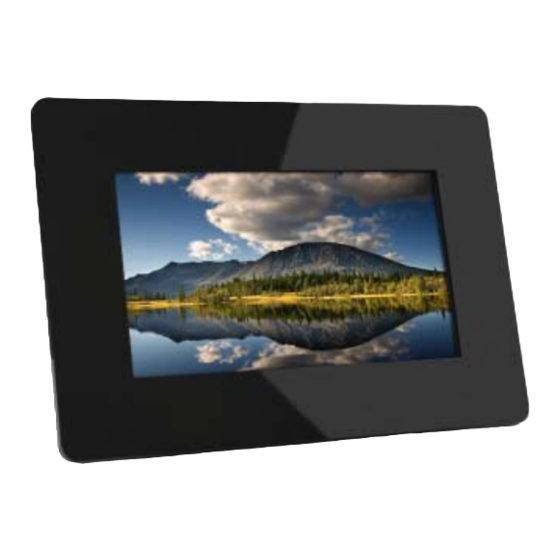
- Page 1 User Guide TPFA 70 7” Digital Picture Frame...
-
Page 2: Important Safety Information
This symbol indicates that dangerous voltage constituting a risk of electric shock is present within this unit. This symbol indicates that there are important operating and maintenance instructions in the literature accompanying this unit. IMPORTANT SAFETY INFORMATION has been exposed to rain or moisture, does not frequency energy and, if not installed and used in operate normally, or has been dropped. -
Page 3: Picture Formats
INTRODUCTION UNPACKING Your Digital Picture Frame (DPF) enables you to view digital pictures The box should contain: • The Picture Frame from either a memory card or from a USB drive. • External Power Adapter The DPF is compatible with the following card formats: SD™ (Secure •... -
Page 4: Fitting The Stand
FITTING THE STAND Locate the stand in the slot at the rear. Rotate the stand once to put the frame into horizontal (landscape) view. Rotate once more to put the frame into vertical (portrait) view. Stand the frame on a level solid surface where it is unlikely to fall or get knocked over. -
Page 5: Controls And Functions
CONTROLS AND FUNCTIONS 1 SD/MMC/MS-card slot ] Down button; Rotate photo 2 USB slot while playing a slideshow 3 5V DC Input socket 8 [ ] Play/Pause; Confi rm/Enter; hold to 4 [ ] Right/Next button enter main menu ] Up button; Back to preview while 9 On/Off switch playing a slideshow 10 Stand... -
Page 6: Getting Started
GETTING STARTED If the DPF is being switched on for the fi rst time, or after a default setting reset, you must fi rst select a display language. Use the CONNECTING THE POWER SUPPLY ) or ( ) buttons to make your selection and press the ( ) button to confi... - Page 7 INSTALLING A USB DEVICE OR MEMORY CARD When fi rst switched on the pictures will display as a Slide Show. To insert a memory card. Position the card with the cropped corner Thereafter the display will depend on the setup you have customised. facing down and press gently in.
-
Page 8: Viewing Photos
VIEWING PHOTOS Main menu 2 Use the ( ) or ( ) buttons to navigate between the options In the main menu, you can select the connected memory device to view in the main menu. Press the ( ) button to confi rm or enter the photos, change frame settings, or play the photos immediately. - Page 9 Playing a slideshow NOTE: There are two ways of playing a slideshow: • If there are memory devices inserted in the DPF before it is 1 Press the ( ) or ( ) buttons to select a memory device (USB switched on, the frame will automatically start to play a slideshow.
- Page 10 3 To view a selected thumbnail, press the ( ) button. • To rotate a photo, highlight ( ) and press the ( ) button Note: repeatedly. • Hold the ( ) button to return to the main menu. • To return to thumbnail mode, highlight ( ) and press the ( ) Changing Frame Settings...
- Page 11 Setting items Setting Items Description Setting Items Description Hint time Set how long to display the button Language Set the display language of the DPF. operation window while in slideshow mode. The available options are: 0s, 5s, Slideshow Time Set the interval time for slideshow 15s, 20s.
- Page 12 112,500 pixels (0.125MP). Warranty should not be disposed of with High resolution pictures will slow loading Your Technika appliance is covered by a household waste. Separate times without improving viewability. disposal facilities exist, for your warranty for 12 months from the date of After extended use, the frame may get warm.
Need help?
Do you have a question about the TPFA 70 and is the answer not in the manual?
Questions and answers