
Related Manuals for Herron Audio VTSP-1A/166


Summary of Contents for Herron Audio VTSP-1A/166
- Page 1 Owner’s Manual VTSP-1A/166 VTSP-1A/166 Vacuum Tube Vacuum Tube Stereo Preamplifier Stereo Preamplifier...
- Page 2 Herron Audio Vacuum Tube Stereo Preamplifier Owner’s Manual Herron Audio Vacuum Tube Stereo Preamplifier Owner’s Manual Welcome! Welcome! Thank you for your investment in VTSP-1A/166, and new implemen- the Herron Audio Vacuum Tube tations of components led to a Stereo Preamplifier, a masterpiece...
- Page 3 Herron Audio Vacuum Tube Stereo Preamplifier Owner’s Manual Herron Audio Vacuum Tube Stereo Preamplifier Features Features Operating the Herron VTSP-1A/166 swings from even the most The power supplies of all Herron mance was the only consideration. Preamplifier is easy and straightfor- Audio products reflect the engineer-...
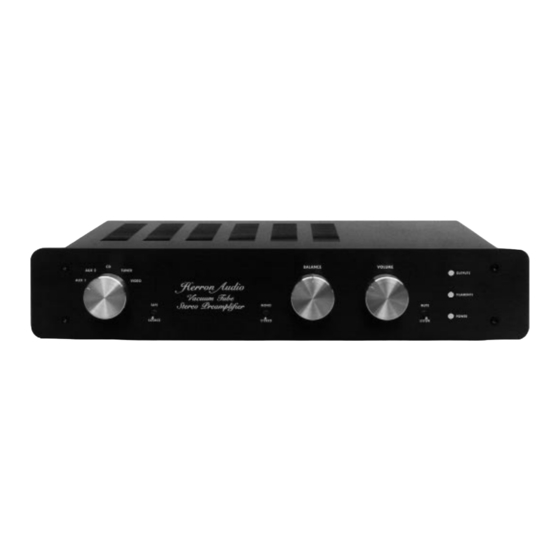
- Page 4 Herron Audio Vacuum Tube Stereo Preamplifier Owner’s Manual Design Considerations Front Panel Features Design Considerations Front Panel Features • Perfect tracking volume 166 step control system with unprecedented precision and dynamic range • Infinite resolution indirect signal path balance control •...
- Page 5 Herron Audio Vacuum Tube Stereo Preamplifier Owner’s Manual GROUND terminal on the back in the STEREO position, the left and the balance control is in the cen- Step changes during adjustment panel. The selector switch indicates right channel signals remain sepa- tered position.
- Page 6 Herron Audio Vacuum Tube Stereo Preamplifier Owner’s Manual Rear Panel Features Rear Panel Features “B” position. Repeat the process, while the unit is powered down. Any listening to the same source. Place individual ground bleed connections the AC polarity switch in the posi- should be connected to the gold tion that sounds best.
- Page 7 With the higher definition and detail available through one’s system is important for optimum performance, safety, and reliability. the VTSP-1A/166, careful attention to the set-up of other Please read through the following set-up instructions completely prior to oper- components will yield greater benefits. There may also ating the unit.
- Page 8 Input capacity: 18 Volts RMS ! ! ! ! ! When changing tubes, the VTSP-1A/166 should be unplugged and left Dimensions: 19” wide x 3.5” high x 10” deep off for a minimum of 30 minutes prior to opening the unit to insure that Warranty: 5 years, parts and labor;...
Need help?
Do you have a question about the VTSP-1A/166 and is the answer not in the manual?
Questions and answers
My Herron Audio VTSP-1 is overvolts transphor ! Give Me Schematic Manual of it .Please