Advertisement
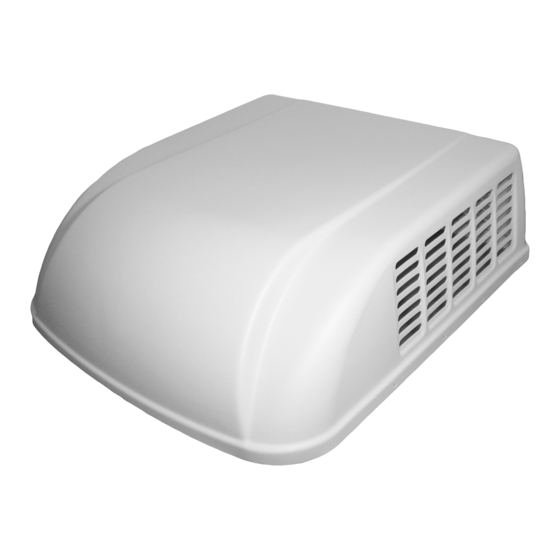
Roof Top Air Conditioner
INSTALLATION AND OPERATING INSTRUCTIONS
Ducted System
RECORD THIS UNIT INFORMATION FOR FUTURE REFERENCE:
Model Number:
Serial Number:
Date Purchased:
This manual must be read and understood before installation, adjustment, service, or maintenance
is performed. This unit must be installed by a qualified service technician. Modification of this
product can be extremely hazardous and could result in personal injury or property damage.
Advertisement
Table of Contents

Summary of Contents for Advent Roof Top
- Page 1 Roof Top Air Conditioner INSTALLATION AND OPERATING INSTRUCTIONS Ducted System RECORD THIS UNIT INFORMATION FOR FUTURE REFERENCE: Model Number: Serial Number: Date Purchased: This manual must be read and understood before installation, adjustment, service, or maintenance is performed. This unit must be installed by a qualified service technician. Modification of this...
-
Page 2: General Information
INSTALLATION & OPERATING INSTRUCTIONS These instructions must stay with the unit Safety Instructions This manual has safety information and instructions to help users eliminate or reduce the risk of accidents and injuries. Read and follow all safety information, installation guides, recommended precautions, and safe operating instructions. -
Page 3: Installation Instructions
E. This equipment must be serviced by qualified personnel and some states require licensed personnel. 2. CHOOSING A LOCATION FOR THE AIR CONDITIONER This product is designed for use as a RV roof top air conditioner. The use of this product in other applications will void the manufactures warranty. A. NORMAL LOCATIONS: The air conditioner is designed to fit over an existing roof vent opening. - Page 4 1. For one unit installation: The air conditioner should be mounted slightly forward of center (front to back) and centered from side to side. See Figure 1 Figure 1 2. For two unit installation: Install one air conditioner 1/3 distance and the other air conditioner 2/3's from front of RV and centered from side to side.
-
Page 5: Roof Preparation
C. POST LOCATION SELECTION: 1. Check for obstructions in the area where air conditioner will be installed. 2. The roof must be capable of supporting 130lbs while the RV is in motion. Normally, a 200 lb. static load design will meet this requirement. 3. - Page 6 C. OPENING PREPARATION: 1. If the opening exceeds 14-3/8" x 14-3/8", it will be necessary to install spacers. 2. If the opening is less than 14-1/8" x 14-1/8", it must be enlarged. 3. Route a 12/3 Romex type supply line from the fuse or circuit breaker box to the front of roof opening.
-
Page 7: Supply Ducting And Registers
AIR CONDITIONER RETURN GRILL (ACRG) INSTALLATION The Air Return Grill is designed for application in systems that utilize field fabricated (OEM supplied) air ducting. The ducting must be routed through the ceiling cavity (between the interior ceiling and roof). Ducting specifications are given in the section labeled “Supply Ducting and Registers”. ACRG INSTALLATION REQUIREMENTS (ROOF THICKNESS MUST BE AT LEAST 2.5") 1. -
Page 8: Template Mounting
For lengths greater than 50 feet, use #10 AWG. TEMPLATE MOUNTING Frame Mounting 1. Place the roof top unit over the roof opening. 2. Position the mount frame into the ceiling opening (see Figure 6) Figure 6 3. Using the four bolts provided, hold up the mount template to the ceiling. The four mounting bolts are to be inserted up through the bottom of the mount template and into the bottom of the roof unit. - Page 9 4. Measure the distance between the ceiling and the upper unit base pan. If the divider is not high enough, please fix the additional divider together by screws. The height can be adjusted by the slotted holes until the divider is touching the base pan. See Figure 8 5.
-
Page 10: Thermostat Installation
Figure 9B MAIN CONTROLLER WIRING Function Wire Color Label Text 12VDC output to Thermostat Red with White Stripe "T-Stat Power (12VDC) Ground output to Thermostat Green "T-Stat Trigger" Input from Thermostat Yellow "Compressor" Input from Thermostat Orange "Elec. Heat Strip" Input from Thermostat Blue "Hi Fan"... -
Page 11: Thermostat Wiring
THERMOSTAT WIRING Label Text Function Wire Color 12VDC input from main unit Red with White Stripe "T-Stat Power (12VDC) DC Ground from main unit Green "T-Stat Trigger" Output to main unit Yellow "Compressor" Output to main unit White with Orange Stripe Heat Trigger Output to main unit Blue... -
Page 12: Maintenance
ATTACH CEILING GRILL 1. Position the grill next to the interior frame and attach it with the 4 provided screws. 2. Install the filter on the air intake grill section. 3. Snap the intake grill section onto the main grille. MAINTENANCE 1. - Page 13 SERVICE If the unit does not operate: 1. If RV is connected to a generator, check to be sure generator is running and producing the proper power. 2. If RV is connected to shore power, check to be sure supply breaker is sized properly to run air conditioner load and it is plugged into power supply.


Need help?
Do you have a question about the Roof Top and is the answer not in the manual?
Questions and answers
My thermostat occ reads Def what does this mean?