Table of Contents
Advertisement
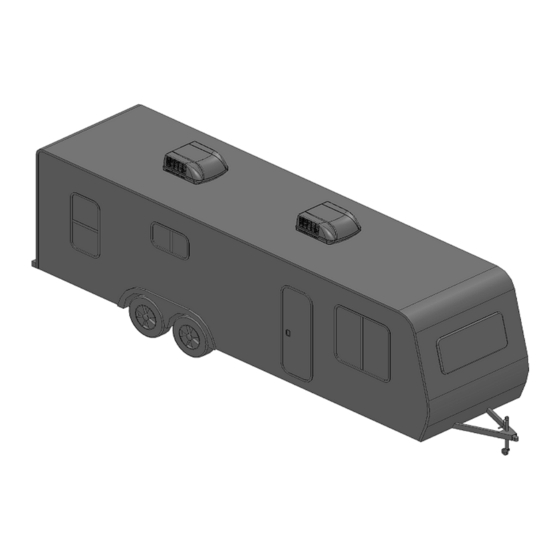
AIR CONDITIONER & HEAT PUMP
DIGITAL CONTROL FOR DUCTED SYSTEM
INSTALLATION AND OPERATING INSTRUCTIONS
FOR AC135, AC150, AC135HP, AC150HP, ACRG12, ACTH12
RECORD THIS UNIT INFORMATION FOR FUTURE REFERENCE:
Model Number:
Serial Number:
Date Purchased:
This manual must be read and understood before installation, adjustment, service, or maintenance
is performed. This unit must be installed by a qualified service technician. Modification of this
product can be extremely hazardous and could result in personal injury or property damage.
Advertisement
Table of Contents


Need help?
Do you have a question about the AC135 and is the answer not in the manual?
Questions and answers
Does this model 135 also have heat as well as air?