
Related Manuals for OBaby Atlas V2 Stripe


Summary of Contents for OBaby Atlas V2 Stripe
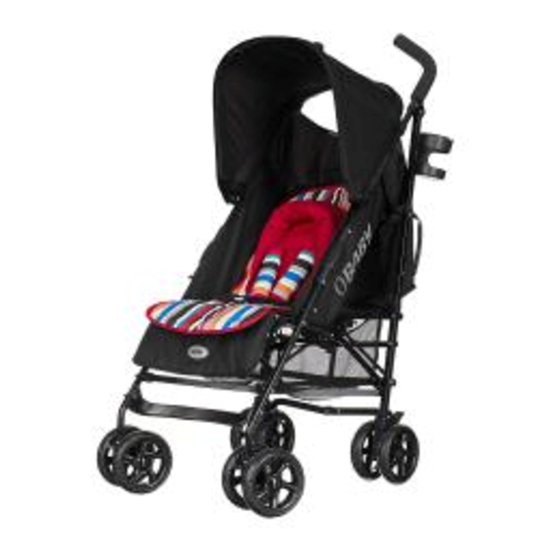
- Page 1 ™ Atlas V2 Stripe Instruction Manual IMPORTANT PLEASE READ THESE INSTRUCTIONS CAREFULLY BEFORE USING THIS PRODUCT KEEP FOR FUTURE REFERENCE...
-
Page 2: Safety Warnings
Due to constant updating and improvements, some components may occasionally differ slightly from the images shown in these instructions. We reserve the rights to change the specifications of any products without prior notice. If you need any assistance please contact your Obaby retailer from whom you purchased your product, who will take appropriate action. -
Page 3: Folding Your Stroller
Next, using your foot press down on the secondary lock at the right hand side of the stroller (fig.9). Then push the handles forwards and down towards the front wheels (fig.10), until completely folded (fig.11). Engage the storage clip onto the front leg of the chassis (fig.12). www.obaby.co.uk www.obaby.co.uk... -
Page 4: Fitting And Removing The Front Wheels
To put upright, grip the sides of the toggle with one hand, and the strap with the other To put the wheels in swivel mode, push the lever down on the front of each front wheel hand and slide the toggle up the strap to the desired height (fig.23). (fig.17 & 18). www.obaby.co.uk www.obaby.co.uk... -
Page 5: Using The Harness
Higher holes for the shoulder strap and outer holes for the waist straps and crotch strap should be used when your child is of a suitable size. (See fig.A) WARNING: Always use the crotch strap in combination with the waist belt www.obaby.co.uk www.obaby.co.uk... -
Page 6: Fitting The Raincover
Secure in place using the velcro tabs on the back of the raincover (fig.39) and velcro straps onto the front legs of the stroller (fig.40 & 41). Continued..WARNING: When using the raincover, regularly check your child has adequate ventilation and is not overheating. Unless it is raining, the raincover should be removed. www.obaby.co.uk www.obaby.co.uk... - Page 7 (fig.56) and lift the car seat up out of the adaptors. Remove the car seat adaptors by lifting the flap on the adaptor (fig.57) and un-clip the adaptor from the chassis. Repeat for both sides of the stroller. www.obaby.co.uk www.obaby.co.uk...
- Page 8 ™...
Need help?
Do you have a question about the Atlas V2 Stripe and is the answer not in the manual?
Questions and answers