Table of Contents
Advertisement
Advertisement
Table of Contents
Troubleshooting

Related Manuals for Pride Mobility VICTORY 10


Summary of Contents for Pride Mobility VICTORY 10
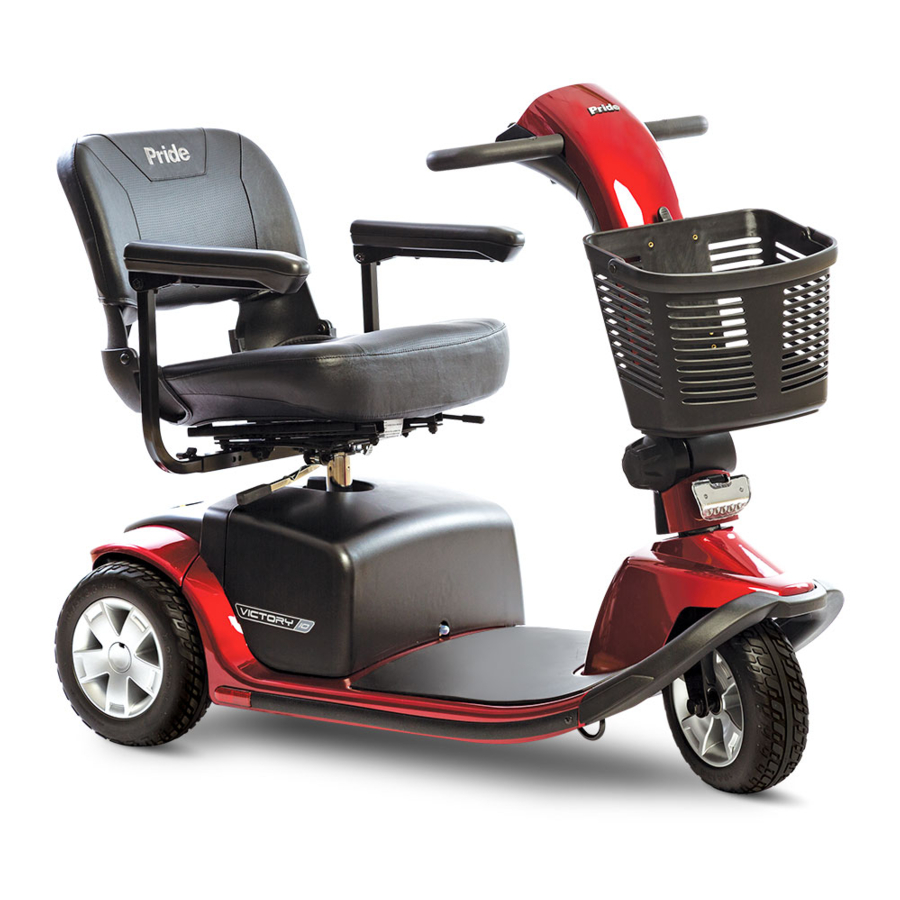
- Page 1 VICTORY 10...
- Page 2 The latest/current version of this manual is available on our website. 088 609 661 Copyright © 2008 Pride Mobility Products Corp. INFMANU3629/Rev C/April 2008...
-
Page 3: Table Of Contents
IV. BATTERIES AND CHARGING .................... 24 OPERATION ..........................31 VI. COMFORT ADJUSTMENTS....................33 VII. DISASSEMBLY AND ASSEMBLY ..................36 VIII. BASIC TROUBLESHOOTING ..................... 38 IX. CARE AND MAINTENANCE ....................40 WARRANTY..........................43 APPENDIX I - SPECIFICATIONS ....................45 Victory 10 www.pridemobility.com... -
Page 4: I. Introduction
I N T R O D U C T I O N SAFETY Welcome to Pride Mobility Products Corporation (Pride). The product you have purchased combines state-of the-art components with safety, comfort, and styling in mind. We are confident the design features will provide you with the conveniences you expect during your daily activities. -
Page 5: Ii. Safety
EMI-RFI- This product has been tested and passed at an immunity level of 20 V/m. Do not lift the mobility vehicle while seated in it. Do not lift the mobility vehicle while seated in it. Explosive conditions exist! Read and follow the information in the owner’s manual. Victory 10 www.pridemobility.com... - Page 6 Wear safety goggles. Use only AGM or Gel-Cell batteries to reduce the risk of leakage or explosive conditions. Do not raise or lower the power seat while the scooter is in motion. Do not remove anti-tip wheels. www.pridemobility.com Victory 10...
- Page 7 Do not allow unsupervised children to play near the scooter while the batteries are charging. Do not use batteries with different amp-hour (Ah) capacities. Do not mix old and new batteries. Always replace both batteries at the same time. Victory 10 www.pridemobility.com...
- Page 8 Battery charger for indoor use only. Disposal and recycling - Contact your authorized Pride Provider for information on proper disposal and recycling of your Pride product and its packaging. Contains Lead. www.pridemobility.com Victory 10...
- Page 9 PRE-RIDE SAFETY CHECK Get to know the feel of your scooter and its capabilities. Pride recommends that you perform a safety check before each use to make sure your scooter operates smoothly and safely. Victory 10 www.pridemobility.com...
-
Page 10: Victory
! When driving down a ramp, keep the scooter’s speed adjustment set to the slowest speed setting to ensure a safely controlled descent. ! Avoid sudden stops and starts. www.pridemobility.com Victory 10... - Page 11 WARNING! Never carry an oxygen tank weighing more than 15 lbs (6.8 kg). Never fill the front or rear basket with contents exceeding 15 lbs. (6.8 kg). 350 lbs. (158.75 kg) 8° (14.1%) Figure 1. Maximum Recommended Incline Angle Victory 10 www.pridemobility.com...
- Page 12 WARNING! When cornering sharply, reduce your speed and maintain a stable center of gravity. When using your scooter at higher speeds, do not corner sharply. This greatly reduces the possibility of a tip or fall. Always exercise common sense when cornering. www.pridemobility.com Victory 10...
- Page 13 WARNING! Do not attempt to have your scooter climb or descend an obstacle that is inordinately high. WARNING! Do not attempt to have your scooter proceed backward down any step, curb, or other obstacle. This may cause the scooter to tip. Figure 3. Correct Curb Approach Figure 3A. Incorrect Curb Approach Victory 10 www.pridemobility.com...
- Page 14 This prevents the scooter from gaining unwanted momentum should the manual freewheel lever inadvertently be released while driving the scooter. STAIRS AND ESCALATORS Scooters are not designed to travel up or down stairs or escalators. Always use an elevator. WARNING! Do not use your scooter to negotiate steps or escalators. www.pridemobility.com Victory 10...
- Page 15 WARNING! Connect the battery harnesses in the proper manner. RED (+) cables must be connected to positive (+) battery terminals/posts. BLACK (-) cables must be connected to negative (-) battery terminals/posts. Protective caps should be installed over all battery terminals. REPLACE cables immediately if damaged. Victory 10 www.pridemobility.com...
- Page 16 Such use may cause the scooter to tip, resulting in a fall from the scooter and personal injury. WARNING! Avoid putting all of your weight on the floorboard. Such use may cause the scooter to tip. www.pridemobility.com Victory 10...
- Page 17 You must adhere to the following safety guidelines if you decide to smoke cigarettes while seated in your scooter. Do not leave lit cigarettes unattended. Keep ashtrays a safe distance from the seat cushions. Always make sure cigarettes are completely extinguished before disposal. Victory 10 www.pridemobility.com...
- Page 18 NOTE: For further information on EMI/RFI, visit the Resource Center on www.pridemobility.com. If unintended motion or brake release occurs, turn your scooter off as soon as it is safe to do so. Contact your authorized Pride Provider to report the incident. www.pridemobility.com Victory 10...
- Page 19 Battery Condition Meter When the key is fully inserted and turned clockwise to power up your scooter, this meter indicates the approximate battery voltage strength. For further information on battery charging, see IV. “Batteries and Charging.” Victory 10 www.pridemobility.com...
- Page 20 ! Toggle the switch rearward (LOW) and your scooter’s maximum speed is 2.625 mph (4.22 km/h). Power Seat Switch The power seat switch activates the power seat actuator and enables you to raise and lower the seat automatically. Refer to VI. “Comfort Adjustments” for more information regarding power seat operation and safety. www.pridemobility.com Victory 10...
- Page 21 RIGHT TURN SIGNAL (1A) charged off of the scooter. See IX. “Care and Mainte- nance” for fuse replacement. NOTE: Keep all electrical areas clean and free of moisture and foreign material. Figure 6. Tiller Console Fuses Victory 10 www.pridemobility.com...
- Page 22 PROHIBITED! Do not remove the anti-tip wheels or modify your scooter in any way that is not authorized by Pride. Motor/Transaxle Assembly The motor/transaxle assembly is an electromechanical unit that converts electrical energy from your scooter’s batteries into the controlled mechanical energy that drives the scooter’s wheels. www.pridemobility.com Victory 10...
- Page 23 NOTE: If the scooter is placed in freewheel mode (manual freewheel lever forward) while the key is in the “on” position, the scooter will not run until the manual freewheel lever is pushed backward and the key is turned to the “off” position, then back to the “on” position. Victory 10 www.pridemobility.com...
-
Page 24: Iv. Batteries And Charging
Refer to the manual supplied with the battery charger for more information. www.pridemobility.com Victory 10... - Page 25 7. Turn the charger on. We recommend that you charge the batteries for 8 to 14 hours. 8. When the batteries are fully charged, turn the charger off and unplug the charger power cord from the electrical outlet and then from the off-board charger port. Victory 10 www.pridemobility.com...
- Page 26 How often must I charge the batteries? Two major factors must be considered when deciding how often to charge your scooter’s batteries: ! All day scooter use on a daily basis. ! Infrequent or sporadic scooter use. www.pridemobility.com Victory 10...
- Page 27 WARNING! Always use two batteries of the exact same type, chemistry, and amp- hour (Ah) capacity. Refer to the specifications table in this manual and in the manual supplied with the battery charger for recommended type and capacities. Victory 10 www.pridemobility.com...
- Page 28 9. Reposition the terminal boots over the battery terminals. 10. Reconnect the battery harnesses. 11. Reconnect the battery tie-down strap. 12. Reinstall the battery shroud and seat. BATTERY TERMINALS UNDER BOOTS BATTERY HARNESS CONNECTIONS Figure 11. Battery Removal/Installation Figure 12. Battery Wiring Diagram www.pridemobility.com Victory 10...
- Page 29 It may take a few days for the temperature of your scooter’s batteries to stabilize and adjust to their new room or ambient temperature. More importantly, it takes a few charging cycles (partial draining followed by full recharging) to establish the critical chemical balance that is essential to a deep-cycle battery’s peak performance and long life. Victory 10 www.pridemobility.com...
- Page 30 What about public transportation? If you intend to use public transportation with your scooter, you must contact the transportation provider in ad- vance to determine their specific requirements. www.pridemobility.com Victory 10...
-
Page 31: V. Operation
! The electromechanical disc park brake automatically disengages and the scooter accelerates smoothly to the speed you preselected with the speed adjustment dial. ! Pull on the left handgrip to steer your scooter to the left. ! Pull on the right handgrip to steer your scooter to the right. Victory 10 www.pridemobility.com... - Page 32 If the power down timer feature takes effect, perform the following steps to resume normal operation: 1. Remove the key from the key switch. 2. Reinsert the key and power up your scooter. www.pridemobility.com Victory 10...
- Page 33 4. Align the adjustment holes on the seat frame and armrest, then reinsert the detent pin. ARMREST 5. Tighten the armrest adjustment knobs. ADJUSTMENT KNOBS NOTE: Pivot the armrests upward to aid in getting onto and off of your scooter. Figure 17. Armrest Width Adjustment Victory 10 www.pridemobility.com...
- Page 34 LOWER SEAT HEIGHT SEAT 6. Reinstall the nut onto the seat height adjustment bolt ADJUSTMENT BOLT POST and tighten. 7. Reinstall the rear shroud and the seat. Figure 19. Seat Height Adjustment www.pridemobility.com Victory 10...
- Page 35 The scooter may also produce a fault code. If a fault code occurs, you will need to turn the scooter’s power off, then back on again before proceeding. Victory 10 www.pridemobility.com...
- Page 36 2. Remove the left battery box, then the right battery box. NOTE: Always remove the left battery box first. www.pridemobility.com Victory 10...
- Page 37 If the scooter is equipped with battery boxes: 1. Reinstall the right battery box, then the left bat- tery box. NOTE: Always install the right battery box first. 2. Reinstall the seat and rotate it into place. Victory 10 www.pridemobility.com...
-
Page 38: Troubleshooting
! When the manual freewheel lever is pushed forward, the brakes are disengaged and all power to the motor/ transaxle assembly is cut. ! Push rearward on the manual freewheel lever, turn the scooter off, and then turn the scooter on to return to normal scooter operation. www.pridemobility.com Victory 10... - Page 39 ! See the previous troubleshooting question for load testing the batteries yourself. If you experience any problems with your scooter that you are not able to solve, immediately contact your autho- rized Pride Provider for information, maintenance, and service. Victory 10 www.pridemobility.com...
-
Page 40: Ix. Care And Maintenance
BATTERY TERMINAL CONNECTIONS ! Make certain that the terminal connections remain tight and uncorroded. ! The batteries must sit flat in the battery wells. ! The battery terminals should face towards the inside of the scooter. www.pridemobility.com Victory 10... - Page 41 3. Insert a new fuse of the same rating. WARNING! The replacement fuse must exactly match the rating of the fuse being replaced. Failure to use properly rated fuses may cause damage to the electrical system. Figure 24. Working Fuse Figure 24A. Blown Fuse (Replace) Victory 10 www.pridemobility.com...
- Page 42 Your scooter must be disposed of according to applicable local and national statutory regulations. Contact your local waste disposal agency or authorized Pride Provider for information on proper disposal of packaging, metal frame components, plastic components, electronics, and batteries. www.pridemobility.com Victory 10...
-
Page 43: X. Warranty
This warranty does not extend to those items which may require replacement due to normal wear and tear. ! ABS Plastic shrouds ! Motor brushes ! Upholstery and seating ! Brake Pads ! Tires and tubes ! Fuses/Bulbs Victory 10 www.pridemobility.com... - Page 44 ! Circumstances beyond the control of Pride ! Labor, service calls, shipping, and other charges incurred for repair of the product, unless specifically authorized, IN ADVANCE, by Pride Mobility Products Corporation ! Repairs and/or modifications made to any part without specific consent from Pride...
- Page 45 3-Wheel: 46 in. (116.84 cm) 4-Wheel: 47 in. (119.38 cm) 17 in. (43.18 cm) 18 in. (45.72 cm) 3-Wheel Turning Radius 4-Wheel Turning Radius 43.25 in. (109.855 cm) 54 in. (137.16 cm) 22.25 in. (56.5 cm) Figure 25. Scooter Dimensions Victory 10 www.pridemobility.com...
- Page 46 Tested in accordance with ASNI/RESNA, WC Vol 2, Section 4 & ISO 7176-4 standards. Results derived from theoretical calculation based on battery specifications and drive system performance. Test conducted at maximum weight capacity. Tested by Pride Mobility Products under simulated conditions; continuous straight-line driving until total battery depletion. Test conducted at maximum weight capacity.
- Page 47 *INFMANU3629*...
Need help?
Do you have a question about the VICTORY 10 and is the answer not in the manual?
Questions and answers
What does a flashling green light mean on the charger
A flashing green light on the Pride Mobility Victory 10 charger may indicate that the battery is fully charged, but if it continues flashing, it could signal a faulty battery, a problem with the charger, or an issue with the electrical system.
This answer is automatically generated
I can’t lift the seat off the scooter is there a lock I need to release
@Susan Swivel the seat to a diagonal position (10o’clock) and lift up. Done
when turned 0n it beeps and blue light flashes and will not move
If a Pride Mobility Victory 10 scooter beeps and has a flashing blue light when turned on, it indicates an electrical problem. The flashing blue status LED is showing a diagnostic flash code. Refer to the "Basic Troubleshooting" section in the manual to identify the specific issue based on the flash code.
This answer is automatically generated
Where is the physical location of the horn
The horn on the Pride Mobility Victory 10 is located on each side of the handle.
This answer is automatically generated
battery is fully charged but won't start