Table of Contents
Advertisement
Advertisement
Table of Contents

Subscribe to Our Youtube Channel
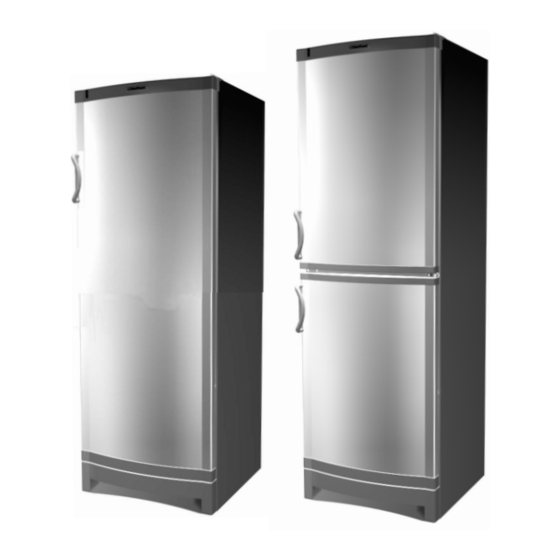
Summary of Contents for Vintec-Cellar V 160 DP
- Page 1 V 160 DP / V 160 SP / V 120 SP Instructions for use...
-
Page 2: Get To Know
Get to know your wine cooler. Controlpanel. Toplight. Shelf Nameplate. Door. Doorhandle. Kickplate. Adjustable feet... -
Page 3: Warning
Warning. In case this appliance contains hydrocar- a responsible person to ensure bon refrigerant please refer to guidelines that they can use the appliance listed below. safely. Young children should be supervised to ensure that they As the appliance contains a flammable do not play with the appliance refrigerant, it is essential to ensure that the refrigerant pipes are not damaged. -
Page 4: Table Of Contents
Contents Before starting the ap- pliance Get to know ..........2 Check that the cabinet is undamaged. Please report any damage immediately to Warning ..........3 your dealer. Wash the cabinet and inner lining with a mild unscented detergent and Before starting the appliance ....4 wipe it dry. -
Page 5: Has The Appliance Stopped Working
Has the appliance stopped working? Before calling a repairman, check that takes up more room in the width and therefore the door must either be placed ● The plug is properly plugged into the wall outside the cupboard or there must be socket. -
Page 6: Technical Data
Technical data. General advice. This device complies with relevant EU If the unit is not used for more than two directives including Low Voltage Directive days it should be switched off and the doors 2006/95 EEC. and Electromagnetic Com- should be left open for ventilation to prevent patibility Directive 2004/108/EC a bad smell in the unit. -
Page 7: Change Of Hinge Side
Change of hinge side. 1) Dismantle the top 4) Dismantle the screws in hinge. This one is to the middle of the new be used later as top hinge side. Mount hinge at the opposite the bottom door and side. Lift off the top screw on the middle door. -
Page 8: Lock
Mounting of lock for appliance with 1 door. damage that the manufacturer can sub- (Optional extra.) stantiate are caused by reasons other than manufacturing or material faults are not covered by the warranty. Please note that changes to the construc- tion of the appliance or changes to the component equipment of the appliance will invalidate warranty and product liability, and... -
Page 9: Disposal
Disposal Information for Users on Collection For business users in the Euro- and Disposal of Old Equipment and pean Union. used Batteries If you wish to discard electrical and electronic equipment, please contact These symbols on the products, your dealer or supplier for further packaging, and/or accompanying information. - Page 10 min. 150 min. 1040...
-
Page 11: Adjusting The Door
If the cabinet is to be adjusted: Take hold of the front panel with both hands. Then lift up the front panel and turn out the bottom part. Adjust the tilt of the unit by turning the adjustable feet with a 13 mm spanner. - Page 12 Reserves the right to alter specifications without prior notice. 91.20.006-04...
Need help?
Do you have a question about the V 160 DP and is the answer not in the manual?
Questions and answers