Table of Contents
Advertisement
Quick Links
Download this manual
See also:
Owner's Manual
Advertisement
Table of Contents

Related Manuals for Audio Research CD6


Summary of Contents for Audio Research CD6
-
Page 1: User Guide
User Guide CD Player and DAC H I G H D E F I N I T I O N ®... -
Page 2: Table Of Contents
Contents Preface 3 Illustrations 4 Warnings 5 Installation In your System 6 Connections 7 - 8 Operation Power-up Procedure 9 Front Panel Control Functions 10 Remote Control Functions 11 - 13 CD Door Functions/Warnings 13 Software Installation Windows 14 - 16 Mac OS X 17 - 19 Using the DAC Control Panel 20 Setting the Sample Rate or Native Mode in Windows 21 - 22... -
Page 3: Preface
Preface Thank you for selecting the CD6 as part of your music listening system. The engineers and designers at Audio Research have spent countless hours of listening and testing to create a CD player of the highest caliber for music reproduction. The CD6 has been designed to provide you many years of playback. -
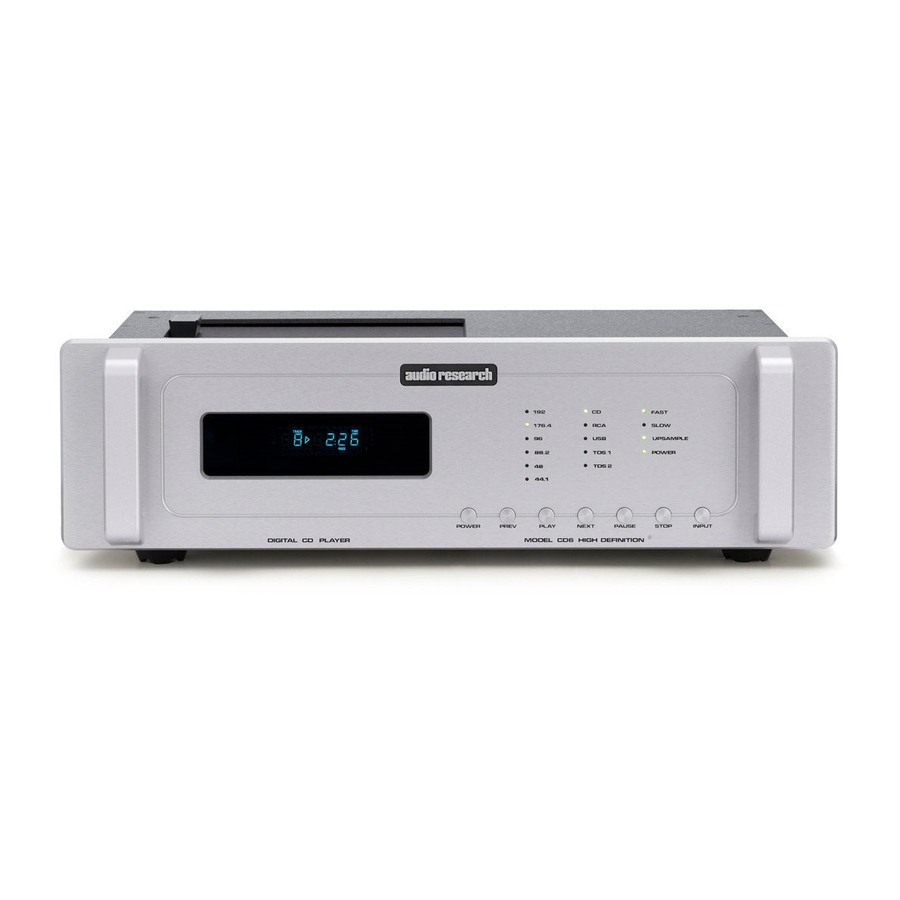
Page 4: Illustrations
POWER PREV PLAY NEXT PAUSE STOP INPUT ® DIGITAL CD PLAYER MODEL CD6 HIGH DEFINITION Rear Panel MODEL CD6 CAUTION DIGITAL CD PLAYER FOR CONTINUED PROTECTION AGAINST FIRE HAZARD REPLACE FUSE ONLY DIGITAL INPUTS WITH SAME TYPE AND RATING IR INPUT... -
Page 5: Warnings
Warnings To prevent fire, or shock hazard, do not expose your CD6 to rain or moisture. This unit contains voltages which can cause serious injury or death. Do not operate with cover removed. Refer servicing to your authorized Audio Research dealer or other qualified personnel. -
Page 6: Installation
Do not place any objects on top of the CD6; its suspension feet are tuned for the specific weight of the CD6. Do not place or operate your CD6 on a soft or irregular surface such as a rug. This can prevent proper leveling and restrict ventilation. - Page 7 Connections Digital Connections The CD6 offers four digital inputs, and two standard digital output options. Which option is best for your system will depend on your personal listening preference, the nature of your system installation requirements, and the options allowed by your external digital processor, if one is used.
-
Page 8: Connections
Connections Digital Inputs Toslink (2): Connect to a transport, computer or other device equipped with Toslink (optical) digital output. Press the INPUT button until the ‘Toslink 1’ or ‘Toslink 2’ LED is illuminated. USB: Connect to a Windows-based PC or Mac computer for music playback from your computer. -
Page 9: Operation
Power-up Procedure Once plugged into the power receptacle, push the front panel Power switch to turn on the CD6. The central green front panel power LED will glow dimly for about a 40 second circuit warm-up interval with the output automatically muted. -
Page 10: Front Panel Control Functions
Operation Front Panel Control Functions POWER: The Power switch turns the CD6 completely on for operation (indicated by the LED being brightly lit), each time preceded by a warm- up interval of about 40 seconds when the LED is dim and the output is automatically muted. -
Page 11: Remote Control Functions
Operation Remote Control Functions The remote control unit includes all of the above described CD6 front panel control functions plus the following additional functions. (Functions in [ ] indicate labeling abbreviations appearing on remote control unit.) 0-9 BUTTONS: Pressing numbered button(s) corresponding to the disc track number will advance disc to desired track. - Page 12 Operation Remote Control Functions continued INPUT: Select between CD playback and the digital inputs on the rear panel (2 Toslink, USB, RCA). Pressing INPUT toggles through the different inputs, and the selected input will be indicated by an LED next to the input name.
-
Page 13: Cd Door Functions/Warnings
“NO DISC”. If a CD is inserted (label side up) in the CD6, the CD door is fully closed and the CD6 is powered up, the CD will spin for a few seconds while the track information is accessed. -
Page 14: Software Installation
Installation of the DAC USB Audio Device drivers is only necessary if you intend to use the USB 2.0 HS input on your CD6. Software installation is not necessary if you only intend to use the two Toslink or RCA inputs. -
Page 15: Software Installation
Software Installation When asked to accept or decline the License Agreement; check the ACCEPT box and press NEXT. The installer will automatically place the HD Audio Device Drivers in your Program files. Press the INSTALL button to continue. In several spots the computer may prompt you to “Install, Continue or Don’t Install”... -
Page 16: Software Installation
Normally restarting your PC at this point is not required but If you do not see the “CD6 OUT 1/2” listed in the SOUND panel after installation you should do a restart of your PC. -
Page 17: Software Installation
Installation of the DAC USB Audio Device drivers is only necessary if you intend to use the USB 2.0 HS input on your CD6. Software installation is not necessary if you only intend to use the two Toslink or RCA inputs. -
Page 18: Software Installation
RESEARCH CORP DAC name and close out the panel. Remember, to see the DAC name in the SOUND panel you must have the CD6 ON and connected to the USB port. You are now ready to call up iTunes or any... -
Page 19: Mac Os
FOR: selection box and select AUDIO RESEARCH CORP DAC. Then do the same for the SYSTEM OUTPUT: and DEFAULT OUTPUT: selection boxes. Remember, to see the CD6 name in the Audio MIDI Setup panel you must have the CD6 ON and connected to the USB port. -
Page 20: Using The Dac Control Panel
Also, as long as the CD6 is connected to your computer when you turn it on, the last sample rate you selected will be resent to the CD6. Remember, whenever you want to change the Sample Rate you must exit... -
Page 21: Setting The Sample Rate Or Native Mode In Windows 21
Setting the Sampling Rate or Native Mode in Windows If your music server or music management software does not allow you to connect to the CD6 HD Audio Device drivers directly you can easily tell Windows Vista or Windows 7 operating systems to honor Native mode for your music file. -
Page 22: Software Installation
CD6 you should simply use the DAC control panel to set the CD6 sample rate to that of the music you are playing. -
Page 23: Setting Native Mode In Mac Os X
176400.0Hz then iTunes will up-sample a 44.1 CD to 176.4kHz and send it to the CD6; the 176.4 LED will be lit. To play a 44.1 CD at 44.1kHz, simply set the sample rate in the Audio MIDI Setup Utility to 44100.0kHz. See section SETTING THE SAMPLE RATE ON MAC OS X: for details. -
Page 24: Software Installation
If you desire to play high resolution music files via the USB 2.0 HS interface to the CD6, all you do is connect your computer to the CD6 via a good quality high speed USB 2.0 (480Mbps) cable and install the CD6 HD Audio Device drivers. -
Page 25: Maintenance
Research dealer, or Audio Research Customer Service (763) 577-9700. about fuse replacement The CD6 has two fuses; both are located towards the back of the chassis on the left. One fuse is accessible with the removal of the top cover, and the other with the removal of the bottom panel. -
Page 26: Limited Warranty
In the unlikely event that technical service beyond the ability of the importer is required, Audio Research will fulfill the terms and conditions of the Limited Warranty. Such product must be returned at the purchaser’s expense to... -
Page 27: Fcc Rules
FCC Rules NOTE: This equipment has been tested and found to comply with the limits for a Class B digital device, pursuant to Part 15 of the FCC Rules. These limits are designed to provide reasonable protection against harmful interference in a residential installation. This equipment generates, uses and can radiate radio frequency energy and, if not installed and used in accordance with the instructions, may cause harmful interference to radio communications. -
Page 28: Specifications
Specifications Frequency Response: +0-3dB, 3Hz to 96kHz at rated output. 0.15dB 20Hz to 20kHz. (Balanced, 200k ohms load)@ 192kHz sample rate. Distortion: THD+N Less than .004% at 2V RMS BAL output. Signal-Noise-Ratio: 110dB Dynamic Range (AES17): 111dB IMD (SMPTE): .003% RMS Noise level: -95dBV (20-20kHz) Gain: 16.5dB Balanced, 8.3dB SE. - Page 29 H I G H D E F I N I T I O N ® Specifications subject to change without notice. ©2013 Audio Research Corporation.
Need help?
Do you have a question about the CD6 and is the answer not in the manual?
Questions and answers