Table of Contents
Advertisement
Advertisement
Table of Contents

Related Manuals for ProStalk PC2000


Summary of Contents for ProStalk PC2000
- Page 1 ProStalk PC2000 Nature Camera User Manual...
-
Page 2: Table Of Contents
The advantages of the PC2000 camera are its ultra small and portable size with extra longer surveillance time. Users do not need to carry traditional big cameras out to remote areas, or even have to worry about trying to find replacement batteries while out in the field. -
Page 3: Camera Specifications
Auto White Balance Power Supply: 4 x AA Cell batteries Standard Socket for Camera Tripod Water Resistant 2. Camera Specifications Model Number ProStalk PC2000 Image Sensor Type 1/2 Inch CMOS Effective Pixels 2.0 Megapixels Effective Focal Length 7.6 mm... -
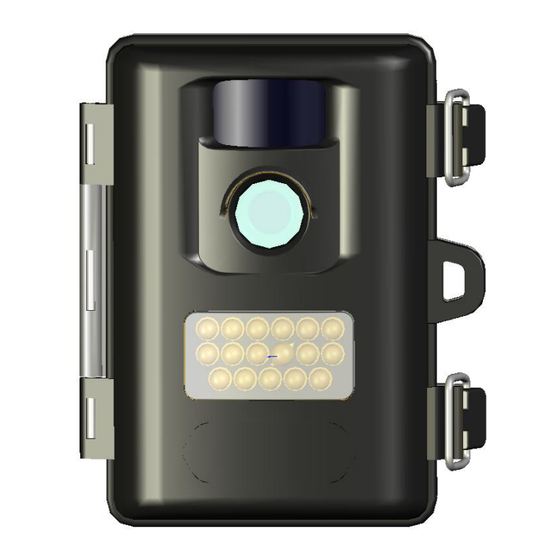
Page 4: Parts Identification
Photo Taken Delay 5 second ~ 60mins (default 1 min) Selectable Image Resolution 2.0MP; 0.8MP Multiple Frame (Take 3 photos) Video Resolution Movie: AVI 640 x 480 pixels @ 30 fps (15 seconds). File Format (Image/Video) JPEG/AVI Date Time Imprint Moon Phase Imprint Exposure Auto... -
Page 5: Packing Contents
• Mounting Kit 5. Battery and SD Card Installation The ProStalk Digital Nature Camera is designed to operate using 4 x AA Cell Battery. We recommend using alkaline batteries. NOTE: Always have camera in OFF position when installing or removing batteries. -
Page 6: Setup Your Camera
Memory The ProStalk PC2000 Digital Nature Camera saves images to an SD memory card (accepting up to a 32GB SD card - sold separately). Inserting SD card Make sure camera is in the OFF position whenever adding or removing memory. -
Page 7: Set Camera Delay
1. Date 2. Time 3. 4 Digits Display 4. Image Resolution Select 5. Movie Recording 6. Camera Delay Setting 7. SD Card It is very easy to setup this camera. Turn on the unit and then press the “SETUP” button, the “DATE”... -
Page 8: Set Camera State And Photo Resolution
Then the LCD will display “LoHi” which comes to setting the image resolution. “Lo” represents 0.8MP and “Hi” represents is 2.0MP. Press “UP” or “DOWN” to select and press “OK” to confirm. Default is “Hi”. Model ProStalk 1028*768 (0.8M) 1600 x 1200 (2.0M) If selecting the “Movie” mode, press “OK” to confirm. -
Page 9: Display How Many Pictures And Video Taken
2) Set Time a) Turn on the unit and then press the “SETUP” button b) The menu icon will start to blink, press the “UP” or “DOWN” button until icon 2 “TIME” is blinking, press “OK” to enter. c) Then the LCD first two digits represent hour (HH) and last two digits represents minutes (MM). -
Page 10: Turn On The Camera
7.3 Testing the camera coverage area One of ProStalk Nature Camera’s features is the ability to test the coverage area. • After mounting the camera, open the front housing and slide the “Power” switch to “ON”... -
Page 11: Secure Your Camera
Otherwise the camera will not take any pictures or movies. 7.4 Secure Your Camera The ProStalk PC2000 Nature Camera has a lock hole to secure the device using a padlock. 7.5 Replacing the Battery If the battery is low, the red light indicator will flash 3 times and then turn off. This indicates that the user should replace a new set of batteries. -
Page 12: Viewing The Images And Movies
8. Viewing the Images and Movies Connect the Camera to PC directly 1. Sliding the “Power” toggle switch to “on” position 2. Press “SETUP” button 3. Connect your camera to the PC by the USB cable, the PC will recognize the new device and enter into “mass storage”... -
Page 13: Glossary
10. Glossary PIR: Passive Infrared Sensor. Senses motion like typical security motion detector. Requires infrared energy (heat) in addition to motion to trip the sensor to assure detection of live animals. Camera Delay: Time elapsed between photos while events are sensed and recorded. This is user-set based on wildlife activity in area.
Need help?
Do you have a question about the PC2000 and is the answer not in the manual?
Questions and answers