Table of Contents
Advertisement
Advertisement
Table of Contents

Related Manuals for Pioneer DEH-X9600BT


Summary of Contents for Pioneer DEH-X9600BT
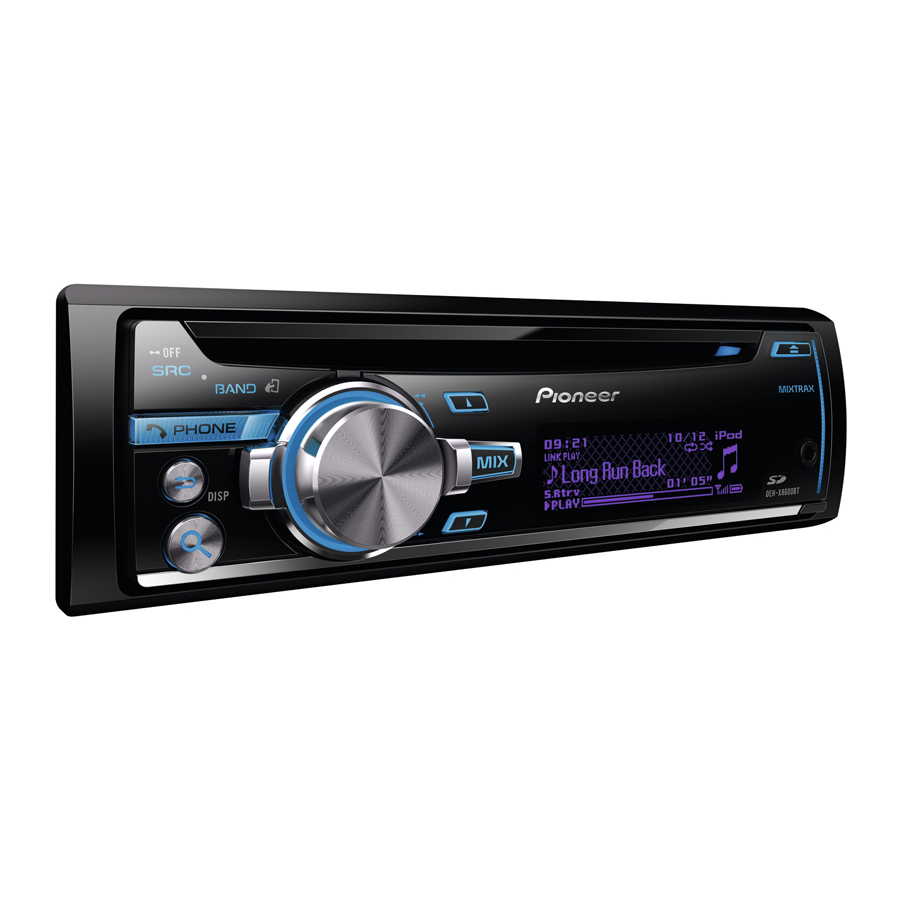
- Page 1 Operation Manual CD RDS RECEIVER DEH-X9600BT DEH-X8600BT English...
-
Page 2: Table Of Contents
Contents Thank you for purchasing this PIONEER product. To ensure proper use, please read through this manual before using this product. It is especially important that you read and observe WARNINGs and CAUTIONs in this manual. Please keep the manual in a safe and accessible place for future refer- ence. -
Page 3: Before You Start
Also, damage to this unit, smoke, and over- contact your local authorities for the correct heating could result from contact with liquids. ! The Pioneer CarStereo-Pass is for use only in method of disposal. By doing so you will ensure that your disposed Germany. -
Page 4: Using This Unit
Remove the front panel to access the SD mem- ory card slot. CAUTION DEH-X8600BT Use a Pioneer USB cable when connecting a USB storage device. Connecting a USB storage device directly may be dangerous because it may stick out. Optional remote control The remote control CD-SR110 is sold sepa- rately. -
Page 5: Set Up Menu
Section Using this unit FM step (FM tuning step) a/b/c/d Press to perform manual seek tuning, fast for- Use FM step to set FM tuning step options (seek step ward, reverse and track search controls. Also settings). used for controlling functions. 1 Turn M.C. -
Page 6: Basic Operations
USB storage device first before proceeding. ! If connecting both USB1/iPod1 and USB2/ iPod2 at the same time, use a Pioneer USB cable (CD-U50E) in addition to the regular Pioneer USB cable. 3 Always store the detached front panel in a protec- tive case or bag. -
Page 7: Radio
Section Using this unit Returning to the ordinary display from the list/cate- Selecting a band 1 Press BAND/ gory until the desired band (FM-1, FM- 1 Press BAND/ . 2,FM-3 for FM or MW/LW) is displayed. Selecting a function or list Manual tuning (step by step) 1 Turn M.C. -
Page 8: Switching The Rds Display
Turn to change the station. Press to select. Storing the tagged information to your iPod # All stations stored for FM bands can be re- DEH-X9600BT called from each independent FM band. 1 Switch the source to iPod. # You can also change the station by pressing The tag transfer screen is displayed. -
Page 9: Function Settings
Section Using this unit Function settings You can tune in to a station using PTY (program type) information. Press M.C. to display the main menu. 1 Press M.C. to display the setting mode. 2 Turn LEVER left or right to select the desired set- Turn M.C. -
Page 10: Cd/Cd-R/Cd-Rw And External Storage Devices (Usb, Sd)
1 Plug in the USB storage device using the USB Notes cable. ! Disconnect USB storage devices from the unit ! Use a Pioneer USB cable to connect the USB sto- when not in use. rage device to the unit. ! If there are two USB storage devices con-... -
Page 11: Browsing For A Song
Section Using this unit Operations using the MIXTRAX Browsing for a song button You can use this function when USB or SD is selected as the source. Turning MIXTRAX on or off This function is available when ON is selected You can use this function when USB or SD is selected in Music browse. -
Page 12: Playing Songs Related To The Currently Playing Song
Section Using this unit ! Music browse and Link play cannot be Playing songs related to the used when the source is set to CD. currently playing song ! Link play is not available when OFF is se- You can use this function when USB or SD is lected in Music browse. -
Page 13: Ipod
Section Using this unit Fast forwarding or reversing 1 Press M.C. to display the setting mode. 1 Turn and hold down LEVER to the right or left. 2 Turn M.C. to change the mode; press to select. For details about the settings, refer to Playing Selecting an album songs related to the currently playing song on 1 Press UP or DOWN. - Page 14 Section Using this unit Using this unit’s iPod function Playing a song in the selected category 1 When a category is selected, press and hold M.C. from your iPod This unit’s iPod function can be controlled by Searching the list by alphabet 1 When a list for the selected category is displayed, using the connected iPod.
-
Page 15: Using Bluetooth Wireless Technology
Section Using this unit Play mode (repeat play) Sound Retriever (sound retriever) 1 Press M.C. to select a repeat play range. 1 Press M.C. to select the desired setting. ! Repeat One – Repeat the current song 1—2—OFF (off) ! Repeat All – Repeat all songs in the selected 1 is effective for low compression rates, and 2 is list effective for high compression rates. -
Page 16: Connection Menu Operation
Section Using this unit Connection menu operation Answering a call waiting 1 When a call is received, press Important Connected devices may not work properly if more Switching between callers on hold 1 Press M.C. than one Bluetooth device is connected at a time (e.g. -
Page 17: Phone Menu Operation
3 Press M.C. to connect the selected device. ! To complete the connection, check the device Device INFO (Bluetooth device address display) name (Pioneer BT Unit). Enter the PIN code 1 Press M.C. to display the setting mode. on your device if necessary. -
Page 18: Bluetooth Audio
Section Using this unit Bluetooth Audio PhoneBook (phone book) Important The contacts on your phone will normally be trans- ! Depending on the Bluetooth audio player con- ferred automatically when the phone is connected. If it is not, use your phone menu to transfer the con- nected to this unit, the available operations tacts. -
Page 19: Using Connected Device Applications
Section Using this unit Basic operations 1 Press M.C. to stop the playback. Pause (pause) 1 Press M.C. to pause or resume. Random (random play) 1 Press M.C. to turn random play on or off. ! This function may not be available depending on the type of Bluetooth audio player con- 1 Device name nected. - Page 20 ! Pioneer is not liable for any issues that may count or otherwise, and for certain arise from incorrect or flawed app-based con- applications, the provision of geolocation data.
-
Page 21: Audio Adjustments
Section Using this unit Basic operations Sound Retriever (sound retriever) 1 Press M.C. to select the desired setting. 1—2—OFF (off) 1 is effective for low compression rates, and 2 is effective for high compression rates. Audio adjustments 1 Application name 2 PLAY/PAUSE indicator 3 S.Rtrv indicator Appears when Sound Retriever function is on. -
Page 22: Using Different Entertainment Displays
Section Using this unit You can adjust the currently selected equalizer curve 1 Press M.C. to display the setting mode. setting as desired. Adjusted equalizer curve settings 2 Turn M.C. to select a desired level. are stored in Custom1 or Custom2. 0 to +6 is displayed as the level is increased or de- ! Custom1 can be set separately for each source. -
Page 23: Selecting The Illumination Color
Section Using this unit Turn M.C. to select the desired setting. You can select the desired colors for the display of Simple display—background visual—genre— this unit. 1 Press M.C. to display the setting mode. background picture 1—background picture 2 —background picture 3—background pic- 2 Turn M.C. -
Page 24: About Mixtrax
Section Using this unit Press M.C. to display the main menu. MIXTRAX menu Turn M.C. to display ILLUMINATION and press to select. Turn M.C. to display Key Side or Display Side. Press to select. Press M.C. to display the main menu. Press M.C. -
Page 25: Mixtrax Settings
Section Using this unit ! The sound effect settings can be changed The flashing color and MIXTRAX special effects dis- from any of the following menus: play change with changes in the sound and bass le- LOOP EFFECT, Flanger EFFECT, vels. -
Page 26: System Menu
Section Using this unit Note You can set the clock to display even if the unit is Flanger EFFECT, Crush EFFECT and turned off. 1 Press M.C. to select the desired setting. Crossfade EFFECT are not available when iPod is ON (clock display)—Elapsed time (elapsed time selected as the source. -
Page 27: Set Up Menu
Section Using this unit Bluetooth device data stored on this unit can be S/W control (rear output and subwoofer setting) cleared. To protect your personal information, clear This unit’s rear output (rear speaker leads output and the device memory before you pass the unit on to RCA rear output) can be used for full-range speaker someone else. -
Page 28: Using An Aux Source
Section Using this unit Using an AUX source Insert the stereo mini plug into the AUX input jack. Press SRC/OFF to select AUX as the source. Note AUX cannot be selected unless the auxiliary set- ting is turned on. For more details, refer to AUX (auxiliary input) on page 26. -
Page 29: Additional Information
Error messages (folder repeat) is selected. Select another repeat play range. When you contact your dealer or your nearest Pioneer Service Center, be sure to note the NO XXXX appears when a display is changed error message. (NO TITLE, for example). - Page 30 Appendix Additional information CD player FORMAT READ Sometimes there is a delay between the start of ERROR-07, 11, 12, 17, 30 playback and when you start to hear any sound. The disc is dirty. Wait until the message disappears and you Clean the disc.
- Page 31 If the error message is still displayed after performing the above action, please contact ERROR-19 your dealer or an authorized Pioneer Service Communication failed. Station. Perform one of the following operations. –Turn the ignition switch OFF and back ON.
-
Page 32: Handling Guidelines
Appendix Additional information Handling guidelines When using discs that can be printed on label sur- faces, check the instructions and the warnings of the Discs and player discs. Depending on the discs, inserting and ejecting may not be possible. Using such discs may result in Use only discs that feature either of the following two damage to this equipment. -
Page 33: Compressed Audio Compatibility (Disc, Usb, Sd)
Appendix Additional information Do not insert anything other than an SD memory card Sampling frequency: 32 kHz, 44.1 kHz, 48 kHz into the SD card slot. If a metal object (such as a Windows Mediaä Audio Professional, Lossless, coin) is inserted into the slot, the internal circuits may Voice/DRM Stream/Stream with video: Not compati- break and cause malfunctions. -
Page 34: Ipod Compatibility
There may be a slight delay at the start of playback of CAUTION audio files embedded with image data or audio files ! Pioneer accepts no responsibility for data lost stored on a USB storage device that has numerous folder hierarchies. -
Page 35: Sequence Of Audio Files
The user cannot assign folder numbers and Audiobook, Podcast: Compatible specify playback sequences with this unit. Example of a hierarchy CAUTION Pioneer accepts no responsibility for data lost on the iPod, even if that data is lost while this unit is used. : Folder : Compressed... -
Page 36: Copyright And Trademark
Bluetooth SIG, Inc. the developer to meet Apple performance standards. Apple is not responsible for the op- and any use of such marks by PIONEER eration of this device or its compliance with CORPORATION is under license. Other trade- safety and regulatory standards. -
Page 37: Specifications
165 mm coded only) (.m4a) Nose ..........188 mm × 58 mm × 17 mm (Ver. 10.7 and earlier) (DEH-X9600BT) WAV signal format ....Linear PCM & MS ADPCM Nose ..........188 mm × 58 mm × 18 mm (Non-compressed) (DEH-X8600BT) Chassis ......... - Page 38 Appendix Additional information MW tuner Frequency range ...... 531 kHz to 1 602 kHz Usable sensitivity ..... 25 µV (S/N: 20 dB) Signal-to-noise ratio ....62 dB (IEC-A network) LW tuner Frequency range ...... 153 kHz to 281 kHz Usable sensitivity ..... 28 µV (S/N: 20 dB) Signal-to-noise ratio ....
- Page 40 253 Alexandra Road, #04-01, Singapore 159936 TEL: 65-6472-7555 PIONEER ELECTRONICS AUSTRALIA PTY. LTD. 5 Arco Lane, Heatherton, Victoria, 3202 Australia TEL: (03) 9586-6300 PIONEER ELECTRONICS DE MEXICO, S.A. de C.V. Blvd.Manuel Avila Camacho 138 10 piso Col.Lomas de Chapultepec, Mexico, D.F. 11000 TEL: 55-9178-4270 先鋒股份有限公司...
Need help?
Do you have a question about the DEH-X9600BT and is the answer not in the manual?
Questions and answers