Advertisement
60cm Built In
Microwave Oven
Installation and User manual
Content
Important Safety instructions-------------------- 2
Product description--------------------------------- 5
Installation-------------------------------------------- 6
Start using your oven------------------------------- 7
Maintenance and cleaning------------------------ 19
Warranty----------------------------------------------- 20
For warranty service call 1300 373 199(Australia)
or 0508 123108(New Zealand) to connect you to
the nearest authorised service centre
20130729 issue5
BMW625TKX
1
BMW625TKX-F
BMW625IGX
BMW625IGX-F
Advertisement

Subscribe to Our Youtube Channel
Related Manuals for Bellini BMW625TKX


Summary of Contents for Bellini BMW625TKX
-
Page 1: Table Of Contents
Product description--------------------------------- 5 Installation-------------------------------------------- 6 Start using your oven------------------------------- 7 Maintenance and cleaning------------------------ 19 Warranty----------------------------------------------- 20 For warranty service call 1300 373 199(Australia) or 0508 123108(New Zealand) to connect you to the nearest authorised service centre BMW625TKX BMW625TKX-F BMW625IGX BMW625IGX-F... -
Page 2: Important Safety Instructions
Important Safety Instructions This manual explains the proper installation and use of your oven, please read it carefully before using even if you are familiar with the product. The manual should be kept in a safe place for future reference. Warnings should not be heated in microwave ovens since If the supply cord is damaged, the cord must be... - Page 3 tamper with the safety interlocks. The panels adjacent to the oven must be made of Do not place any object between the oven front heat-resistant material. face and the door or allow soil or cleaner residue The oven should be cleaned regularly and any to accumulate on sealing surfaces.
- Page 4 To maintain safe operation, it is recommended that the product be inspected every five years by an authorised service person. Microwave Oven During use the appliance becomes hot. Care should be taken to avoid touching the hot surfaces inside the oven. To avoid an accident, ensure that oven shelves and fittings are always inserted into the appliance in accordance with the instructions.
-
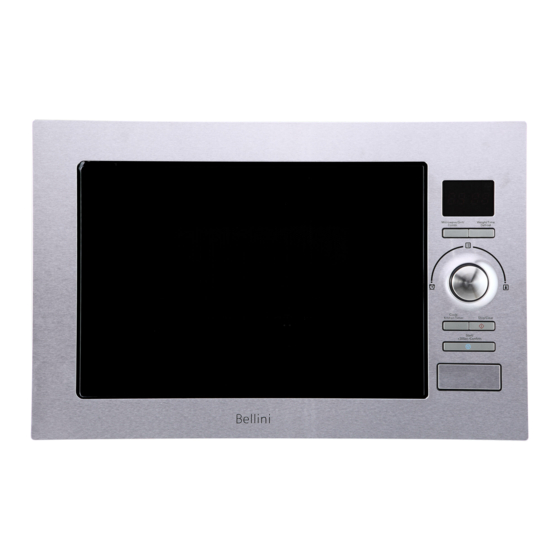
Page 5: Product Description
1:1 installation template Screw A 2 (For BMW625IGX(-F)) Adjust Screw B Bracket 1 (For BMW625IGX(-F)) Already installed Trim Kit 1 (For BMW625TKX(-F)) Grill Rack 1 (For BMW625IGX(-F)) Turntable Ring Assembly See above item C Glass Tray See above item D(Diameter=315mm) -
Page 6: Installation
(E.g. vinyl coated) may result in deterioration of the low temperature coating by model Dimension A(mm) discoloring or bubbling. BMW625TKX, 550 minimum If the appliance is to be installed adjacent to vinyl BMW625TKX-F wrapped surfaces, use an installation kit... -
Page 7: Start Using Your Oven
Start Using Your Microwave Oven WARNING! DO NOT RUN THE UNIT WITHOUT ANY FOOD INSIDE. Material to be avoided use in microwave oven Utensils May cause arcing. Transfer food into microwave-safe dish. Aluminium tray Food carton with metal May cause arcing. Transfer food into microwave-safe dish. handle Metal or metal trimmed Metal shields the food from microwave energy. - Page 8 Microwave-safe only (meat and candy thermometers). Thermometers Use as a cover to prevent splattering and retain moisture. Wax paper Operation Instruction for BMW625TKX This microwave oven uses modern electronic control to adjust cooking parameters to meet your needs better for cooking. Microwave indicator...
- Page 9 If the clock is not set, it would not function when powered. During the process of clock setting, if you press “Stop/Clear ", the oven will go back to previous status automatically. Microwave Cooking Press the "Microwave” once, the LED will display "P100". Press “Microwave”...
- Page 10 Press “Micro. +Conv” for times or turn " " to select “C-1”, “C-2”, “C-3” or “C-4” in order. Press “Start/+30Sec./Confirm “to confirm the setting. Turn " " to adjust the cooking time(The time setting should be 0:05 – 95:00) Press “Start/+30Sec./Confirm “to start cooking. NOTE: Combination instructions Display Microwave Power...
- Page 11 Turn " " to adjust the cooking duration. (The maximum duration is 95 minutes.) Press the “Start/+30Sec./Confirm “to start cooking. Multi-Stage Cooking 2 stages can be maximally set. The buzzer will ring once after each stage and the next stage will begin.
- Page 12 When you choose A8 cake, please do not put the cake into the oven at the beginning until buzzer sounds twice to remind you it is time to do it because the oven needs to be preheated to 180 degree firstly. After putting the cake in the oven and door closed, press “Start/+30Sec./Confirm “again to start the program.
- Page 13 Press “Start/+30Sec./Confirm “to start defrosting" " and " " indicators will flash, "g" indicator will go out. Defrost by Time Press " W.T./Time Defrost " twice, LED will display "dEF2" Turn " " to set the cooking duration. The maximum duration is 95 minutes. Press “Start/+30Sec./Confirm “to start defrosting.
- Page 14 Operation Instruction for BMW625IGX Microwave indicator Grill indicator Defrost by time Defrost by weight Microwave power O’clock Timer indicator Auto menu Child lock Weight unit (On when choose defrost by weight) Door open push button O’ Clock Setting When the microwave oven is electrified, the LED will display "0:00", buzzer will ring once. Press “Clock/Kitchen Timer"...
- Page 15 Microwave Cooking Press the "Microwave/Grill/Combi." once, "P100" will display. Press “Microwave/Grill/Combi” for times or turn " “to select the microwave power from 100% to 10%. "P100", "P80", "P50", "P30", "P10" will display in sequence. For example if you want cook in 50% power than press “Microwave”...
- Page 16 Quick Start You are able to only set cooking duration and use “Quick start” to cook food in 100% power by simple operation. If in stand by mode, press “Start/+30Sec./Confirm “or turn " " left to start cooking with 100% power, then press “Start/+30Sec./Confirm “to start cooking.
- Page 17 Multi-Stage Cooking 2 stages can be maximally set. The buzzer will ring once after each stage and the next stage will begin. Auto menu and preheating cannot be set as one of the multi-stage. Defrosting must be put as the first stage. Example: if you want to defrost the food for 5 minutes, then to cook with 80% microwave power for 7 minutes.
- Page 18 Trouble Shooting Trouble Possible causes To do Radio and TV reception may be interfered when Microwave oven microwave oven running. It is similar with interfere It is normal interfering with TV of small appliances and normal. In lower power microwave cooking, oven light may Dim oven light It is normal become dim.
-
Page 19: Maintenance And Cleaning
Maintenance and Cleaning WARNING! Before cleaning your oven, or performing maintenance, disconnect it from the power supply. Do not use steam cleaners. Do not line the oven bottom with aluminium foil, as the consequent accumulation of heat could compromise the cooking and even damage the enamel. To protect against the risk of electrical shock, do not immerse the unit, cord or plug in water or other liquid or sprinkle water to clean the appliance! Do not clean the appliance when it is still hot! The inside and external surface of... -
Page 20: Warranty
Consumer until the expiry of two (2) year (Warranty Period). If within the Warranty Period a manufacturing defect is discovered in the Bellini product or it fails to perform to the Company’s specifications as a result of some defect in materials, components or workmanship (Defect) then the Company will, at its option, repair the Bellini product or supply a replacement Bellini product free of charge. - Page 21 1.10 If you are required to transport the Bellini product to the Company or its service agent, you must ensure it is safely disconnected by a qualified tradesman and securely packed and insured. The Company does not accept any responsibility for loss or damage of the Bellini product prior to it being received by the Company or its service agent.
Need help?
Do you have a question about the BMW625TKX and is the answer not in the manual?
Questions and answers