Advertisement
Advertisement

Related Manuals for Klearbar Mini

Summary of Contents for Klearbar Mini
- Page 1 KLEARBAR MINI COUNTERTOP WATER DISPENSER INSTALLATION / USER MANUAL...
- Page 2 Dear customer, We know you have multiple options and thank you for choosing the best. KlearBar - For home and office. Clearly the right call anytime.
-
Page 3: Table Of Contents
Index Overview & diagram Installation User Maintenance Safety Instructions Technical specifications Troubleshooting... - Page 4 WHAT’S YOUR FAVORITE COLOR? Blue bar Orange bar Silver bar Red bar Green bar Yellow bar White bar Black bar Cream bar...
-
Page 6: Overview & Diagram
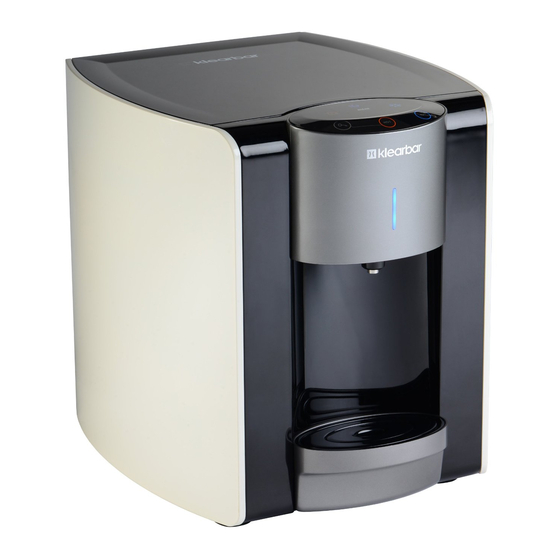
Overview & Diagram 1. Touchscreen operation panel 2. Front panel indicator light: Blue - COLD water - HOT water Purple - ENERGY SAVE mode (Energy save mode will start after 4 hours of non-use. Touch any key to bring system to normal operation) 3. -
Page 7: Installation
ALWAYS PLUG KLEARBAR MINI ELECTRICAL CORD INTO A GFCI PROTECTED POWER OUTLET There are multiple ways to connect your Klearbar Mini but regardless of your choice it is recommended to follow local plumbing codes or consider hiring a licensed plumber. - Page 8 1/4 polyethylene tubing to the 1/4 union tee. 3. Place the Klearbar Mini within a few feet of an available GFCI electrical socket and connect the included 1/4 stem elbow into the water inlet port on the back of the unit (be careful not to connect to the optional overflow port).
- Page 9 This is very convenient should you ever need to remove the Klearbar Mini for cleaning or should you discover a leak. 5. BEFORE TURNING ON WATER LIFT RESERVOIR COVER THEN REMOVE MOISTURE ABSORBING DESICCANT BAG INSIDE RESRVOIR.
- Page 10 6. Place the Klearbar Mini within a few feet of an available GFCI electrical socket and connect the included 1/4 stem elbow into the water inlet port on the back of the unit (be careful not to connect to the optional overflow port).
-
Page 12: User Maintenance
User Maintenance It is recommended to flush and sanitize your Klearbar Mini upon installation and after a filter change approximately every six months or as needed to assure the freshest drinking water possible. Use a 5-quart, pre-mixed solution of very hot tap water and OPTIONAL sanitizer (baking soda works good). - Page 13 Between Filter Changes 1. Turn off water supply to the Klearbar Mini 2. Turn off both hot and cold switches 3. Pre-mix 5 quarts of very hot or near boiling tap water to any of the following a) OPTIONAL Sodium bicarbonate (baking soda) – 8 tablespoons (4 oz) b) OPTIONAL Household bleach –...
- Page 14 Changing the Water Filter 1. Lift top black cover back to front to remove. Turn off water supply then turn filter in a half turn counterclockwise and pull up. Insert new filter and turn clockwise to fully engage back into unit. 2.
- Page 15 1. Turn off power and unplug the Klearbar Mini (you do not have to turn off water for this procedure). Remove the top black cover. Use the UV removal tool to press the red tab on top of the UV lamp component in an outward direction, and then twist the UV component in a counter clockwise manner to unlock.
- Page 16 Cleaning Your Klearbar Mini Using a microfiber or soft cloth dampened with warm water you can wipe your Klearbar Mini’s outer panels. Do not use harsh detergents or other cleaning aids which can possibly damage the outer REPLACEMENT COLOR surface. Use only a dry cloth to wipe the PANELS (2 PER SET) touch screen.
-
Page 17: Safety Instructions
• In case there is an official recommendation by the public health authority to boil water prior to drinking tap water in your area, do not use the Klearbar Mini. The Klearbar Mini is intended for use with approved potable water only. Replace the filter, sanitize and thoroughly flush the Klearbar Mini immediately after boil water advisory has lifted. -
Page 18: Technical Specifications
Technical Specifications Electricity UV (ultra violet) lamp - Klearbar Mini2 model only • 120v, 60Hz • Klearbar replacement bulb assembly, • 115 – 700w part # 4UVGR310MB • 7.5 Amps • Lamp type: T5 (germicidal) • 4 W, 0.17 A, 29 V •... -
Page 20: Troubleshooting
Water line not connected Immediately turn off water properly supply and reconnect Water leakage Leakage from within the Mini Immediately turn off water supply call for service Overflowing drip tray Remove and empty drip tray All panel lights are flashing and... - Page 21 Service Provider Serial # ________________________________________________________________...
- Page 24 Klearbar (855) GO-KLEAR www.klearbar.com...
Need help?
Do you have a question about the Mini and is the answer not in the manual?
Questions and answers