Advertisement
Advertisement
Table of Contents

Subscribe to Our Youtube Channel
Related Manuals for kaltis Ultra Low Temperature Freezer


Summary of Contents for kaltis Ultra Low Temperature Freezer
-
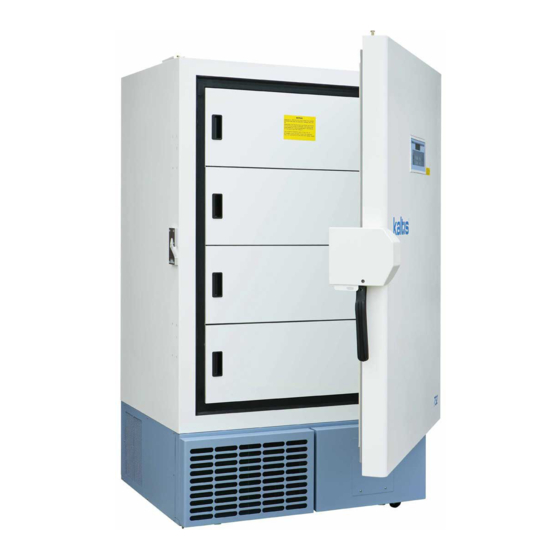
Page 1: User Manual
Ultra Low Temperature Freezer User Manual... - Page 2 1. No part of this manual maybe reproduced in any form without the expressed written permission of Kaltis. 2. The contents of this manual are subject to change without notice. 3. Please contact Kaltis if any point in this is unclear or if there are any inaccuracies.
-
Page 3: Safety Precautions
1. Safety Precautions It is imperative that users comply with this manual as it contains important safety advice. Items and procedures are described so that you can use this product correctly and safely. If the precautions advised are followed, it will prevent possible injury to users and other people. - Page 4 WARNING Use this product only in the way described in the product literature and in its manual. Before using it, verify that this product is suitable for intended use. Do not modify system components. Before use, confirm that the product has not been altered in any way.
- Page 5 CAUTION Connect the unit to a power source as printed on the dataplate located on the lower right side of the unit. Use of any other voltage or frequency other than that on the rating label may cause fire or electric shock. When removing the plug from the power supply outlet, grip the power supply plug, not the cord.
-
Page 6: Caution For Usage
2. Caution For Usage Do not defrost inside walls with a knife or ice pick. There are pipelines for cooling behind the walls. Be careful not to damage the lines as this could cause breakdown. Also, do not make a hole in the wall for installation of attachments. -
Page 7: General Recommendations
3. General Recommendations The refrigeration system is designed to maintain ultra-low temperatures with safety in a +32 C ambient environments, only when the freezer is used for storage. CAUTION! This unit is not a “rapid-freeze” device. Freezing large quantities or liquid, or high-water content items, will temporarily increase the chamber temperature and will cause the compressors to operate for a prolonged time period. -
Page 8: Pre-Installation
4. Pre-Installation At delivery, examine the exterior for physical damage while the carrier’s representative is present. If exterior damage is present, carefully unpack and inspect the unit and all accessories for damage. CAUTION! Do not discard the sublids from chest-style units. The sublids are necessary to maintain correct temperature, moisture control, and economy of operation. -
Page 9: Installation
5. Installation Do not exceed the electric and temperature ratings printed on the dataplate located on the lower right back side of the unit. CAUTION! Improper operation of the equipment could result in dangerous conditions. To preclude hazard and minimize risk, follow all instructions and operate within the design limits noted on the dataplate. - Page 10 could cause current leakage or electric shock. CAUTION! To allow for proper air flow, a minimum of fifteen centimeter of clearance space is required behind the freezer. 5.2 Wiring CAUTION! Connect the equipment to the correct power source. Incorrect voltage can result in severe damage to the equipment.
- Page 11 5.4 Door Operation (Upright Models) 5.4.1 Opening the Door Remove the padlock if you have one. Grasp the latch handle (preferably with your left hand) and pull it toward to yourself until the latch disengages from the track. Keep pulling by the latch handle or the integrated handle to open the main door. 5.4.2 Closing the Door Note that the latch does not self-engaged automatically when you close the door.
-
Page 12: Operation
6. Operation 6.1 Prime Series Control Panel Feature Figure 1. Prime Series Control Panel with Optional Backup System Before the initial start up, take some time to become familiar with the controls on your freezer. 6.1.1 Pads 6.1.1.1 On /Off Pad Press it to start or stop the unit. - Page 13 Press these tow pads to switch between Cold Alarm, Warn Alarm, and Control Temperate. 6.1.1.5 Increment and Decrement Pad Use these two pads to increase or decrease temperature value. 6.1.1.6 Enter/ Escape Pad After enter the password, press it to return to setting mode. After setting, press it to return to monitoring mode.
- Page 14 6.1.2.10 Check Fuse Indicator The indicator lights when the surge protector on the main electronic panel is blown by a power surge. 6.1.2.11 Voltage Failure Indicator The indicator lights when the incoming line voltage is above or below the voltage regulator working range. 6.1.2.12 Alarm Battery Low Indicator The indicator lights when the charge on the alarm battery is low.
- Page 15 6.2 Merit Series Control Panel Feature Figure 2. Merit Series Control Panel with Optional Backup System Before the initial start up, take some time to become familiar with the controls on your freezer. 6.2.1 Pads 6.2.1.1 On /Off Pad Press it to start or stop the unit. Operating indicator above it twinkling abidingly to show that the freezer is in “...
- Page 16 Use these two pads to increase or decrease temperature value. 6.2.1.6 Enter/ Escape Pad After enter the password, press it to return to setting mode. After setting, press it to return to monitoring mode. 6.2.2 Indicators 6.2.2.1 Operating Indicator The indicator twinkles when the freezer operates. 6.2.2.2 Alarm Indicator The indicator twinkles when an alarm occurs.
- Page 17 6.3 Start Up Refer to Section 6.1 and Figure 1 to complete the following procedures. 6.3.1 Turning the Power On Plug the freezer to the power outlet, and the control panel screen displays. Press , and enter the password ( ).
- Page 18 temperature setpoint, we suggest not testing alarm in this way. Press and hold . The digital temperature display indicates rising temperature. When the temperature reaches the warm alarm value, the alarm sounds. Note: The temperature of the refrigerated spaces does not change. Only the sensor is heated.
-
Page 19: Maintenance
7. Maintenance WARNING! Always disconnect the power supply to the unit prior to any repair or maintenance of the unit in order to prevent electric shock or injury. Ensure not to inhale or consume medication or aerosols from around the unit at the time of maintenance. - Page 20 7.2 Gasket Maintenance Periodically check the gasket around or lid for punctures or tears. Leaks are indicated by a streak of frost which forms at the point of gasket failure. Make sure the cabinet is level (refer to Section5.3 for leveling information). 7.3 Defrost Procedures To defrost the equipment, complete the following steps: Remove all products and place in another cabinet.
-
Page 21: Troubleshooting
8. Troubleshooting CAUTION! Troubleshooting should only be performed by trained personnel. If the unit malfunctions, check out the following before calling for service. The chamber is not cooled at all The circuit breaker of power source is active. The voltage is too low. (In this case, call an electrician.) The power switch is not ON.
Need help?
Do you have a question about the Ultra Low Temperature Freezer and is the answer not in the manual?
Questions and answers