
Related Manuals for Breezaire EXV Series


Summary of Contents for Breezaire EXV Series
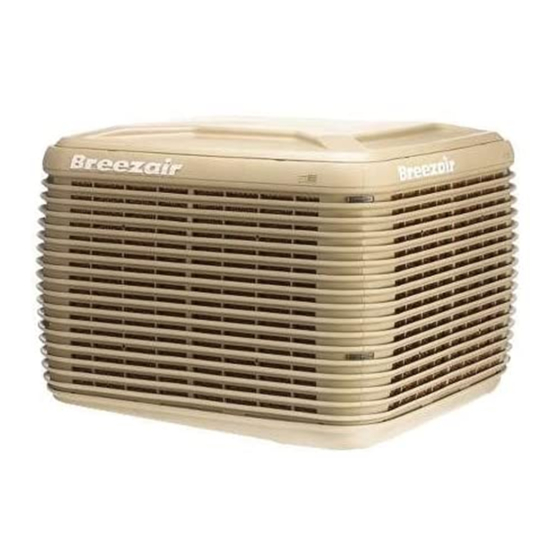
- Page 1 N A T U R A L L Y C O O L E R N A T U R A L L Y C O O L E R Installation and Operating Manual Installation and Operating Manual EXV Series EXV Series Evaporative Air Coolers Evaporative Air Coolers...
-
Page 2: Table Of Contents
Index INDEX SAFETY......................1 OPERATING INSTRUCTIONS Thermostat Range..................2 Using the Remote Control...........3 SENSORTOUCH Using the Wall Control............7 SENSORTOUCH Maintenance....................9 Pre-Assembly Inspection................10 INSTALLATION INSTRUCTIONS Installation Details..................11 Water Installation................... 12 Electrical Installation..................13 Wall Control................13 SENSORTOUCH Remote Control..............14 SENSORTOUCH Testing the cooler...................16 Installation Checklist.................. -
Page 3: Safety
Safety Use only the power supply voltage SAFETY INSTRUCTIONS WATER PUMP shown on the motor/cabinet Important Safety Instructions and The water pump is supplied with this nameplate. Warnings cooler and is factory fitted into its WARNING: The warnings and safety correct location. -
Page 4: Thermostat Range
Thermostat Range REMOTE CONTROL AUTO COOL SPEED ECONOMY ILL239-D ILL1140-A SENSORTOUCH SENSORTOUCH Remote Thermostat Control Wall Mounted Thermostat Control (remote control) (wall control) ®... -
Page 5: Using The Sensortouch Remote Control
Using the SENSORTOUCH Remote Control SETTING THE CLOCK MANUAL MODE Set the clock on the remote control before Once either COOL or VENT has been proceeding with any other programming. selected, the remote control will maintain a constant fan speed. This is indicated by the The clock can only be set with the remote bar graph in the centre of the display. -
Page 6: Using The Sensortouch
Using the SENSORTOUCH Remote Control AUTO TIMER MODE (4) Setting the OFF time minutes Press the button. The minutes Programming the timer must be performed displayed will start flashing and the word OFF before AUTO TIMER can be activated. This will appear. -
Page 7: Using The Sensortouch
Using the SENSORTOUCH Remote Control ECONOMY MODE During this operation the word PRE-COOL will be displayed on the remote control’s screen. Selecting the ECONOMY mode limits the maximum available cooling or ventilation and reduces the power used by up to 20%. The MANUAL ECONOMY function can be used in either COOL... -
Page 8: Using The Sensortouch
Using the SENSORTOUCH Remote Control The high salinity setting is designed to operate the cooler at a maximum safe salinity level to AUTO COOL maintain a normal working life. It also results in a minimum usage of water. SPEED MANUAL BATTERY LOW COOL ILL1106-A... -
Page 9: Using The Sensortouch Wall Control
Using the SENSORTOUCH Wall Control In Manual mode the cooling level can be STARTING YOUR COOLER manually adjusted. button turns the air cooler on and In Manual mode, press to choose off. between circulating cool air or uncooled air. There are two modes of operation to choose When “Cool”... -
Page 10: Using The Sensortouch
Using the SENSORTOUCH Wall Control TIMED AUTOMATIC STOP DRAIN VALVE You can also set the air cooler so that it will This air cooler is supplied with an automatic drain that performs two primary functions: turn off after a set number of hours. 1.To set a delayed stop time, press with the cooler RUNNING. -
Page 11: Maintenance
Using the SENSORTOUCH Wall Control • Turn off power switch inside the cooler. Display Number Drain Delay Time (Fig. A) • Check and clean the lid water spreaders 4 hours (Fig. C) 1 Day 2 Days 3 Days STANDARD 4 Days Press to select your desired delay time. -
Page 12: Pre-Assembly Inspection
Pre-Assembly Inspection PRE-ASSEMBLY INSPECTION Check that the correct cooler has been supplied. The cooler should have the following parts:- (Check the parts are inside the cooler by removing a cooling pad frame.) -
Page 13: Installation Details
Installation Details UNPACKING THE COOLER Keep the cooler away from heater NOTE! It is recommended that a strip flues, exhaust vents (especially of foam or sealant is applied to the Cut and remove the shrink wrap from kitchens) and sources of ignition. upper flange on the roof jack before around the cooler. -
Page 14: Water Installation
Installation Details INSTALLING THE INLET SOLENOID VALVE Fit the inlet solenoid valve under the pan as shown (Fig 14). Insert the solenoid valve cable through the hole (behind the drain valve) and connect the plugs to the solenoid valve. (Fig. 13) Make sure the cable is fitted to the groove underneath the The sump of the pan is designed to pan. -
Page 15: Electrical Installation
Installation Details INSTALLING THE DRAIN KIT after making connections and clamping the conduit cable. It is a requirement of Seeley International - Never drain the Ensure that all electrical connections water directly on to the roof (This are tight. Loose connections will cause applies to all types of control/drain overheating that may lead to machine systems). -
Page 16: Belt Tension
Installation Details If the measured amps are less than The outer half of the pulley is on a INLET DRAIN Entrada Valvula the nameplate amps the adjustable thread and can be moved in or out by de drenaje RECEIVER del agua Receptor motor pulley sheave must be altered removing the locking cap and then... -
Page 17: Sensortouch Remote Control
SENSORTOUCH Remote Control Running the Receiver Cable Plug the receiver cable to point Fig 22 “Receiver” on the electronic controller. REMOTE CONTROL Run the cable to the attic space or AUTO COOL below the ceiling to the receiver SPEED location and plug the 6 pin end (with ECONOMY sticker) to the receiver. -
Page 18: Testing The Cooler
Testing the Cooler LOCATION AND TESTING 1 Red Flash indicates After you have set the motor amps and belt tension correctly, check the speed ..Fault Code #1 – Communication Important! One of the most critical Failure. variation of the cooler. When the parts of the installation is the location control is changed from maximum to 2 Red Flashes indicates... - Page 19 Testing the Cooler DIP SWITCHES There are 2 rows of DIP switches located under the battery cover on the remote control. WARNING: Do not alter DIP switches 1 to 8 on top row and 7 & 8 on bottom row as the cooler will cease to work.
-
Page 20: Installation Checklist
Installation Checklist Owners Name:______________________ Cooler level and secure. __________________________________ All roof work properly sealed. Telephone:_________________________ Address:___________________________ Ductwork and air distribution checked and outlets correctly set. __________________________________ All wiring complete. __________________________________ Dealer:____________________________ Control switch correctly installed. __________________________________ Motor and pump correctly plugged into sockets. Installer:___________________________ __________________________________ Drain/overflow fitting correctly installed. -
Page 21: Trouble Shooting
Installation Troubleshooting PROBLEM PROBABLE CAUSE SUGGESTED REMEDY Inadequate Cooling Under-sized cooler. Replace with larger cooler. Under-sized ducts. Replace with larger ducts. Clogged or dirty cooling pads. Clean or replace pads. Dry pads or lack of water while cooler Check water distribution system for is operating. - Page 22 Installation Troubleshooting PROBLEM PROBABLE CAUSE SUGGESTED REMEDY Pump runs but no water circulation. Insufficient water in pan. Adjust float level. Pump runs but pads lack water. Water hoses blocked. Check and clean out blockage. Pump strainer blocked. Clean pump strainer. Continuous overflow of water.
-
Page 23: Appendix A - Wiring Diagrams
Appendix A - Wiring Diagram 65’ SENSORTOUCH Wall Control 16’ ILL665-D REMOTE CONTROL AUTO COOL SPEED ECONOMY SENSORTOUCH Remote Control... - Page 24 Seeley International (Americas) Phone: 602-353-8066 Fax: 602-353-8070 Toll Free: 1-800-926-6824 www.convaircooler.com Evaporative Air Cooling Manual. Seeley International Pty Ltd, Adelaide, South Australia. ACN 054 687 035. As the policy of the company is one of continuous product improvement, all specifications are subject to change without notice. 847078-A US 0710...
Need help?
Do you have a question about the EXV Series and is the answer not in the manual?
Questions and answers