Table of Contents
Advertisement
Quick Links
Advertisement
Table of Contents

Related Manuals for HP Princeton HP-21

Summary of Contents for HP Princeton HP-21
- Page 1 User’s Manual Princeton HP-21 DIGITAL PIANO...
- Page 2 Using the Instruction Manual Congratulations on the purchase of your new digital piano! With your new piano, you’ll enjoy breakthrough technology and advanced sound reproduction – bringing you professional performance and entertainment all in one! This skillfully built digital piano enables you to explore your creativity, and helps make yours a more musical home…...
- Page 3 Precautions Please read the following carefully before use: Do not expose the piano to high temperature, direct sunlight or excessive dust. Do not place the piano too close to appliances such as televisions and radios as these items may cause interference.
-
Page 4: Table Of Contents
Contents Digital Piano Set-up Guide General Guide The Connectors - Using the AC power jack - Using Headphones - Using the MIDI OUT jack Operation 1. Power Switch & Volume 2. Voice/Dual Voice 3. Metronome 4. DSP (Digital Signal Processor) 5. -
Page 5: Digital Piano Set-Up Guide
Digital Piano Set-up Guide 1. Open the package, and check that you have the following parts: 1. Piano body 2. Music stand 3. Right leg 4. Left leg 5. Back panel 6. Foot pedal unit 7. Hand screw (4 pcs.) 8. - Page 6 Digital Piano Set-up Guide 2. . Follow the illustration below to setup your piano. Put the foot pedal unit(6) in between the left and right legs (3&4) . Use 4 screws (2 on each side) to attach the legs onto the foot pedal unit. (Make sure the position correct before tightening screws) Use 4 screws (2 on each side) to tighten the back panel (5) onto the finished assembly in Part A.
- Page 7 Digital Piano Set-up Guide Put the piano body (1) on the top of the finished stand from part B. Use 4 hand screws to fasten the piano to the stand. After the initial set-up, adhere the cable stabling hook(10) on the internal side of the leg (see the below illustration for reference).
-
Page 8: General Guide
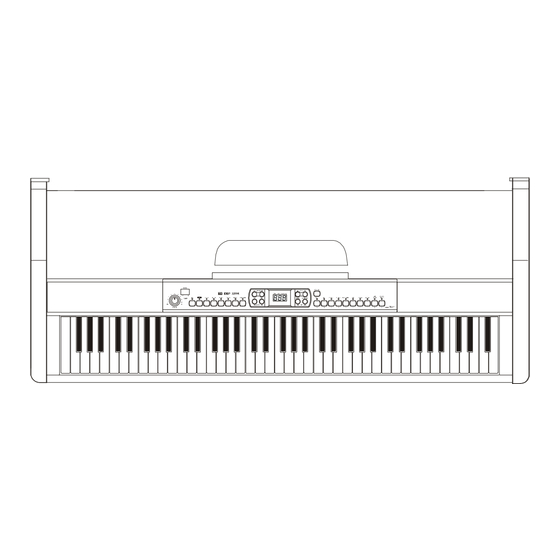
General Guide Control Panel Pedal Jack MIDI IN/OUT Jack AUX. OUT Jack AC Power Jack Headphones Jack Soft Pedal Sostenuto Pedal Sustain Pedal 10. Music Stand 11. Piano Keyboard Top View Rear View Front View... -
Page 9: General Guide
General Guide POWER SWITCH MASTER VOLUME DUAL TOUCH RECORD TRACK A TRACK B REPEAT 10) METRONOME 11) TRANSPOSE +/- 12) TEMPO +/- 13) DEMO ALL 14) RECORD - PLAY - STOP ) D EMO - SELECT - START/STOP ) V OICE TYPE & DEMO SONG SELECT 0 - PIANO 1 1 - PIANO 2 2 - E.PIANO 1... -
Page 10: The Connectors
The Connectors Using the AC power jack Connect the power cable to the AC power jack on the underside of the piano. Ensure the piano is turned off when connecting and disconnecting the power Plug the power cable into an AC power outlet. -
Page 11: Using The Midi Out Jack
Connect the rear-panel AUX.OUT jack to amplified speakers, amplifiers domestic hi-fi-units for external amplification. Note: Connect both left(L) and right(R) channels for stereo effect. If you only connect either one of the channels, the connected channel will only take effect. Using the Foot Pedals Connect the plug of the foot pedal unit to the pedal jack on the rear panel. -
Page 12: Power Switch & Volume
1. Power Switch & Volume Turn POWER The LED display lights up. 2. Use the volume control switch to adjust the volume to your desired level Caution: If the LED display has not lit up after you turned on the piano, please check the power supply. If the piano is silent, the volume may be adjusted to its minimum level. -
Page 13: Transpose
Press the [DSP] button to turn on/off the DSP. The status will appear on the LED. 5. Transpose The Transpose function allows you to change the pitch of the instrument in semi-tone steps, up to a maximum setting of 12 semitones above or below standard pitch. -
Page 14: Record & Playback
There is a touch response function to set the default value for the keyboard touch. Press the [TOUCH] button to adjust the touch response level in the range of 1 to 3. 2 is the default level. To turn off the touch response function, press the [TOUCH] button repeatedly until "OFF"... -
Page 15: Demo Song
Repeat the playback During the playback, press the [REPEAT] button to set the beginning point that you want to listen, "r-A" will appear on the display, then press the [REPEAT] button again to set the end point of the playback, "r-B" will appear on the display and the recorded song will playback repeatedly. -
Page 16: Demo Song
Repeat the demo song When a demo song is playing, press the [REPEAT] button to set the beginning point that you want to listen. "r-A" will appear on the display, then press the [REPEAT] button again playback."r-B" will appear on the display and the selected section of the demo song will playback repeatedly. -
Page 17: Midi
MIDI The MIDI connections are located at the rear panel of the unit. The following shows the description of MIDI and the steps of using MIDI. What is MIDI? MIDI stands for Musical Instrument Digital Interface. MIDI is a world wide standard that makes it possible for various electronic musical instruments and other devices, such as computers, to "communicate with each other". -
Page 18: Specifications
Specifications Keyboard Voice Demo Song Display Switch and Buttons Transpose Pedals Touch Response Connectors Speaker Dimension Weight 88 hammer action keys 10 Voices 20 Demo Songs POWER SWITCH, VOLUME SWITCH, DUAL, DSP, TOUCH, RECORD, TRACK A, TRACK B, REPEAT, METRONOME, TRANSPOSE +/-, TEMPO +/-, DEMO ALL, RECORD - PLAY/STOP, DEMO - SELECT/ START/STOP, VOICE SELECT 0-9 +/-12 semi tones... -
Page 19: Voice List
Voice List Name of Voice Name of Voice on Panel Demo Song List...
Need help?
Do you have a question about the Princeton HP-21 and is the answer not in the manual?
Questions and answers