
Related Manuals for Grace m920


Summary of Contents for Grace m920
- Page 1 High Resolution Monitoring System Owner’s Manual Rev B all contents © Grace Design / Lunatec LLC www.gracedesign.com / 303.823.8100...
-
Page 2: Table Of Contents
Regardless of what type of monitoring you In the event that you encounter any technical or do, your m920 will faithfully serve as an invisible link operational difficulties with this or any Grace Design between your source audio and your headphones product, please feel free to contact us at 303-823- or speaker systems. -
Page 3: Important Safety Information
This symbol, located on the equip- and upgrade information. In the event that your ment and in this manual, refers to Grace Design m920 needs to be returned to the fac- important instructions. Read this tory, contact us for a return authorization number. -
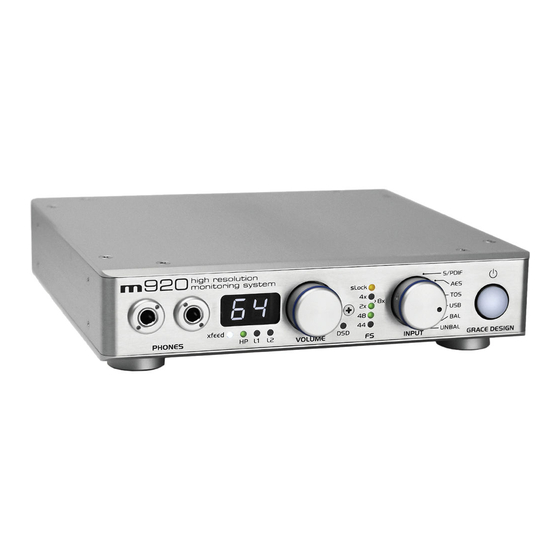
Page 4: M920 Front Panel Controls / Features
• High current transimpedance output amplifier design drives 8 ohm loads. The m920 was specifi- • Front panel rotary encoder provides precision cally designed with low impedance headphones level control of both headphone and the line in mind output levels. -
Page 5: M920 Rear Panel
Unpacking and Installing your m920 The m920 is shipped in one box which contains the REGISTER YOUR UNIT! m920 unit, an AC power cord, a USB cable, a small We strongly urge you to register your unit with plastic bag containing four hand-threaded machined Grace Design. -
Page 6: Powering Up The M920
Voltage and Fuse information CAM SETTING LINE VOLTAGE FUSE VALUE tors are turned OFF. Once the m920 and the rest of 110V~ 100-120V~ 250V~ T 250mA L your audio system are powered up, then turn on the... -
Page 7: Output Connections
75 Ohm cable for connections to this input. to a host computer. Use a USB 2 (high speed) type A -to- type B mini cable (included with your m920). Standard stereo optical input con- TOSLINK INPUT The type A connector is to be plugged in to the HOST nector for use with consumer devices. -
Page 8: M920 Usb / Computer Audio Configuration
As you can imagine, the computer has a lot else to do, so the incoming clock signal to which the DAC’s play’ . The m920 will automatically show up in your clock would have to sync was not ideal and would computer’s list of supported audio devices as ‘Grace... -
Page 9: About S-Lock
Lock Loop) circuitry that has been specifically devel- original clock, are switched to run off the ultra-low oped for the m920 and its big brother the m905 . jitter s-Lock system clock. If at any time s-Lock is lost or not achieved, the DAC’s are run off the original When using the TOSLINK, S/PDIF, or AES3 digital clock. -
Page 10: Accessing And Using The Setup Menu
1 and b2 for line output. • When the m920 is in L1 mode (both line outputs ganged together for volume control) the preset level • When you have reached the output you wish to adjust, for the unbalanced line out (L1) will be used for both push the encoder again to enter the balance setting. - Page 11 Once this mode is enabled, pressing and releas- obscure, but they are not proprietary. Should inter- ing the encoder button no longer toggles the m920 ference occur from another manufacturer’s remote through the 3 available outputs. Pressing and hold-...
- Page 12 To adjust each output level offset setting: (default). In this setting, the m920 will respond to any Apple IR Remote or the m920 IR remote control. • Push and hold the rotary encoder to enter the setup Pressing the encoder button has no effect as only the menu.
-
Page 13: Mono Mode
FILTER PCM - DIGITAL FILTER RESPONSE and release the encoder to store the setting and return The m920 provides the user with the ability to to the setup menu, or push and hold the encoder to exit change the response of the digital filter used by the the setup menu. - Page 14 These options depend on how your m920 is installed – you may want to send the • Push and hold the rotary encoder to enter the setup identical, parallel line outputs to two different input menu.
-
Page 15: Grace Design Ir Remote Control Operation
‘push and hold’ action, and are described below. menu in the same way as from the front panel To activate an m920 for use with a remote control volume encoder, only with the volume up / volume please refer to the ‘infrared remote control enable’... -
Page 16: Apple Ir Remote Control Operation
In addition to the Grace Design wireless remote In addition to pushing the mute button, mute can control, the m920 can also be controlled by an Apple be turned off by making any volume change (on IR Remote Control. The following section details all remote control or on the m920 itself ). -
Page 17: Fixed Dac Output Configuration
NOTE: Pushing and holding the dicated by the brackets changing back to the current UP / DOWN buttons results in continuous volume output level numbers. changes. The longer a button is held the quicker the volume level changes. -
Page 18: Updating Firmware
1. Connect the m920 to the PC via USB and turn on the m920. 2. Start the XMOS USB Audio ST Firmware Upgrade application. If the m920 is properly connected the Upgrade window should display “Device... - Page 19 7. With the PC still powered on and the m920 still version. All error codes start with “E”. If this happens, connected via USB to the PC, turn the m920 restart the update process.
-
Page 20: Block Diagram
Block Diagram page 20... -
Page 21: Specifications
Specifications ANALOG IN GAIN – BALANCED INPUT Headphone output, volume at maximum Balanced Line output, volume at maximum -0.5dB Unbalanced Line output, volume at maximum -8.0dB FREQUENCY RESPONSE – UNBALANCED IN > UNBALANCED OUT @ 0dBu out +/- .25dB 15Hz – 50kHz @ 0dBu out +/- .5dB 9.5Hz - 72kHz Frequency Response –... -
Page 22: Cleaning And Maintenance
Warranty Information Grace Design warrants all of our products to be free of defective parts and workmanship for a pe- riod of five years. This warranty period begins at the original date of purchase and is transferable to any person who may subsequently purchase the product during this time. -
Page 23: Manual Revisions
Manual Revisions Revision Page Change Date Initials Initial release 02/15/2014 added minimum phase filter information 4/2/14 page 23...
Need help?
Do you have a question about the m920 and is the answer not in the manual?
Questions and answers