Advertisement
IMPERIAL II SOLAR LAMP
US Patent # 7172307
Instruction Manual
Models: GS-97N
GS-97NF
GS-97NW
GS-97NF2
GS-97NF3
Introduction
Thank you for your purchase.
® solar charged lighting eliminates the
GAMA SONIC
problems associated with most solar lighting available today.
® solar
GAMA SONIC
charged lights are brighter and last all night with a full day solar charge. Unique
design, superior light output and numerous installation options confirm the
outstanding value of our product.
® has been recognized as a worldwide leader in the lighting industry for
GAMA SONIC
over 20 years. The company also offers unique multi-purpose rechargeable products
that range from party lights to emergency lighting products.
For technical assistance and more information call our Toll Free number:
800-835-4113 (only within the US) or visit our website at:
www.gamasonic.com.
Advertisement
Table of Contents

Related Manuals for Gama Sonic GS-97NF


Summary of Contents for Gama Sonic GS-97NF
- Page 1 IMPERIAL II SOLAR LAMP US Patent # 7172307 Instruction Manual Models: GS-97N GS-97NF GS-97NW GS-97NF2 GS-97NF3 Introduction Thank you for your purchase. ® solar charged lighting eliminates the GAMA SONIC problems associated with most solar lighting available today. ® solar GAMA SONIC charged lights are brighter and last all night with a full day solar charge.
- Page 2 Please read the instruction manual carefully to obtain the best results from your purchase. Solar Lamp Post Location For optimum light duration throughout the night, it is very important to mount your solar lamp post in a spot where it will receive the maximum amount of sunlight throughout the day.
- Page 3 Assembly Instructions NOTE: The solar light must be charged for two sunny days for best results. GS-97FN Place Lamp Part (A) on top of your existing 3” post and tighten the 3 screws provided to secure the lamp. GS-97NF2\GS-9NF3: 1. Screw Arm part (B) onto part (C). There are 2 screw holes per arm;...
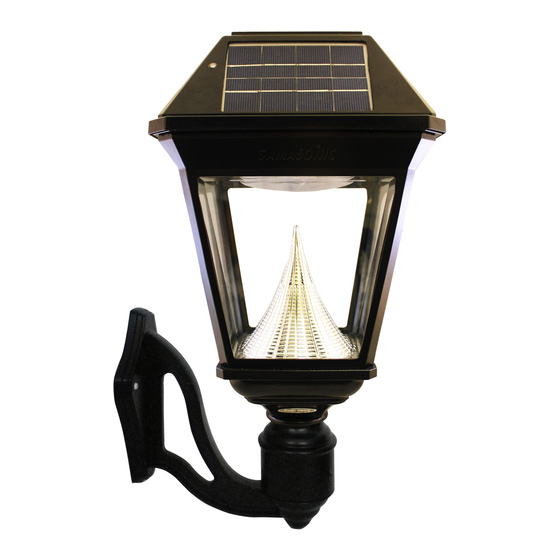
- Page 4 GS-97FW NOTE: locate your solar lamp facing the south for best results. Use electric drill to make two holes in the wall, place provided screw anchors into the holes, place the wall bracket (N) in line with the holes and screw on with the provided screws.
- Page 5 WARNING: Do not dispose of Li-On battery in the regular trash, municipal waste stream or by fire as batteries may leak or explode. Do not open, short circuit, or mutilate batteries as injury may occur. Preserve our environment by recycling Ni-Mh batteries or disposing of them in accordance with local, State and federal regulations.
Need help?
Do you have a question about the GS-97NF and is the answer not in the manual?
Questions and answers