Table of Contents
Advertisement
Advertisement
Table of Contents

Related Manuals for Focusrite iTrack Dock


Summary of Contents for Focusrite iTrack Dock
- Page 1 User Guide www.focusrite.com FFFA 0889-01...
-
Page 2: Important Safety Instructions
IMPORTANT SAFETY INSTRUCTIONS Read these instructions. Keep these instructions. Heed all warnings. Follow all instructions. Do not use this apparatus with water. Clean only with dry cloth. Do not block any ventilation openings. Install in accordance with the manufacturer’s instructions. Do not install near any heat sources such as radiators, heat registers, stoves, or other apparatus (including amplifiers) that produce heat. - Page 3 The apparatus shall be connected to a mains socket outlet with a protective earthing connection. Laite on liitettävä suojamaadoituskoskettimilla va rustettuumpistorasiaan. Apparatet må tikoples jordet stikkontakt. Apparaten skall anslutas till jordat uttag. CAUTION: TO REDUCE THE RISK OF ELECTRIC SHOCK, DO NOT REMOVE COVER (OR BACK).
- Page 4 Cet appareil numérique de la classe B est conforme à la norme NMB-003 du Canada. RoHS Notice Focusrite Audio Engineering Limited has conformed and [its/this] product[s] conform[s], where applicable, to the European Union’s Directive 2002/95/EC on Restrictions of Hazardous Substances (RoHS) as well as the following sections of California law which refer to RoHS, namely sections 25214.10, 25214.10.2, and 58012, Health and Safety Code;...
-
Page 5: Table Of Contents
Using iTrack Dock with GarageBand ........ -
Page 6: Overview
Dock has to offer. If you can’t find the information you need in the User Guide, be sure to consult http://www.focusrite.com/answerbase, which contains a comprehensive collection of solutions to common technical support queries. -
Page 7: Box Contents
Gently engage the iPad’s socket with the connector – don’t force it! Power considerations The iTrack Dock is powered by the separate 12 V DC PSU supplied with the unit. While your iPad is docked, it will be both powered and charged from the iTrack Dock, provided the iTrack Dock is switched on. -
Page 8: Getting Started
Whichever recording app you’re using, its input signals – the signals you’re recording – will be derived from the iTrack Dock once your iPad is correctly docked. This is entirely automatic; unlike computer-based DAW applications, no set-up procedure is necessary. Similarly, the outputs of the app are immediately available at the iTrack Dock’s outputs. -
Page 9: Input Selection
¼” (6.35 mm) jack plug. The iTrack Dock has two channels so, for example, you can record from a microphone and instrument simultaneously, with the two sources going to separate tracks in the recording app. If you are connecting a musical instrument (a guitar in the example), use the INSTRUMENT input via an ordinary 2-pole guitar jack. -
Page 10: Connecting Loudspeakers
Connecting loudspeakers The two MONITOR OUTPUTS (1/4” jacks) on the rear panel can be used to connect monitoring speakers. Self-powered monitors (i.e., typical computer speakers) incorporate internal amplifiers, and may be connected directly. Larger, passive loudspeakers will require a separate stereo amplifier; in this case, the rear panel outputs should be connected to the amplifier’s inputs. -
Page 11: Using Itrack Dock With Garageband
4. Tap the jack plug icon to open the Input Settings controls. 5. Select Left Channel if using INPUT 1 on the iTrack Dock, or Right Channel if using INPUT 2, to route the mic input to the vocal track. -
Page 12: Using The Usb Midi Port
Using the USB MIDI port The iTrack Dock includes a USB port on the rear panel. You can connect this to an external Class Compliant MIDI controller and use it to control music apps of various kinds on your iPad. These can, of course, run alongside your recording app, and sounds they generate can be routed to the recording app within the iPad. -
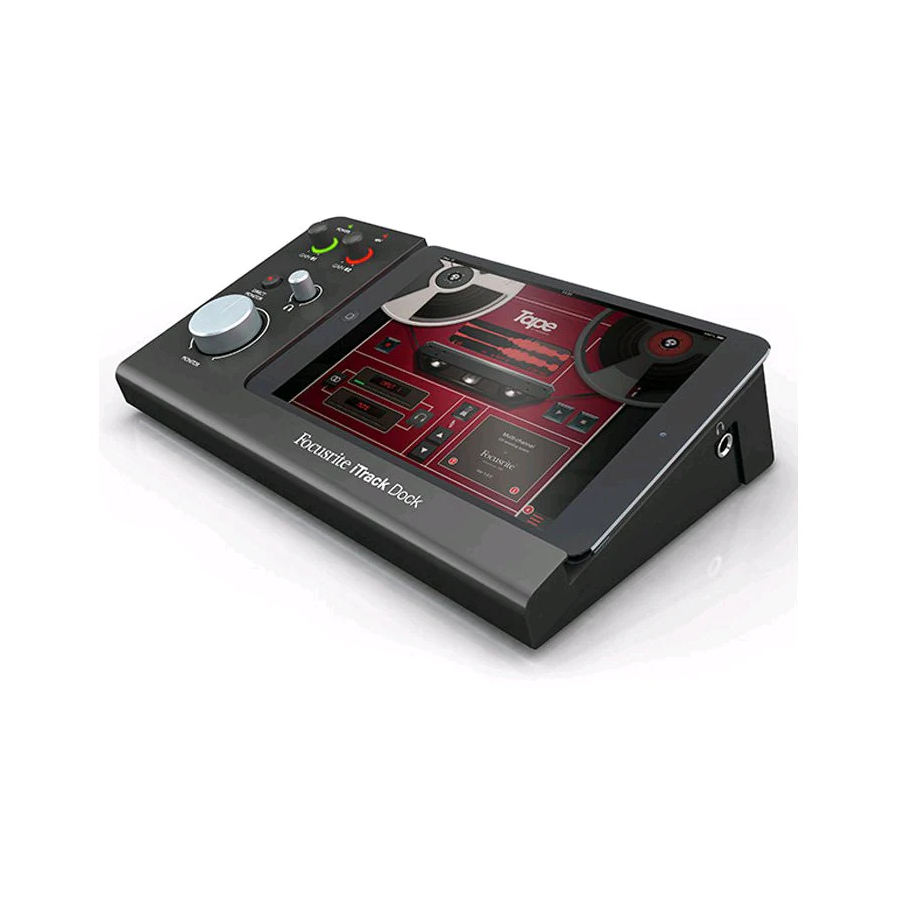
Page 13: Hardware Features
(and stays red for one second) when the signal level reaches 0 dBFS. 2. POWER LED – this illuminates green while the iTrack Dock is on (see [7] on the rear panel). You will notice that it flashes for a few seconds when the Dock is switched on with an iPad already connected, or when an iPad is connected if the Dock is already on. -
Page 14: Back Panel
(please check your controller’s power requirements first). 6. DC input connector – plug the supplied Universal Power Supply (PSU) in here. 7. POWER – on/off switch 8. Kensington security lock – secure your iTrack Dock to a suitable structure if desired. -
Page 15: Performance Specifications
PERFORMANCE SPECIFICATIONS 105 dB ‘A-weighted’ (all inputs). Converter chipset ADC Dynamic Range A/D dynamic range 114 dB 104 dB ‘A-weighted’ (all outputs). Converter chipset DAC Dynamic Range D/A dynamic range 114 dB Supported sample rates 44.1 kHz, 48 kHz and 96 kHz: 24 bit Clock source Internal clock only Microphone Inputs (Chs 1 &... -
Page 16: Physical And Electrical Characteristics
find additional information about common operational problems. Copyright And Legal Notices Focusrite is a registered trade mark and iTrack Dock is a trade mark of Focusrite Audio Engineering Limited. All other trade marks and trade names are the property of their respective owners.
Need help?
Do you have a question about the iTrack Dock and is the answer not in the manual?
Questions and answers