Table of Contents
Advertisement
Quick Links
Advertisement
Table of Contents

Related Manuals for M-Audio Fast Track Ultra


Summary of Contents for M-Audio Fast Track Ultra
-
Page 1: Quick Start Guide
Fast Track Ultra English Quick Start Guide... -
Page 2: What's In The Box
Even if you are an experienced computer user and digital recording enthusiast, we suggest you take the time to read the accompanying User Guide, included on the Fast Track Ultra CD. It will help you get the most out of your Fast Track Ultra. - Page 3 Fast Track Ultra Compatibility Windows Fast Track Ultra is supported under Windows XP with Service Pack 2 or later, or Windows Vista (32-Bit editions). It is not supported under Windows Media Center Edition, Windows 2000, Windows 98, 98SE or Windows ME.
- Page 4 Support > Drivers page at www.m-audio.com. This ensures that you have the newest drivers available. If you do not have Internet access, insert the Fast Track Ultra CD-ROM into your computer to install the drivers that came with the interface.
- Page 5 Fast Track Ultra Once the installer has completed, click “Finish. ” Connect Fast Track Ultra to a power outlet and to an available USB 2.0 port on your computer. Turn on Fast Track Ultra. If you are using Windows Vista, your Fast Track Ultra installation is now complete.
- Page 6 Administrator for the missing information. When the installer has completed, click “Close. ” Connect Fast Track Ultra to a power outlet and to an available USB port on your computer. Turn on Fast Track Ultra.
-
Page 7: Adjusting The Output Level
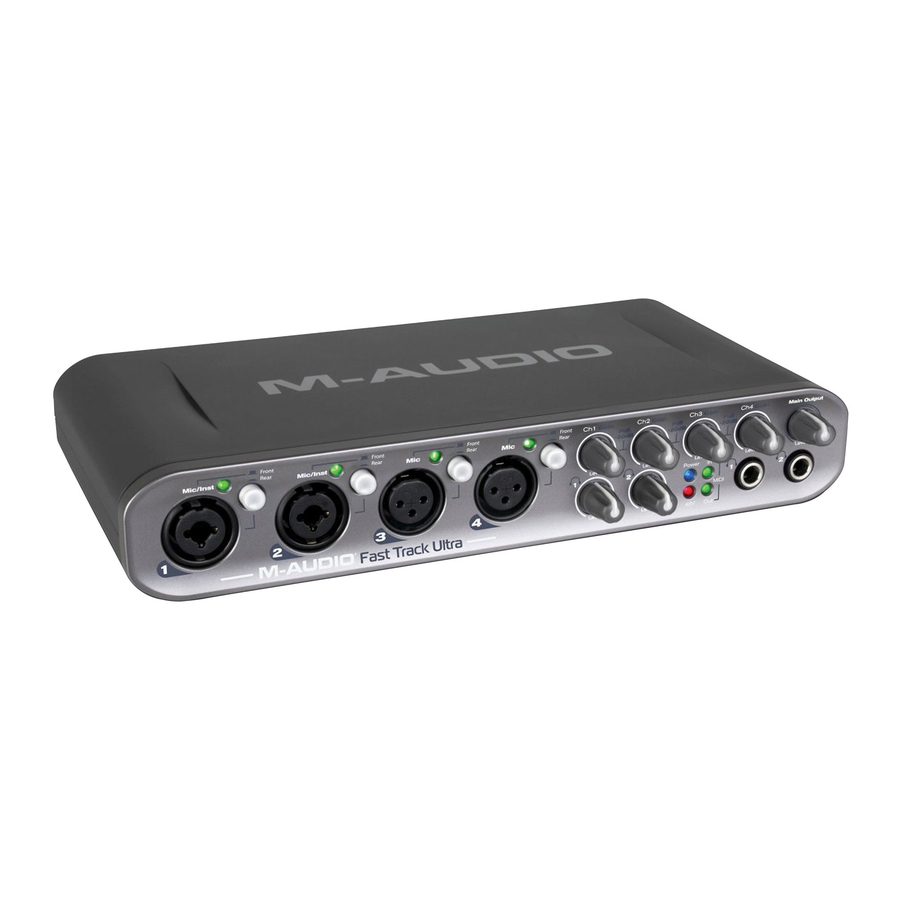
Fast Track Ultra Adjusting the Output Level Connect the Fast Track Ultra rear panel line outputs to a mixing console, amplifier or powered monitors. Outputs 1 and 2 can be directly controlled by the front-panel main output level knob. Other outputs are controlled via your DAW application or the Fast Track Ultra Control Panel. -
Page 8: Technical Support
M-Audio USA M-Audio Germany 5795 Martin Rd., Irwindale, CA 91706 Kuhallmand 34, D-74613 Ohringen, Germany Technical Support Technical Support web: www.m-audio.com/tech e-mail: support@m-audio.de tel (pro products): (626) 633-9055 tel: +49 (0)7941 - 9870030 tel (consumer products): (626) 633-9066 fax: +49 (0)7941 98 70070...
Need help?
Do you have a question about the Fast Track Ultra and is the answer not in the manual?
Questions and answers