Table of Contents
Advertisement
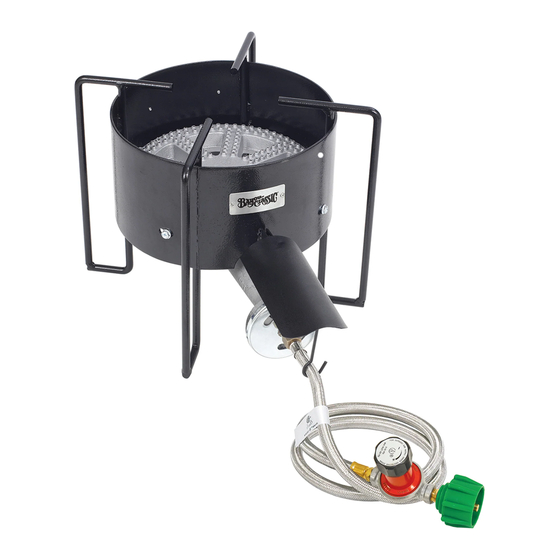
MODEL
#KAB4
LP GAS COOKER
OWNER'S MANUAL
SAFETY ALERTS, ASSEMBLY & OPERATING INSTRUCTIONS
GENERAL MAINTENANCE & STORAGE
This Instruction Manual contains important information necessary for the proper
assembly and safe use of this appliance. You must carefully read and follow all warnings and
instructions in this manual before assembling and using this appliance.
KEEP THIS MANUAL FOR FUTURE REFERENCE
WARNING
• The maximum size cooking vessel for boiling or steaming with this cooker is 162-quart.
• Do not use a cooking vessel smaller than 14-inches diameter.
• Do not use this appliance for frying with oil/grease.
NOT FOR COMMERCIAL USE
For Questions and Information call us at: 1-800-864-6194
Barbour International, Inc.
101 Cypress Way
•
•
Monday - Friday 8:00am - 5:00pm CST
•
Brandon, MS 39042
MODEL
#KAB6
www.thebayou.com
•
Advertisement
Table of Contents
Troubleshooting


Need help?
Do you have a question about the KAB4 and is the answer not in the manual?
Questions and answers