Roland MV-8800 User Manual
Production studio
Hide thumbs
Also See for MV-8800:
- Owner's manual (340 pages) ,
- Appendices (80 pages) ,
- Manual (38 pages)
Table of Contents
Advertisement
Quick Links
Using the MV8-OP1
Contents
About the MV8-OP1 ................................................................. 2
Panel Descriptions .................................................................. 3
Installing the MV8-OP1............................................................ 4
Using the MV8-OP1.................................................................. 8
Outputting analog audio from analog multi output.................. 8
Transferring digital audio via R-BUS ...................................... 9
Connections and settings for R-BUS devices ...................... 12
Copyright © 2006 ROLAND CORPORATION
All rights reserved. No part of this publication may be reproduced in any
form without the written permission of ROLAND CORPORATION.
Roland International Web Site: http://www.Roland.com
...................................... 6
Advertisement
Table of Contents

Related Manuals for Roland MV-8800


Summary of Contents for Roland MV-8800
-
Page 1: Table Of Contents
Transferring digital audio via R-BUS ........9 Connections and settings for R-BUS devices ...... 12 Copyright © 2006 ROLAND CORPORATION All rights reserved. No part of this publication may be reproduced in any form without the written permission of ROLAND CORPORATION. Roland International Web Site: http://www.Roland.com... -
Page 2: About The Mv8-Op1
R-BUS (2-channel input / 8-channel output). ● You can individually output the audio signals of the MV-8800 to its multi outputs. This is convenient when you are using the MV-8800 with an external mixer. (Analog output and R-BUS output are all available.) -
Page 3: Panel Descriptions
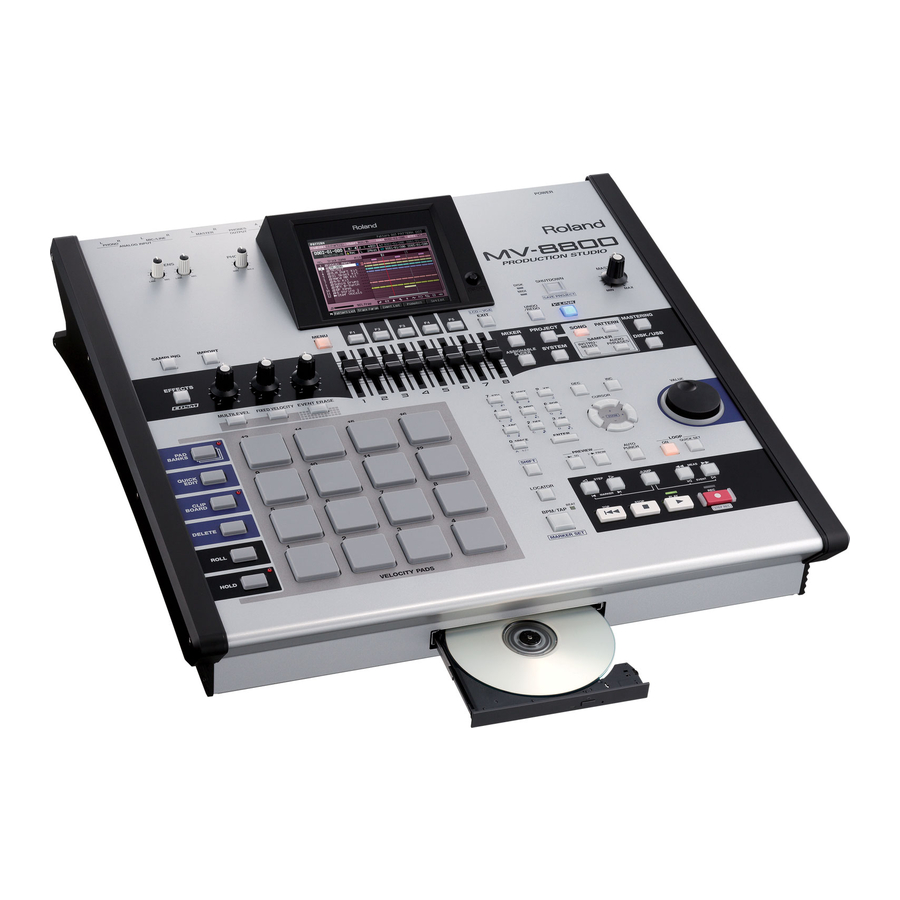
Panel Descriptions The illustration shows the MV-8800 rear panel when the separately sold MV8-OP1 option is installed. The jacks shown in items 1–3 are available if the MV8-OP1 AUDIO I/O EXPANSION (separately sold) is installed. You can make output settings from the INSTRUMENTS screen (Screen Guide; p. 114) and the PARTIAL EDIT screen (Screen Guide;... -
Page 4: Installing The Mv8-Op1
Turn the screwdriver counter-clockwise to loosen the screws-turn it clockwise to tighten them. loosen tighten ● Be careful not to let the screws drop inside the MV-8800’s body. ● Do not leave the option slot cover removed. After installation of the MV8-OP1 is complete, be sure to replace the cover. - Page 5 ● When you lay the MV-8800 on its face, make stacks of magazines or newspapers to support each of the four corners so that the weight of the unit does not damage the buttons and knobs. Make sure that no pressure is being applied to any button or knob.
-
Page 6: Installation De La Mv8-Op1 (French Language For Canadian Safety Standard)
Quand l’installation de la carte de circuits imprimés est terminée, revérifiez si tout est bien installé. ● Lorsque vous déposez le MV-8800 face vers le bas, placez des piles de journaux ou de magazines sous les quatre coins (ou des deux côtés) pour le soutenir. Ainsi, les boutons, manettes et autres pièces ne seront pas endommagés. - Page 7 ● Lorsque vous posez le MV-8800, posez des magazines ou des journaux aux angles pour protéger les touches et les boutons. Aucune pression ne doit être exercée sur les touches ou boutons.
-
Page 8: Using The Mv8-Op1
The audio signal of multi output 7 and 8 cannot be output via analog multi output. Inputting audio via a digital connection (coaxial/optical) The MV-8800 has both coaxial and optical type digital input connectors. You must choose either one or the other type. You cannot use both simultaneously. -
Page 9: Transferring Digital Audio Via R-Bus
Using the MV8-OP1 Transferring digital audio via R-BUS If the MV-8800 is connected to another device that has an R-BUS connector, you can use two channels of digital audio input and eight channels of digital audio output. Caution when connecting an R-BUS device ●... - Page 10 Due to circumstances with the connection, the device needs to be set to receive word clock (slave). In such situations, you can make the MV-8800 the word clock master by setting it to “Internal.” However, the sampling rate of the digital signals output from the R-BUS will be fixed at 44.1 kHz.
- Page 11 Using the MV8-OP1 Outputting digital audio from R-BUS You can output the audio from the MV-8800’s multi outputs via the R-BUS connector (digital) on MV8-OP1. Connect the MV-8800 with your output destination device. Press [MIXER]. The MIXER (AUDIO TRACK) screen (Screen Guide; p. 235) will appear.
-
Page 12: Connections And Settings For R-Bus Devices
■ Receiving MIDI data via the DIF-AT24’s MIDI IN The MIDI IN connector added by the DIF-AT24 has the very same functionality as the MV-8800’s own MIDI IN connector. The MIDI data from each connector is internally mixed by the MV-8800. - Page 13 Using the MV8-OP1 Connecting the VS-2480CD/2400CD R-BUS MV-8800 VS-2400CD or VS-2480CD ■ Required equipment ● MV-8800 (with MV8-OP1 [sold separately] installed) ● VS-2480CD or VS-2400CD ● RBC-1 (1 meter R-BUS cable) or RBC-3 (3 meter R-BUS cable) Connecting the RPC-1 R-BUS...
- Page 14 R-BUS VM-7200/7100 +VM-24E MV-8800 VM-LINK VM-C7200/C7100 ■ Required equipment ● MV-8800 (with MV8-OP1 [sold separately] installed) ● VM-7200/7100 (with VM-24E [sold separately] installed) ● VM-C7200/7100 ● RBC-1 (1 meter R-BUS cable) or RBC-3 (3 meter R-BUS cable) ● VM-LINK cable...
- Page 15 • MMC CONTROL parameter: ON • MMC MASTER parameter: INT • MMC MASTER parameter: MULTI 1-8 / MULTI 9-16 / MULTI 17-24 SYS MIDI screen SYS MIDI screen • Tx PARAM parameter: ON • Rx PARAM parameter: ON MV-8800 Using the MV8-OP1...
- Page 16 04567489 06-12-1N...
Need help?
Do you have a question about the MV-8800 and is the answer not in the manual?
Questions and answers