
Related Manuals for Uncle Milton STAR THEATER PRO

Summary of Contents for Uncle Milton STAR THEATER PRO
- Page 1 AC adapter: 100 to 240 Volts AC, 12535 50/60 Hz, Output 5V DC 1.2A Batteries not included. Requires 3 AA batteries. ® optical star projection system Instruction Manual...
- Page 2 TABLE OF CONTENTS Important Safety Instructions ................. 2 Star Theater Pro Components ................. 4 How to Power the Projector ..................5 Basic Operation ......................5 How to Change the Image Disc ................6 How to Adjust the Projection Angle ..............6 How to Adjust the Focus ..................
- Page 3 11. Unplug the product from the wall outlet For U.S. models and refer servicing to Uncle Milton FCC Information for User Industries under the following conditions. This device complies with part 15 of the FCC A. The power-supply cord or plug is Rules.
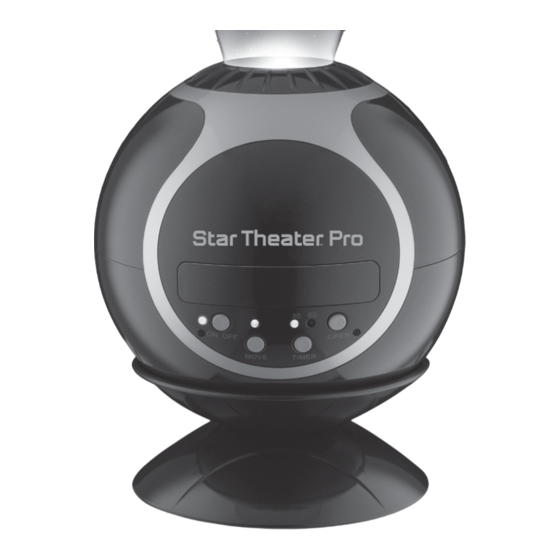
- Page 4 STAR THEATER PRO COMPONENTS 1) Lens cap 7) Timer button (30/60 minutes) 2) Focus dial 8) Move button (image rotation) 3) Projector sphere 9) Open button 4) AC adapter jack 10) Upper base 5) Image disc tray 11) Lower base...
- Page 5 HOW TO POWER THE PROJECTOR The planetarium is powered by batteries (not included) or the included AC adapter. BATTERY POWERED OPERATION The projector requires three (3) “AA” alkaline batteries. Do not use rechargeable batteries. • Remove battery compartment cover located Figure 1 underneath the base (Figure 1).
- Page 6 HOW TO CHANGE THE IMAGE DISC 1. Shut off projector by pressing ON/OFF button so that the LED indicator goes off (Figure 8). 2. Open image disc tray by pressing open button, and remove the image disc (Figure 5). 3. Insert another image disc, making sure disc is right-side-up, with the “©...
-
Page 7: Additional Features
HOW TO ADJUST THE FOCUS • Turn focus dial until the projected image is sharp (Figure 9). The edges of the projected image may appear slightly out of focus or stretched compared to the center of the image. This is due to the nature of the lens and flatness of the projection surface, and is not a malfunction. - Page 8 Questions? Comments? Please contact us. We can help! 1-888-742-2484 or go to www.unclemilton.com ® © 2009 UMI. All rights reserved. Star Theater and Farm Fresh are registered trademarks of Uncle Milton Industries, Inc. Westlake Village, CA 91362 Printed in China Product and colors may vary...
Need help?
Do you have a question about the STAR THEATER PRO and is the answer not in the manual?
Questions and answers