Table of Contents
Advertisement
Quick Links
Download this manual
See also:
User Manual
Advertisement
Table of Contents

Related Manuals for Cisco Linksys WAP610N


Summary of Contents for Cisco Linksys WAP610N
-
Page 1: Quick Installation Guide
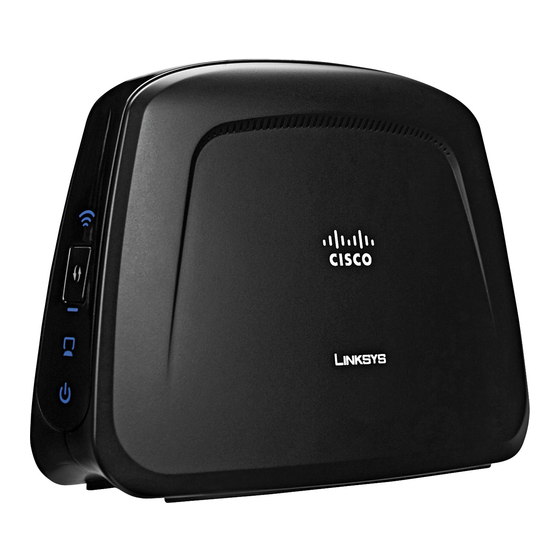
QUICK INSTALLATION GUIDE Wireless-N Access Point with Dual-Band WAP610N Model: Package Contents • Wireless-N Access Point with Dual-Band • Setup Software and User Guide on CD-ROM • Quick Installation Guide • Network Cable • Power Adapter... - Page 2 Installation Run the Setup Wizard on the enclosed CD to install and set up the Access Point. Do not install the Access Point in your computer until instructed to do so by the Setup Wizard, or the Access Point will not install correctly. Insert the Setup Wizard CD into your CD-ROM drive. NOTE: Windows or other personal firewalls may ask for permission to run the software or program. Insert the CD-ROM You will need to allow the software to run in order to continue. The Welcome screen appears. Click Start Setup This Welcome screen appears. Click Next.
- Page 3 Read the License Agreement. To accept the terms in the License Agreement, select I accept this agreement. Click Next. Please wait while the Setup Wizard prepares to set up your Access Point. Connect one end of the supplied Ethernet network cable to the Ethernet port on your Access Point. Click Next. Connect the other end of the Ethernet network cable to an open Ethernet port on your Router. Click Next.
- Page 4 Connect the supplied power cable to the power port on the Access Point. Click Next. Plug the other end of the power adapter into an electrical outlet. Click Next. Please wait until the power light is continuously lit Click Next. Please wait while the Setup Wizard searches for your Access Point.
- Page 5 Enter a password to help prevent unauthorized configuration of your Access Point. Click Next. The Setup Wizard will apply the settings from your existing router to your Access Point. (If you don’t see this screen, continue to step N.) If you don’t click Use different settings to create a new wireless network, continue to step Q. Click Next. Enter a name for your wireless network. Click Next.
- Page 6 You will need to select the security level for your network. If your network uses WPA or WPA2 wireless security, select Higher Security, and click Next. If your network uses WEP wireless security, select Better Compatibility, and click Next. If your network does not use wireless security, select No Security, and click Next. You will be asked to verify that you don’t want wireless security. If you don’t want wireless security, click Yes and continue to step Q. NOTE: We recommend that you use the strongest available wireless security for your network. Enter a security key for your wireless network. Click Next.
- Page 7 Your network settings information appears for you to confirm. To save your settings in a text file on your desktop, keep the default, Save these settings in a text file on my desktop. Click Next. Your settings have been saved to your desktop as Wireless Access Point Settings.txt (a text file). Click OK. Wi-Fi Protected Setup information is available on this screen. Click Next. The Access Point is configured to your wireless network. You may now connect other devices, if desired. Click Finish. Congratulations! Setup is complete.
- Page 8 800-546-5797 (800-LINKSYS) Linksys, Cisco and the Cisco Logo are registered trademarks or trademarks of Cisco Systems, Inc. and/or its affiliates in the U.S. and certain other countries. Other brands and product names are trademarks or registered trademarks of their respective holders. Copyright © 2009 Cisco Systems, Inc.
Need help?
Do you have a question about the Linksys WAP610N and is the answer not in the manual?
Questions and answers