Table of Contents
Advertisement
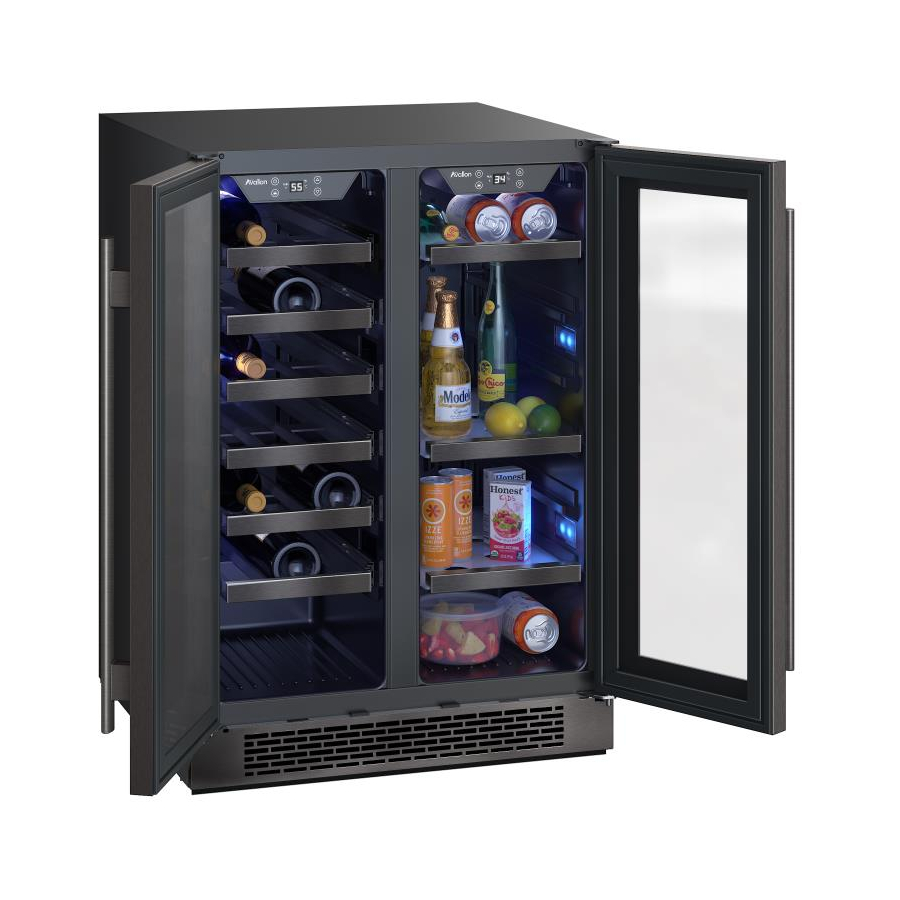
WINE CHILLER
Model Number:
WBV21DZ
SERVICE MANUAL
CAUTION
Before servicing, make sure to unplug the appliance.
Replace all part before operating the appliance.
Failure to do so could result in death, electrical shock or personal injury.
Avanti Products, A Division of the mackle Co.,Inc INC.
P.O.Box 520604 – Miami, Florida 33152 USA
www.avantiproducts.com
Advertisement
Table of Contents

Related Manuals for Avanti WBV21DZ


Summary of Contents for Avanti WBV21DZ
- Page 1 Before servicing, make sure to unplug the appliance. Replace all part before operating the appliance. Failure to do so could result in death, electrical shock or personal injury. Avanti Products, A Division of the mackle Co.,Inc INC. P.O.Box 520604 – Miami, Florida 33152 USA www.avantiproducts.com...
-
Page 2: Table Of Contents
TABLE OF CONTENTS SPECIFICATIONS……………………………………………………………………3 NAME OF PARTS……………………………………………………………………4 REFRIGERANT CYCLE DIAGRAM……………………………………………….5 WIRING DIAGRAM…………………………………………………………………..6 COMPRESSOR ROOM VIEW AND PARTS LIST……………………………….7 HOW TO REMOVE THE SHELVES………………….……………………………8 HOW TO REPLACE THE BOTTOM GRILLE……………………………….…..8-9 HOW TO REMOVE THE DOOR….………………….…………………………..9-11 RELACING THE CONTROL PANEL………………………………………..11-12 10. REPLACE THE MAIN PCB………………….…………………...…………..…13-14 11. -
Page 3: Specifications
SPECIFICATIONS 1.1 WBV21DZ Model No. WBV21DZ BUILT-IN OR RECESSED OR FREE STANDING Type Capacity No. of Wine Bottles Zone One - L Zone Two - L Capacity Zone Three - L Performance & Features 16 ~ 38 Ambient Temp. Range °C Left side 7 ~ 18 / 45 ~ 65 Setting Temp. -
Page 4: Name Of Parts
2. Name of Parts 2.1 WBV21DZ 1. WINE CHILLER TEMPERATURE CONTROL PANEL 2. INTERIOR FAN 3. INTERIOR LIGHT 4. CABINET 5. BEVERAGE CENTER TEMPERATURE CONTROL PANEL 6. WINE BOTTLE SHELVES 7. WINE BOTTLE STORAGE RACK / BASKET 8. BEVERAGE SHELVES 9. -
Page 5: Refrigerant Cycle Diagram
3. REFRIGERANT CYCLE DIAGRAM 1. Compressor 2. Hot Pipe 3. Condenser (Internal) 4. Condenser Fan 5. Condenser (External) 6. Dry Filter 7. Capillary 8. Evaporator Fan 9. Evaporator 10. Accumulator... -
Page 6: Wiring Diagram
4. WIRING DIAGRAM 4.1 WBV21DZ ***********... -
Page 7: Compressor Room View And Parts List
5. COMPRESSOR VIEW AND PARTS LIST 1. Suction Pipe 2. Compressor 3. Process Pipe Outlet Pipe of Condenser 4. Discharge Pipe 5. Condenser Fan Supporter 6. Condenser Fan Cover 7. Condenser Fan 8. Condenser Fan Motor 9. Power Supply Cord with Plug 10. -
Page 8: How To Remove The Shelves
6. HOW TO REMOVE THE SHELVES The appliance is equipped with the wired shelves and beverage shelves. You can move the shelves out and in smoothly. • To prevent damaging the door gasket, make sure to have the door all the way opened when pulling the bottom shelf out of the rail compartment. -
Page 9: How To Remove The Door
1. The bottom grille is shown as below. 8. HOW TO REMOVE THE DOOR Note: All parts removed must be saved to do the reinstatement of door. 1. Remove the bottom grille according to “Replacing the Bottom Grille”. 2. Pull out and remove the lower hinge cover. - Page 10 3. Disconnect the communication cable between the door and the cabinet. 4. Pull out the wire from the cabinet. 5. Remove the upper hinge cover from the top right of the door...
-
Page 11: Relacing The Control Panel
6. Remove the three screws with the upper hinge and remove the upper hinge. 7. Lift up the door slightly and remove the wire from the lower hinge. 9.RELACING THE CONTROL PANEL 1. Remove the cover behind the control panel with a screw driver. - Page 12 2. Remove two screws that are used to fix the PCB broad. 3. Remove PCB board and disconnect the cables.
-
Page 13: Replacing The Main Pcb
10. REPLACING THE MAIN PCB. 1. Lay down the cabinet to the left side and place it on a padded surface to prevent scratching it. The main PCB is located at the bottom of the cabinet. Note: Never lay down the cabinet to the right side as it may damage the compressor. 2. - Page 14 3. Disconnect all terminals on the main control PCB. 4. Remove four screws that are used to fix the main control PCB. Now you can replace the main control PCB.
-
Page 15: Replace Rear Air Duct The Evaporator Fan Motor
11. REPLACING THE FAN MOTOR AND EVAPORATOR 1. Remove all the shelves according to “How to remove the shelves”. 2. Remove the screws that are used to fix the air duct with the cabinet. 2. Disconnect the wires then you can replace the evaporator fan motor. -
Page 16: Replace The Led Light Assembly
4. Remove screws between air dust and the evaporator fan motor, then you can replace the fan motor. EVAPORATOR PICTURE ***************** 12. REPLACING THE LED LIGHT ASSEMBLY 1. Remove the top two shelves according to “How to remove the shelves”. 2. - Page 17 3. Remove the two screws that are used to fix light holder. 4. Disconnect the cables then you can replace the LED light assembly.
-
Page 18: Protector
13. REPLACING THE CONDENSER FAN MOTOR, THE COMPRESSOR PTC STARTER AND OVERLOAD PROTECTOR 1. Remove the seven screws that are used to fix the condenser fan motor with the compressor base. 2. Remove the clamp that is used to fix the junction box of compressor. Then dismantle the junction box cover. - Page 19 3.Disconnect the condenser fan motor cable with compressor. Now you can replace the condenser fan motor. 4. Disconnect the compressor PTC starter and overload protector cable with compressor. Now you can replace the compressor PTC starter and overload protector ***********Starter and protector pictures...
-
Page 20: Replace The Door Gaske, Charcoal Filtration
14. REPLACING THE DOOR GASKET 1. Open the door and detach the old door gasket from the doorframe by pulling off the gasket. 15. REPLACING CHARCOAL FILTRATION Remove the bottles of wine stored on the two(2) shelves in front of the filter. Remove the shelves and set aside to be replaced once you have changed the filter. -
Page 21: Troubleshooting
16. TROUBLESHOOTING 16.1 Troubleshooting Guide PROBLEM POSSIBLE CAUSE Wine Chiller does not operate. Not plugged in. The appliance is turned off. The circuit breaker tripped or a blown fuse. Wine Chiller is not cold enough. Check the temperature control setting. External environment may require a higher setting. - Page 22 16.2 Trouble Check for Refrigerant System Symptom Cause Action The evaporator cools down and warms • Moisture in the Replace the refrigerant. again. refrigerant causes the • The condenser warms in proportion as malfunction. the evaporator. The process repeats again. •...
-
Page 23: Explosion View & Parts Lists
17. EXPLOSION VIEWS & PARTS LISTS 17.1 WBV21DZ EXPLODED VIEW... - Page 24 17.2 WBV21DZ PARTS LIST Part name Cabinet Capillary Connect water dish Box of electronic plate Power importation/signal output Electric wire Electronic plate Box cover of electronic plate Connect line cover supporter Connect line cover PTC starter Overload protector Compressor conjunction electric wire...
- Page 25 Accumulator Top hinge M6 nut Liner M6 bolt DC fan Shelf holder Shelf holder Evaporator Evaporator DC fan DC fan Black plank Black plank DC fan cover DC fan cover LED light cover LED light broad LED light cover LED light broad Wine bottle shelves Wine bottle storage rack (Wine Storage) Beverage Shelf (Beverage Storage)
Need help?
Do you have a question about the WBV21DZ and is the answer not in the manual?
Questions and answers