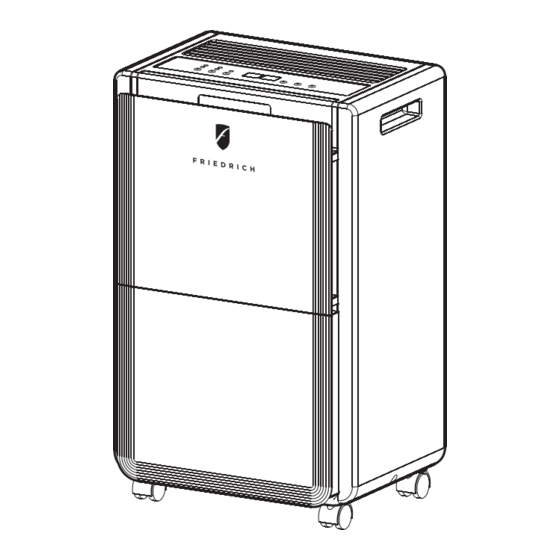
Friedrich D25D Installation And Operation Manual
115/60hz 25 pints/50 pints/70 pints capacity
Hide thumbs
Also See for D25D:
- Installation and operation manual (16 pages) ,
- Service & parts manual (14 pages) ,
- Service & parts manual (15 pages)
Advertisement
Table of Contents
- 1 Table of Contents
- 2 Description of Components
- 3 Function Explanation
- 4 Installation Instructions
- 5 Operation Instructions
- 6 Start Operation
- 7 Operating Do's and Don'ts
- 8 Continuous Drainage
- 9 Maintenance
- 10 In Case of Emergency
- 11 Limited Warranty
- Download this manual
See also:
Operation & Installation Manual
Advertisement
Table of Contents

Summary of Contents for Friedrich D25D
- Page 1 Dehumidifier D25D, D50D, D70D Models D25D Volts: 115/60Hz Capacity: 25 Pints Moisture Removal: 25 Pint/Day D50D Volts: 115/60Hz Capacity: 50 Pints Moisture Removal: 50 Pint/Day D70D Volts: 115/60Hz Capacity: 70 Pints Moisture Removal: 70 Pint/Day 920-198-10 (3-10)
-
Page 2: Table Of Contents
920-198-10 Congratulations! Thank you for your decision to purchase the Friedrich Dehumidifier. Please read thoroughly of this Installation and Operation Manual. THANK YOU, on behalf of our entire company, for making such a wise purchase. Table of Contents DESCRIPTION OF COMPONENTS ....................................... 3 FUNCTION EXPLANATION ........................................ -
Page 3: Description Of Components
920-198-10 DESCRIPTION OF COMPONENTS DEHUMIDIFIED Figure 1 CONTROL PANEL DRY AIR VENT AIR FILTER HANDLE MOIST AIR INTAKE DRAIN PUMP OUTLET CONTINUOUS DRAIN BUCKET (ONLY ON 50 AND 70 PINT MODELS) DRAINAGE OUTLET ROLL CASTERS FRD001 FUNCTION EXPLANATION Figure 2 BUCKET FULL LAMP DEFROST LAMP CURRENT TEMP / TIMER SET DISPLAY... -
Page 4: Installation Instructions
STEP 2. Remove accessories from drain bucket. Electrical Hazards STEP 3. Install Roll Casters (D25D models only) per installation instructions below. STEP 4. Set up unit in position with adequate clearance. Installation Do not fold power cord as shown at left. -
Page 5: Start Operation
920-198-10 Start Operation When Bucket Full Lamp Is On STEP 1. Place the unit in an upright position on a flat, steady, stable and When the drain bucket is full, the Bucket Full lamp will illuminate and the heat resistant surface. Make sure there is nothing flammable unit will stop operating. -
Page 6: Operating Do's And Don'ts
920-198-10 OPERATING DO'S AND DON'TS Do not use insect, oil or paint spray around the unit (See Figure 11), it might cause damage to the plastic parts or start a fire. Do not place anything on top of the unit or control panel (See Figure 8). Figure 11 Figure 8 FRD014... - Page 7 920-198-10 Do not put any foreign objects into the unit, it is dangerous and will result When moving or putting unit in storage, do not place the unit on its side or in damage to the unit (See Figure 14). upside down and avoid violent shaking (See Figure 16).
-
Page 8: Continuous Drainage
920-198-10 CONTINUOUS DRAINAGE Insert the drain hose through the hole of the drain cover. Then connect the drain hose to the drain port (See Figure 20). To save having to periodically empty the drain bucket, this unit can be configured for continuous drainage. You can use the supplied drain hose Figure 20 to connect to the continuous drainage connector (See Figure 18). - Page 9 920-198-10 Drain Hose Routings Continuous Draining using the Pump (D50D/D70D models only) When using the function of continuous drainage, the drain hose must be placed horizontally below the drainage hole (See Figure 23). Installation: You must avoid uneven ground and folding the hose (See Figure 23). STEP 1.
-
Page 10: Maintenance
920-198-10 MAINTENANCE Cleaning Steps STEP 1. Pull the air filter out gently (See Figure 25). WARNING Figure 25 Electrical Shock Hazard AIR FILTER Make sure your electrical receptacle has the same configuration as your dehumidifier’s plug. If different, consult a Licensed Electrician. Do not use plug adapters. -
Page 11: In Case Of Emergency
920-198-10 IN CASE OF EMERGENCY If a problem occurs, unplug the unit and contact a qualified servicing center immediately. Do not disassemble the unit yourself. NOTICE If the power cord on this unit is damaged it must be replaced by the manufacturer, its service agent or qualified service technician in order to avoid a hazard. -
Page 12: Limited Warranty
FIRST YEAR ANY PART: If any part supplied by FRIEDRICH fails because of a defect in workmanship or material within twelve months from date of original purchase, FRIEDRICH will repair the product at no charge, provided the product is transported to a Friedrich Authorized Service Center for repair. - Page 13 920-198-10 Friedrich Air Conditioning Co. Post Office Box 1540 • San Antonio, Texas 78295-1540 4200 N. Pan Am Expressway • San Antonio, Texas 78218-5212 (210) 357-4400 • FAX (210) 357-4480 www.friedrich.com Printed in the U.S.A.


Need help?
Do you have a question about the D25D and is the answer not in the manual?
Questions and answers