Advertisement
K ST
QUIC
ART
Reading the owner's manual is an absolute unmitigated drag. I mean it's for wimps. For the non-wimps in the crowd we
offer this Quick Start section, so you don't embarrass yourself in front of your friends.
Upon initial power-up, you should see the words, "Rane MPE 47 . . . r1.0" (the current revision level) scroll by in the SYS-
TEM display window. Then the SYSTEM display indicates the last memory location used before the power was turned off,
and the green MEMORY indicator lights. The MPE 47 is now ready to use.
(The MPE 47 has two levels of security lockout. If you think your unit may be in either of these lockout modes, please
consult the enclosed MPE Users Guide for further instructions.)
Two terms need to be learned early on. The first is Stored Memory. Stored Memory is any of the 128 locations provided
for curves. The second is Working Memory. Working Memory is a scratch-pad location used for changing curves before
you put them into Stored Memory. Working Memory is also what you hear.
The first few Stored Memory locations (up to 32 maximum) were preset at the factory. In the beginning these may be
used to give you instant curves for experimenting. If you want a different curve, press the UP/DOWN buttons to scroll, or
directly enter a Stored Memory number via buttons 0 through 9 (observe the red SYSTEM display). Please note that all
Stored Memory numbers must be at least two digits; e.g., Stored Memory number 4 is entered as 04, etc. For direct access
to Stored Memory locations above 99, push the 100 button, then the next two digits. For example, to recall Stored Memory
125, press 100, 2 and 5, and you will have arrived! Once the last digit is entered, the Stored Memory is instantly called up
(what you see is what you hear).
Changing the overall level or equalizer curve of either channel requires the use of the EQ Edit mode. Push the EQ button
(repeated operation cycles between Ch.s l-2, Ch.s 3-4, and neither) to select the channels you wish to modify. Now press
LEVEL (repeated operation cycles between 1 and 2, or 3 and 4) or press the frequency button desired (the yellow LED
lights). Next scroll the UP/DOWN buttons until the desired level shows on the green EQUALIZER display. When finished
editing, push the STORE button once, enter a new Stored Memory number if needed, then push STORE again to place the
new curve into the Stored Memory location shown on the red SYSTEM display. Presto facto, it's Miller time. Please see
the enclosed MPE Users Guide for further details.
SOFTWARE UPDATES
Please till out and mail in the enclosed registration card. Notification of any software revisions will be mailed to all
registered users. Failure to register could result in missing important update information.
SYSTEM CONNECTION
When connecting the MPE 47 to other components in your system for the first time, LEAVE THE POWER SUPPLY
FOR LAST. This will give you a chance to make mistakes and correct them before any damage is done to your fragile
speakers, ears, headphones, et al.
INPUTS. Inputs on the MPE 47 are balanced/unbalanced. This means that standard 1/4" connectors on the ends of any
good quality cable will work well between your signal sources, signal processing and amplification. If balanced 1/4" inputs
are your choice, use Tip - Ring - Sleeve connectors; wire the tip as hot, the ring as return (-) and the sleeve as signal ground.
Use 1/4" mono connectors for unbalanced sources.
OUTPUTS. The MPE 47 offers unbalanced (only) output connectors. Use standard 1/4" mono shielded cable for intercon-
nect.
You should be aware, also, that just because we indicate that a sleeve on a 1/4" is used for grounding, it is not always wise
to use it. Rane Note 110 (included with your unit) goes into the reasons and logic behind all of this madness. Please have a
look at it to attain the best performance possible from your MPE 47.
OPERATING / SERVICE MANUAL
MPE 47
Advertisement
Table of Contents

Subscribe to Our Youtube Channel
Related Manuals for Rane MPE 47


Summary of Contents for Rane MPE 47
- Page 1 Quick Start section, so you don’t embarrass yourself in front of your friends. Upon initial power-up, you should see the words, “Rane MPE 47 . . . r1.0” (the current revision level) scroll by in the SYS- TEM display window. Then the SYSTEM display indicates the last memory location used before the power was turned off, and the green MEMORY indicator lights.
-
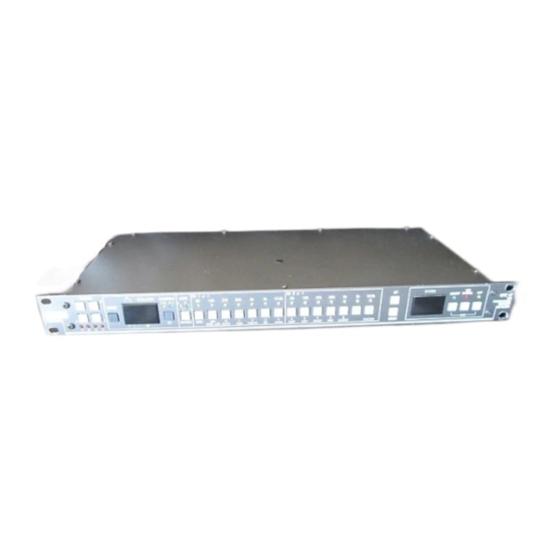
Page 2: Front Panel Description
(LED on). The MPE 47 must be in the EQ Edit mode to activate this display. 5. EQ. Pressing this button once places the MPE 47 in the Channels 1-2 EQ Edit mode (CHANNELS 1-2 LED on); a second depression enters the Channel’s 3-4 EQ Edit mode (CHANNELS 3-4 LED on);... -
Page 3: Rear Panel Description
6. Remote Power Supply Input. USE ONLY A RANE MODEL RS 1 OR OTHER REMOTE AC POWER SUPPLY AP- PROVED BY RANE. The MPE 47 is supplied with a remote power supply suitable for connection to this input jack. Consult the factory for replacement or substitution. -
Page 4: Important Note
Please read the MPE Users Guide for a more in-depth look at your MPE 47. Copyright 1989, Rane Corporation 10802 47th Ave. W. Mukilteo, WA 98275 (425)355-6000 520-164 1289...
Need help?
Do you have a question about the MPE 47 and is the answer not in the manual?
Questions and answers