Table of Contents
Advertisement
Quick Links
Advertisement
Table of Contents

Related Manuals for Duratrax Raze ST


Summary of Contents for Duratrax Raze ST
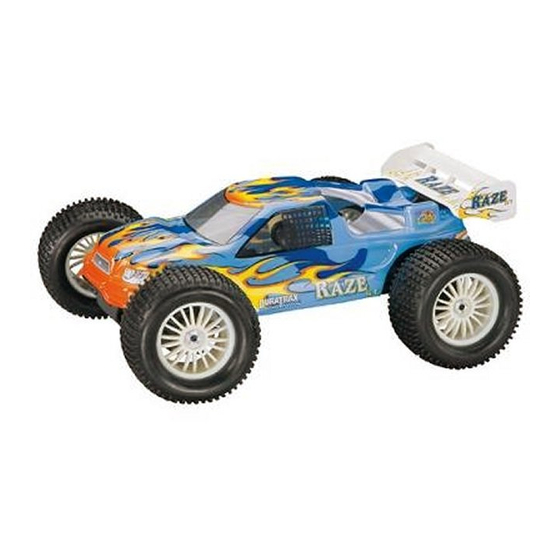
- Page 1 ® ™ ASSEMBLY AND OPERATION MANUAL www.duratrax.com...
- Page 2 ITEMS INCLUDED The following items are included with your Raze ST. Chassis Transmitter Antenna Glow Starter ™ Body Receiver Antenna Tube Kwik-Pit Super Start Body Clips (Qty 4) 250cc Fuel Bottle Instruction Manual Decal Sheet 2° and 3° Toe-Blocks Exploded View/Parts Listing...
-
Page 3: Warranty
® • DuraTrax guarantees this kit to be • Do not operate the Raze ST near people. free from defects in both material and Spectators should be behind the driver or ❏ 1. The broken part must be included. -
Page 4: Transmitter Preparation
FINISHING THE RAZE ST TRANSMITTER PREPARATION • Install eight “AA” batteries into transmitter, making sure the polarity is correct. • Insert the antenna into the top of the transmitter and tighten. • Turn the transmitter on and check the battery light. -
Page 5: Receiver Antenna Installation
RECEIVER ANTENNA INSTALLATION GLOW STARTER BATTERY ANTENNA • Uncoil and straighten the antenna wire. • Route the receiver antenna wire through the antenna tube. • Install the tube into the antenna mount. ANTENNA TUBE ANTENNA WIRE DO NOT CUT THE FUEL ANTENNA WIRE! TUBING... - Page 6 TRANSMITTER RADIO SYSTEM CHECK ANTENNA POWER LED ALWAYS CHECK THE RADIO STEERING OPERATION BEFORE EACH RUN SERVO DUAL RATE STEERING REVERSING TRIM 1. Fully extend the transmitter antenna. 2. Turn the transmitter on, then turn the receiver on. 3. The transmitter wheel will move the front wheels of the car left or right.
- Page 7 fi nger. It also causes fuel to back up in the engine, making FROM FULLY IDLE STOP SCREW CLOSED it harder to start the next time you run your Raze ST. The “idle stop” screw is located on the backside of the carburetor. This increases...
- Page 8 TANK 1 “Run-on” is when the engine does not drop back down to idle Your fi rst tank of fuel should be running the Raze ST at a after the trigger on the transmitter is released. To correct this, very rich needle valve setting. This allows the fuel to carry as...
- Page 9 Make sure you have a spare plug or two on hand every time that you run the Raze ST. We recommend the DuraTrax Gold Plug (DTXG3005). OVERHEATING One of the worst things you can do to your engine is overheat it.
-
Page 10: Maintenance Tips
MAINTENANCE TUNING TIPS GUIDE When tuning the Raze ST make sure that you have equal BEFORE EACH RUN lengths from one side to the other on the shocks, camber 1. IMPORTANT: Check to make sure rods and steering rods. Also, make sure to have the shock that all screws are tight. - Page 11 Some basic guidelines when setting ST comes with 2° and 3° rear toe-in blocks. up the Raze ST are that if the rear end is stiff it will give the truck more steering and have less rear traction. Stiffening the front will result in less steering and more rear traction.
- Page 12 MAINTENANCE GUIDE The following section is provided to help you with maintenance and repairs to your Raze ST. Pay extra attention to the notes and tips for proper assembly. Use threadlock on all metal-to-metal screws. Do not overtighten. The O-ring...
- Page 13 Use threadlock on all metal-to-metal screws. Make sure all bearings are fully seated. Fill the diff case with quality oil or grease. NOTE: Fill the case until the bevel gear shafts are covered. Filling the case higher will cause oil to spill out when the other side of the diff is installed.
- Page 14 Use threadlock on all metal-to-metal screws. Thread the ball ends onto the turnbuckles equally. Adjust after assembly is complete. Make sure all bearings are fully seated. Fill the diff case with quality oil or grease. NOTE: Fill the case until the bevel gear shafts are covered.
- Page 15 Thread the ball ends onto the turnbuckles equally. Adjust after Use threadlock on all assembly is complete. metal-to-metal screws. Make sure all bearings are fully seated. Make sure all bearings are fully seated. Use threadlock on all metal-to-metal screws.
- Page 16 Make sure all bearings are fully seated. Thread the turnbuckle into the rod ends equally. Adjust after assembly is complete.
- Page 17 Completely fi ll the shock body with shock oil. Slowly work the piston up and down to remove air bubbles. Slowly tighten the shock cap onto the shock body to allow the remaining air to escape. Apply a small amount of shock oil to the O-ring assembly before installing them into the shock body.
- Page 18 Make sure the hex portions of the braces and wing mount are properly aligned before tightening. Use CA glue to secure the tire to the wheel.
- Page 19 Use threadlock on all metal-to-metal screws. Use threadlock on all metal-to-metal screws.
-
Page 20: Troubleshooting
ENGINE TROUBLESHOOTING The Engine Starts It should be Does it run continuously? ready to go. Is the high speed needle Does the engine setting 3-1/2 to Clear the quit when the Is fuel getting Replace the 3-3/4 turns out engine glow plug clip to the engine? glow plug.
Need help?
Do you have a question about the Raze ST and is the answer not in the manual?
Questions and answers