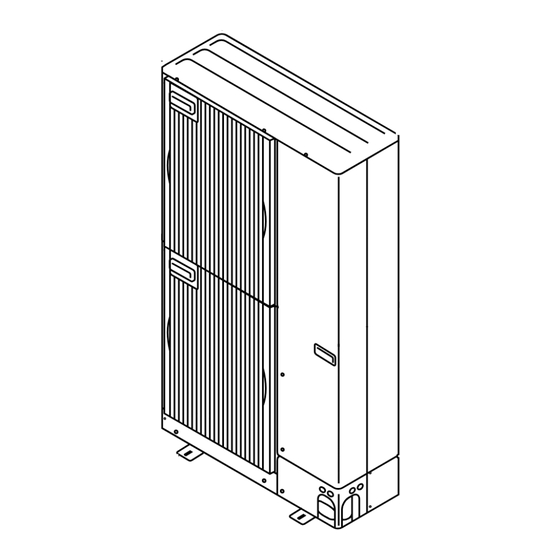
Summary of Contents for Mitsubishi Electric PUHZ-BP·HA
- Page 1 Air-Conditioners PUHZ-BP·HA INSTALLATION MANUAL FOR INSTALLER For safe and correct use, read this manual and the indoor unit installation manual thoroughly before installing English the air-conditioner unit.
-
Page 2: Table Of Contents
• The unit must be securely installed on a structure that can sustain its • Use only accessories authorized by Mitsubishi Electric and ask a dealer weight. If the unit is mounted on an unstable structure, it may fall down or an authorized technician to install them. -
Page 3: Installation Location
1. Safety precautions 1.3. Before electric work Caution: • Be sure to ground the unit. Do not connect the ground wire to gas or water • Be sure to install circuit breakers. If not installed, electric shock may re- pipes, lightning rods, or telephone grounding lines. If the unit is not prop- sult. -
Page 4: Installing The Outdoor Unit
2. Installation location 2.4.2. When installing a single outdoor unit (Refer to the last page) Minimum dimensions are as follows, except for Max., meaning Maximum dimen- sions, indicated. The fi gures in parentheses are for BP125- BP250 models. Obstacles at rear only (Fig. 2-6) Obstacles at rear and above only (Fig. -
Page 5: Installing The Refrigerant Piping
4. Installing the refrigerant piping 4.1. Precautions for devices that use R410A refrigerant • Refer to page 3 for precautions not included below on using air condition- ers with R410A refrigerant. • Use ester oil, ether oil, alkylbenzene oil (small amount) as the refrigeration oil applied to the fl... - Page 6 4. Installing the refrigerant piping 4.3. Refrigerant piping (Fig. 4-4) Remove the service panel (3 screws) and the front piping cover (2 screws) and rear piping cover (2 screws). Perform refrigerant piping connections for the indoor/outdoor unit when the out- door unit’s stop valve is completely closed.
-
Page 7: Drainage Piping Work
4. Installing the refrigerant piping <Limits of refrigerant piping installation> 4.7. For twin/triple/quadruple combination (Fig. 4-8) • When this unit is used as a FREE COMPO MULTI unit, install the refrigerant piping with the restrictions indicated in the drawing on the left. In addition, if the restrictions are going to be exceeded, or if there are going to be combinations of indoor and outdoor units, refer to installation instructions for the indoor unit for details about the installation. - Page 8 6. Electrical work 6.2. Field electrical wiring • If the wiring connecting the indoor and outdoor units is longer than 80 m, use separate indoor/outdoor unit power supplies. (Refer to the installation manuals of the indoor units for more information.) ■...
-
Page 9: Test Run
6. Electrical work ■ BP170-BP250 WIRING SPECIFICATIONS FOR 220-240 V 50 Hz (INDOOR-OUTDOOR CONNECTING CABLE) Cross section of cable Wire size (mm²) Number of wires Polarity L (m)*6 Round Clockwise : S1-S2-S3 (30) * Pay attention to stripe of yellow and green Flat Not applicable Not applicable... -
Page 10: Special Functions
8. Special Functions 8.1. Low noise mode (on-site modifi cation) (Fig. 8-1) By performing the following modifi cation, operation noise of the outdoor unit can be reduced by about 3-4 dB. Brown The low noise mode will be activated when a commercially available timer or the Orange Fig. - Page 11 Fig. 2-6 Fig. 2-7 Fig. 2-8 Fig. 2-9 Fig. 2-10 Fig. 2-11 Fig. 2-12 Fig. 2-13 Fig. 2-14 Fig. 2-15 Fig. 2-16 Fig. 2-17 Fig. 2-18...
- Page 12 This product is designed and intended for use in the residential, commercial and light-industrial environment. Please be sure to put the contact address/telephone number on this manual before handing it to the customer. HEAD OFFICE: TOKYO BLDG., 2-7-3, MARUNOUCHI, CHIYODA-KU, TOKYO 100-8310, JAPAN BH79D068K03 Printed in Japan...


Need help?
Do you have a question about the PUHZ-BP·HA and is the answer not in the manual?
Questions and answers