Sign In
Upload
Download
Table of Contents
Contents
Add to my manuals
Delete from my manuals
Share
URL of this page:
HTML Link:
Bookmark this page
Add
Manual will be automatically added to "My Manuals"
Print this page
×
Bookmark added
×
Added to my manuals
Manuals
Brands
Harman Kardon Manuals
DVD Player
DVD 39
Owner's manual
Harman Kardon DVD 39 Owner's Manual
Harman-kardon dvd player user manual
Hide thumbs
1
Table Of Contents
2
3
4
5
6
7
8
9
10
11
12
13
14
15
16
17
18
19
20
21
22
23
24
25
26
27
28
29
30
31
32
33
34
page
of
34
Go
/
34
Contents
Table of Contents
Troubleshooting
Bookmarks
Table of Contents
Table of Contents
Introduction
Terminology
Features
Disc Formats Supported by this Player
Memory Card Compatibility
USB Device Compatibility
Upgradeability Via Internet
Packing List
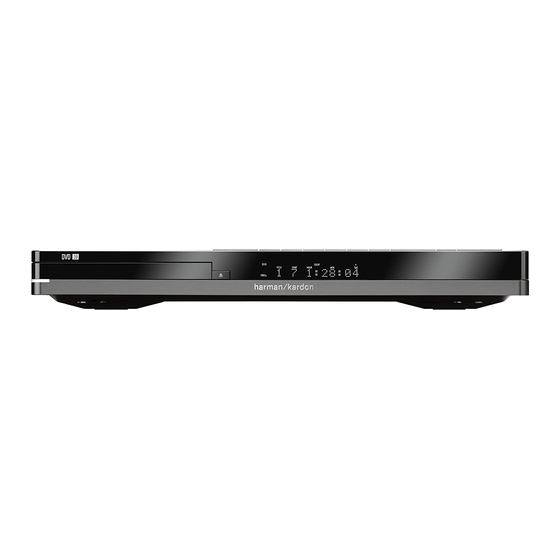
Front Panel Controls
Front Panel Information Display
Remote Control Functions
Rear Panel Connections
Setup and Connections
Connecting to a TV Only
Connecting to a Receiver/Amplifier with a Dolby Digital or DTS Decoder
Connecting to a Receiver
Remote Control
Battery Installation
Service Life of Batteries
Remote Control Operation Range
Digital Audio Connections
Audio Output from the Unit's Optical/Coaxial Digital Audio Output Connector
Dolby Digital and DTS
DVD-Audio and SACD
Playback Basics
Basic Play
Disc Playback Features
About DIVX and DIVX Ultra Movie Files
System Setup
System Defaults
System Settings
Audio Settings
Speaker Settings
Video Settings
Test Screen
TV Picture Adjustment with Test Screen
Player Menu
Using the Player Information Menu
Using the On-Screen Status Display
CD Playback
A-B Repeat Play
Video off Feature
SACD Discs
MP3, Windows Media and JPEG Playback
Programming
Programming a Playlist
Troubleshooting Guide
Technical Specifications
Advertisement
Quick Links
1
Disc Formats Supported by this Player
2
Usb Device Compatibility
3
Technical Specifications
Download this manual
DVD 49 and DVD 39 DVD Player
OWNER'S MANUAL
Table of
Contents
Previous
Page
Next
Page
1
2
3
4
5
Advertisement
Table of Contents
Need help?
Do you have a question about the DVD 39 and is the answer not in the manual?
Ask a question
Questions and answers
Related Manuals for Harman Kardon DVD 39
DVD Player Harman Kardon DVD 31 Reference Manual
Harman kardon dvd 31: reference guide (1 page)
DVD Player Harman Kardon DVD 31 Owner's Manual
Dvd audio/video player (32 pages)
DVD Player Harman Kardon DVD 31 Reference Manual
(1 page)
DVD Player Harman Kardon DVD 38 Worksheet
Harman kardon dvd 38: supplementary guide (2 pages)
DVD Player Harman Kardon DVD 38 Datasheet
Front-panel information display (1 page)
DVD Player Harman Kardon DVD 38 Service Manual
Dvd/cd/cd-r/cd-rw/vcd mp3 player (144 pages)
DVD Player Harman Kardon 38 Datasheet
Front-panel controls (1 page)
DVD Player Harman-Kardon DVD 38 Owner's Manual
Harman/kardon dvd 38 audio/video player with hdmi owner's manual (52 pages)
DVD Player Harman-Kardon DVD 37 Owner's Manual
Progressive-scan dvd audio/video player with hdmi (40 pages)
DVD Player Harman Kardon DVD 37 Connection Manual
Harman kardon dvd 37: connection guide (1 page)
DVD Player Harman Kardon DVD 37 Owner's Manual
Digital versatile disc player (28 pages)
DVD Player Harman Kardon DVD 37 Supplementary Manual
Harman kardon dvd 37: supplementary guide (1 page)
DVD Player Harman Kardon DVD 37 Connecting Manual
Quick start guide (1 page)
DVD Player Harman Kardon DVD 30 Owner's Manual
Digital versatile disc player (36 pages)
DVD Player Harman Kardon DVD 39/230 Service Manual
(113 pages)
DVD Player Harman Kardon DVD 47 Owner's Manual
Digital versatile disc player (28 pages)
This manual is also suitable for:
Dvd 49
Table of Contents
Save PDF
Print
Rename the bookmark
Delete bookmark?
Delete from my manuals?
Login
Sign In
OR
Sign in with Facebook
Sign in with Google
Upload manual
Upload from disk
Upload from URL


Need help?
Do you have a question about the DVD 39 and is the answer not in the manual?
Questions and answers