Table of Contents
Advertisement
Advertisement
Table of Contents

Related Manuals for Tecnik Oven


Summary of Contents for Tecnik Oven
- Page 1 How to connect up, build-in, set up, use and look after your oven...
-
Page 2: Table Of Contents
Baking Roasting and Grilling Definition of Oven Features Switching the oven ON and OFF Baking – Main oven Roasting – Main oven Roasting – Mini oven Grilling – Mini oven Cooking Tips and Helpful Hints Defrosting and Cooking – Main oven 17... -
Page 3: Important Information
Important Information Notes on disposal Before connecting your new appliance Old appliances still have some residual value. An environment-friendly method Before using your new appliance, please of disposal will ensure that valuable raw read these Instructions for use carefully. materials can be recovered and used They contain important information again. -
Page 4: Appliance Safety Considerations
Always Do not insert a baking sheet at the keep children away from the appliance. bottom of the oven, or cover it with aluminium foil, because a heat build-up Never leave the appliance unattended would result. Roasting and baking times when cooking with fat or oil. -
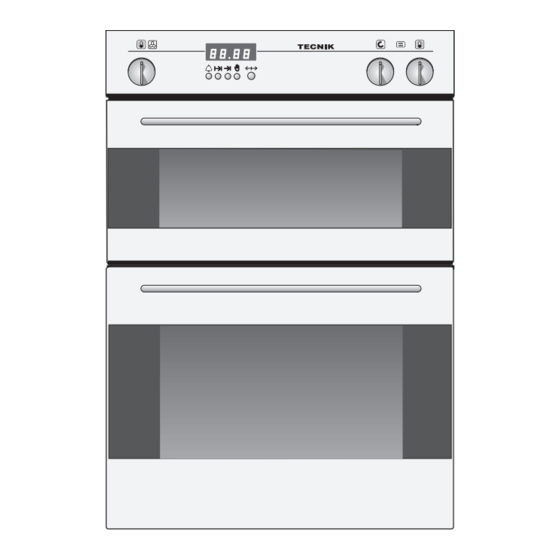
Page 5: Introducing: Your New Oven
Introducing: Your new Oven Main oven Mini oven Function selector Electronic timer controls Temperature selector Temperature selector with control lamp with control lamp Main oven Mini oven Temperature selector (Hot air) Function selector Temperature selector Settings: Settings: Settings: Oven light Conventional 50–250... -
Page 6: Accessories
Introducing: Your new Oven Accessories Your oven comes with the following accessories: Universal baking pan / shelf wire shelf Additional accessories are available from your dealer. Mini oven Shelf positions Your oven features 3 shelf positions. The shelf positions are counted from bottom to top. -
Page 7: Before Using Your Appliance For The First Time
1. Heat the empty oven for approx. 1. Clean the appliance exterior with a soft 30 minutes. damp cloth. Select heat for the main and mini oven at 2. Clean the oven interior and the a setting of 240 °C. accessories with a hot detergent During the initial burn-in phase, please solution. -
Page 8: Electronic Timer
Electronic Timer Operating the timer Alarm function Timer knob Length of cooking time Cooking finish time Automatic timer OFF The timer knob is designed for one- hand operation. To use this function, the required cooking time must be set by turning the timer knob within 4 seconds of pressing the appropriate function button. -
Page 9: Automatic Off
Electronic Timer Automatic timer for the main oven You can use the automatic timer functions to switch the oven ON or OFF. Setting the length of cooking time Automatic OFF: If you want cooking to start immediately, simply use the timer knob to set the required total cooking time. -
Page 10: Automatic On And Off
Electronic Timer Automatic ON and OFF: Setting the length of cooking time 1. Set the oven to the required temperature. 2. Press the button and set the total cooking time (see the example in the illustration right, showing 1 hour and 30 minutes). -
Page 11: Definition Of Oven Features
Advantages: Cooking is possible on one shelf level only. – particularly suitable for flat, small cuts of Advantages: meat, i.e., steaks and sausages, fish,... -
Page 12: Switching The Oven On And Off
Switching the oven OFF: To switch the oven OFF, turn both the temperature selector and function selector to the »0« position. Main oven: 1. -
Page 13: Baking - Main Oven
You can influence the degree of browning by changing the temperature setting. If a cake collapses after removing it from the oven, use less liquid on your next attempt, consider using a longer baking time, or use a slightly lower temperature setting. -
Page 14: Roasting - Main Oven
Place the meat on the shelf, season if liquid in a covered casserole. This type desired. of cooking is suitable for less tender Slide the pan and shelf into the oven on cuts of meat. the same shelf position. Place the casserole on the wire shelf at No pre-heating is required. -
Page 15: Roasting - Mini Oven
Extra large Turkeys and joints can be Baste the meat if desired. placed directly in the universal pan and Place in a cold oven to save energy or not on the wire shelf. pre-heat if desired. Cover large Turkeys with foil during cooking. -
Page 16: Cooking Tips And Helpful Hints
(1 or 2 times, more drips onto the floor. frequently with longer roasting times) will aid in venting the water vapour in the oven and reduce condensation. To save energy: Preheat only if expressly required by the Residual heat: In the case of longer recipe. -
Page 17: Defrosting And Cooking - Main Oven
If frozen meat is placed in the oven, the Raw deep-frozen products or foods defrosting time must be added to the from a freezer always defrost at 50 °C. -
Page 18: Cleaning And Care
For cleaning, do not use abrasives, corrosive cleaners, aerosol cleaners or sharp objects. Do not scratch off burnt-on food residues, but soak off them with a damp cloth and washing up liquid. Oven cleaners must not be used on aluminium or plastic parts. Stainless steel front: Enamel and glass: When using commercially available Use hot detergent suds for cleaning. -
Page 19: Removing/Installing The Oven Door
Cleaning and Care Manual cleaning steps: Note: To make cleaning more convenient, the oven offers you the following options: Removing the oven door: 1. Fully open the oven door. 2. Move the catch levers on the right and left-hand sides to the fully open position. -
Page 20: Service And Repair Information
You can find this information on the appliance‘s nameplate. The nameplate is located on the appliance, behind the oven door, on the left bottom edge of the oven. Replacing the oven light: Caution: Unplug the appliance or remove the fuse! Mini oven: 1. -
Page 21: Trouble-Shooting Guide
Press the E key. The oven door window pane fogs This is a normal condition. It is cau- Heat the oven at 100 °C for about 5 sed by the occurrence of temperatu- minutes. re differences. -
Page 22: Assembly Instructions
Assembly Instructions For the installer and kitchen Kitchen furniture Oven housing units from virtually all lines of expert! kitchen furniture are suitable for installing the built-in oven. However, the veneers or Important installation notes: plastic laminates on the housing unit must Properly dispose of packaging be applied with heat-resistant glue (90 °C). -
Page 23: Installation Of The Built-In Oven
Open the oven door and, using one screw on each side, fasten the built-in min. oven to the side strips of the housing min. unit (see illustration). The two screws (supplied with the built- in oven) must be started slightly outward. - Page 24 Your TECNIK Guarantee (READ CAREFULLY) Your new appliance is guaranteed for 12 months against electrical/mechanical breakdown due to faulty manufacture. This guarantee does not apply to: a) Any faults which occur due to accidental damage, installation or misuse of the appliance.
Need help?
Do you have a question about the Oven and is the answer not in the manual?
Questions and answers
What litre capacity is main oven please?
Can you please help with the image