Table of Contents
Advertisement
Advertisement
Table of Contents

Related Manuals for NAD T 757


Summary of Contents for NAD T 757
- Page 1 T 757 ® AV Surround Sound Receiver Owner’s Manual...
-
Page 2: Important Safety Instructions
IMPORTANT SAFETY INSTRUCTIONS SAVE THESE INSTRUCTIONS FOR LATER USE. NOTE TO CATV SYSTEM INSTALLER FOLLOW ALL WARNINGS AND INSTRUCTIONS MARKED ON THE AUDIO This reminder is provided to call the CATV system installer’ s attention to Section 820-40 of EQUIPMENT. the NEC which provides guidelines for proper grounding and, in particular, specifies that the cable ground shall be connected to the grounding system of the building, as close to the point of cable entry as practical. - Page 3 RECORD YOUR MODEL NUMBER (NOW, WHILE YOU CAN SEE IT) The model and serial number of your new T 757 are located on the back of the cabinet. For your future convenience, we suggest that you record these numbers here: Model no: .
-
Page 4: Table Of Contents
USING THE T 757 – SETUP MENU ....... . . -
Page 5: Introduction
Please save the box and all of the packaging in which your T 757 arrived. Should you move or otherwise need to transport your T 757, this is by far the safest container in which to do so. We’ve seen... -
Page 6: Identification Of Controls
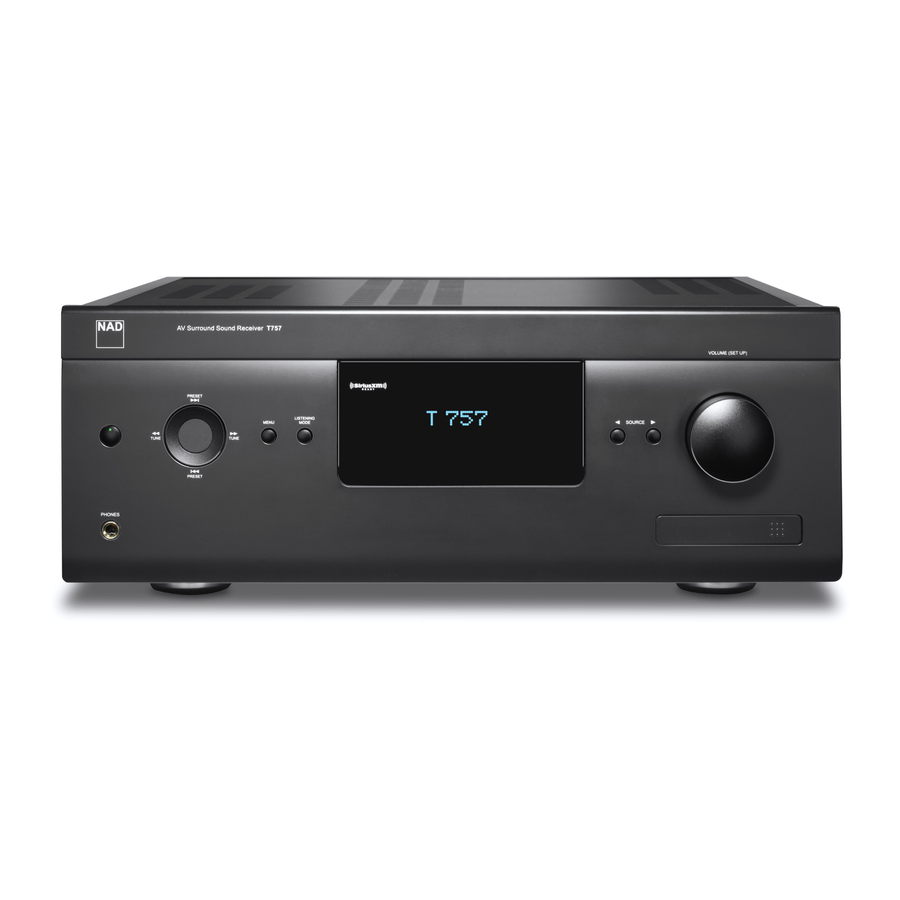
1 STANDBY BUTTON Toggle [ENTER] button to switch between “Tune” and “Preset” mode. • Press this button to switch ON the T 757 from standby mode. The Select “Preset” mode. • Use [ d/f ] to step up or down AM/FM Presets. Unused presets are Standby LED indicator will turn from amber to blue and illuminate the VFD. - Page 7 • Connect composite video output source to the front composite • Do not expose the remote sensor of the T 757 to a strong light video input (item C). source such as direct sunlight or illumination. If you do so, you may • Use the front optical audio input (item D) for optical digital audio...
-
Page 8: Rear Panel
ATTENTION! Please make sure that the T 757 is powered off or unplugged from the mains power source before making any connections. It is also advisable to power down or unplug all associated components while making or breaking any signal or AC power connections. - Page 9 T 757’s infrared receiver to command or control the linked unit. only 1/2-inch of exposed wire or pin is employed when connecting. IR IN and IR OUT 1, IR OUT 2: Connect the T 757’s IR IN to the IR OUT 10 AC MAINS INPUT of an ancillary equipment.
- Page 10 17 AUDIO PRE-OUT • The AUDIO PRE- OUT makes it possible to use the T 757 as a pre- amplifier to external power amplifiers for some or all channels. Connect FRONT L, FRONT R, CENTER, SURR R, SURR L, SURR-BL and SURR-BR to the respective channel input of a power amplifier or amplifiers driving the corresponding applicable speakers.
-
Page 11: Avr 4 Remote Control
• Set the DEVICE SELECTOR to “AMP” in order to gain access to these buttons. • INPUT 1, INPUT 2 up to INPUT 7 corresponds to T 757’s Source 1, Source 2 up to Source 7. Select FRONT to select Front Input and MP for Front Audio MP input. - Page 12 90 minutes. To cancel the sleep mode, continue pressing the AVR 4’s [SLEEP] button until “Sleep Off” is displayed on the VFD. Switching the T 757 to standby mode from either the AVR 4’s OFF or the T 757’s Standby button will also cancel the sleep mode.
- Page 13 Tuner models; check the owner’s manual of your NAD Receiver or Tuner for control button compatibility. You can also load the applicable NAD code library to this device so that it can be made compatible with your other NAD equipment. Refer to the section below about “LIBRARY” on how to load a NAD code library.
-
Page 14: Library
Default library for “AMP” page Zone 2 2 SOURCE [ 5/6 ]: Select the active input of the NAD T 757 that will be sent out to the corresponding rear panel ZONE 2 output port. C 515BEE, C 545BEE, C 565BEE T 535, T 585, M55;... -
Page 15: Alternate Ir Channel
AMP device selector will flash once to indicate that the library input is successful. With both T 757 and AVR 4 set to “IR Channel 1”, the C 326BEE can now be remotely controlled independent of the T 757. NOTE Performing a Factory Reset for T 757 or AVR 4 will result to a return to the factory default “IR Channel 0”... -
Page 16: Operation
DISPLAY THE OSD Press [S], [s], [MENU] or [ENTER] buttons of the AVR 4 remote control or The T 757 offers distinct listening modes, tailored for different types of front panel to display the T 757’s Main Menu on your video monitor/TV. If recording or program material. -
Page 17: Adjusting Listening Modes
Surround, Subwoofer Subwoofer NEO: 6 Several of the T 757’s listening modes have one or more selectable Two-channel recordings, whether stereo or surround-encoded, are variations and adjustable parameters that you can modify to suit reproduced with NEO:6 surround with output to front left/right, center and your system or personal preferences. -
Page 18: Dsp Options
IMPORTANT NOTICE “Tone Defeat” gives one the choice of varying or completely bypassing the tone control section of the T 757. If “Off” (“Tone Active” in the VFD) is Only analog audio connected through a Source’s analog audio input port can be associated as audio source for Zone 2. Digital audio sources selected, the Tone Control circuits are active. -
Page 19: Using The T 757 - Setup Menu
When this option is enabled, The Setup Menu allows one to customize the operation of the T 757 to the ancillary the T 757 will also respond to CEC volume and mute commands. For equipment used in one’... -
Page 20: Source Setup (Normal View)
The new Name will be shown in the VFD as well as on the OSD. ANALOG AUDIO The T 757 has six analog audio inputs including 7.1 input. These analog inputs - Audio 1, Audio 2, Audio 3, Audio Front, Audio MP and 7.1 Input can be variably assigned to each Source. -
Page 21: Source Setup (Table View)
Digital Audio inputs are selected. configurations done in a separate menu on Trigger Setup (See “Trigger There are three types of Digital Audio input for the T 757. These are HDMI, Setup” below). -
Page 22: Ipod Setup
The T 757 has the capability to automatically setup your own unique Home Theatre’ s speaker system. This is achievable through the T 757’ s Audyssey Setup The iPod Setup menu allows you to preset the following associated settings feature along with the sophisticated digital electronics built into your unit. - Page 23 The sound at your main listening position is setup using the supplied Audyssey microphone. A special test tone is sent to each speaker and the data is memorized by the T 757. The duration of setup may take some time depending on the number of speakers. After the measurements, Audyssey calculates the ideal system response for your particular room and speaker setup.
-
Page 24: Speaker Configuration
USING AN SPL METER response It is quite practical to perform the T 757 level setup routines “by ear, ” and • An “Off” speaker is one that is not present in your system. For example, careful work will produce acceptably accurate results. However, the use you might not have any surround-back speakers installed;... -
Page 25: Speaker Distance
You can exit “Test” mode at any time by pressing [ A ] key, bringing you back “master volume” of the T 757 raising or lowering the channels altogether. A to “Speaker Setup” menu. You can also press the [TEST] key to discontinue momentary keypress will change the master volume by 1 dB increments. -
Page 26: Amplifier Setup
- Main, Zone 2 and Source Setup. it to one of the following settings - Pro Logic, PLIIx Movie, PLIIx Music or Main: +12V DC is available at +12V TRIGGER OUT when the T 757 is at None. - Page 27 Dolby Digital Plus and Dolby TrueHD support the input can be defaulted - Pro Logic, PLIIx Movie, PLIIx Music, NEO: 6 more than eight audio channels. Note that the T 757 only supports 7.1 Cinema, NEO: 6 Music, EARS, Enhanced Stereo, Analog Bypass and None.
-
Page 28: Dolby Setup
“PLIIx Music” under the “ADJUSTING LISTENING MODES” segment of the Since the signals of the 6.1 Surround channels (including the back channel) “OPERATION - USING THE T 757 - MAIN MENU”. are completely independent, it is possible to achieve the sensation that the... -
Page 29: Enhanced Stereo
Listening Mode: Selected Listening Mode is shown. Please refer to the same description of ENHANCED STEREO under the LISTENING MODES segment of the OPERATION - USING THE T 757 - MAIN MENU. Audio Src Format: Shows the active Source’s detected audio format. -
Page 30: A/V Presets
Listening Mode: Stereo The T 757’s simple but powerfully flexible system of “A/V Presets” allows you to customize virtually every aspect of your audio-video playback, and recall them with a single key-press. The parameters “Listening Mode”, “DSP Options”... - Page 31 OPERATION USING THE T 757 – SETUP MENU 3 At “A/V Presets” page, set “Preset: 1” to the following conditions - use Speaker Setup: from the Speaker Setup menu, go to “Speaker Configuration” sub-menu and change “Subwoofer” from “On” to “Off”: [ D/F ] to select “Yes”...
- Page 32 OPERATION USING THE T 757 – SETUP MENU 6 At “A/V Presets” page, set “Preset: 2” to the following conditions - use Tone Controls: Tone Defeat: Off [ D/F ] to select “Yes” or “No” and press [ENTER] to confirm selection and move to the next setting.
-
Page 33: Listening To Am/Fm Radio
The reception and sound quality will always be dependent to a The T 757 can store a mix of your 40 favorite AM, FM and XM (or DAB) radio degree however on the type of antenna(s) used as well as proximity to the stations for immediate recall. -
Page 34: About User Names
ABOUT RDS The Radio Data System (RDS) permits sending small amounts of digital information using conventional FM radio broadcasts. The T 757 supports two RDS modes, program-service name (PS mode) and radio-text (RT mode). Not every FM station incorporates RDS in its broadcast signal. In... -
Page 35: Listening To Xm Radio
XM. Everything else is built right section “STORING PRESETS (AM/FM/XM/DAB)” under the “LISTENING TO AM/ in. Just subscribe to the XM service and your T 757 will be ready to receive FM RADIO”. -
Page 36: Listening To Dab Radio
Adaptor DB) from the DAB module’s output port into the corresponding and weather conditions. With Digital Audio Broadcast (DAB), you can now DAB module input socket on the rear panel of the T 757. Select DAB mode receive CD-like quality radio programs without any annoying interference on the T 757 by toggling AVR 4’s [AM/FM/DB] button. -
Page 37: Service List
OPERATION LISTENING TO DAB RADIO 4 Press and hold [ENTER] button to check the strength of the incoming signal. The more segments visible in the lower display line, the stronger The level of compression of stations can be set to eliminate the differences the signal. -
Page 38: Reset
LISTENING TO DAB RADIO RESET INFORMATION SETTINGS The “Reset” option allows the connected (and separately sold) NAD DAB While listening to a DAB broadcast, the type of information displayed in the Adaptor to be reset to its factory default settings. -
Page 39: Listening To Your Ipod Player
OPERATION LISTENING TO YOUR iPod PLAYER The T 757 is equipped with a data port in the rear panel where an optional Note that other NAD IPD models, like the NAD IPD 2, have their own remote “NAD IPD Dock for iPod” (NAD IPD) can be plugged in. With the NAD IPD controls. -
Page 40: Nad Ipd 2
NAD IPD 2 TO VIEW VIDEOS OR PHOTOS LOADED IN YOUR iPod The NAD IPD 2 has its own remote control - the DR 1. When using the DR Videos or photos uploaded in your iPod can be viewed directly via the 1 to command your iPod player docked in the NAD IPD 2, you have to refer T 757. -
Page 41: Reference
• No DAB coverage in the area. • Call your local DAB broadcast providers for coverage information. Reset T 757 to factory default settings: Press and hold [SOURCE 4] and [MENU] front panel buttons until “Factory Reset..complete. ” is shown in the VFD. -
Page 42: Specifications
REFERENCE SPECIFICATIONS AMPLIFIER SECTION Specifications are subject to change without notice. For updated documentation and features, please log onto www.NADelectronics.com for Power output Stereo Mode 110W (8Ω within rated distortion) the latest information about T 757. IHF dynamic power; 8 Ω 137W IHF dynamic power;... - Page 44 All rights reserved. NAD and the NAD logo are trademarks of NAD Electronics International, a division of Lenbrook Industries Limited. No part of this publication may be reproduced, stored or transmitted in any form without the written permission of NAD Electronics International.
Need help?
Do you have a question about the T 757 and is the answer not in the manual?
Questions and answers
DIAGRAMA DE SERVICIO NAD 757