Sign In
Upload
Download
Add to my manuals
Delete from my manuals
Share
URL of this page:
HTML Link:
Bookmark this page
Add
Manual will be automatically added to "My Manuals"
Print this page
×
Bookmark added
×
Added to my manuals
Manuals
Brands
Pioneer Manuals
Receiver
S-A4900
Operating instruction
Pioneer S-A4900 Operating Instruction
Stereo cd cassette deck receiver; speaker system
Hide thumbs
1
2
3
4
5
6
7
8
9
10
11
12
13
14
15
16
17
18
19
20
21
22
23
24
25
26
27
28
29
30
31
32
33
34
35
36
37
38
39
40
41
42
43
44
45
46
47
48
49
50
51
52
page
of
52
Go
/
52
Bookmarks
Advertisement
Quick Links
Download this manual
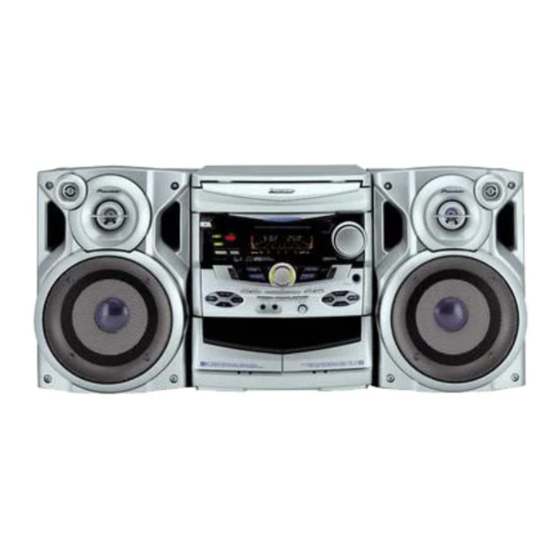
STEREO CD CASSETTE DECK RECEIVER
AMPLI-TUNER/LECTEUR CD/DOUBLE PLATINE A CASSETTE
XR-A4900
SPEAKER SYSTEM
ENCEINTES ACOUSTIQUES
S-A4900
Operating Instructions
Mode d'emploi
Previous
Page
Next
Page
1
2
3
4
5
Advertisement
Need help?
Do you have a question about the S-A4900 and is the answer not in the manual?
Ask a question
Questions and answers
Related Manuals for Pioneer S-A4900
Receiver PIONEER XR-A9800D Operating Instruction
Stereo dvd cassette deck receiver, speaker system (116 pages)
Receiver PIONEER S-A4800 Operating Instruction
Stereo cd cassette deck receiver; speaker system (52 pages)
Receiver PIONEER XR-A4800 Operating Instruction
Stereo cd cassette deck receiver; speaker system (52 pages)
Receiver PIONEER XR-A9700DV Operating Instruction
Stereo dvd cassette deck receiver; speaker system (116 pages)
Receiver Pioneer XR-A780 Operating Instructions Manual
Stereo cd cassette deck receiver, speaker system (52 pages)
Receiver Pioneer DVR-340H-S Catalog
A/v receivers / cd player / integrated amplifier / fm/am tuner / dvd recorder / multi-format dvd player / speaker systems (10 pages)
Receiver Pioneer S-A380 Operating Instructions Manual
Stereo cd cassette deck receiver, speaker system (52 pages)
Receiver Pioneer SC-LX85 Service Manual
Audio/video multi-channel receiver (274 pages)
Receiver Pioneer Elite SC-75 Operating Instructions Manual
Owner's manual (131 pages)
Receiver Pioneer SC-1223-K Operating Instructions Manual
Owner's manual (117 pages)
Receiver Pioneer SPH-DA120 Installation Manual
Smartphone receiver (64 pages)
Receiver Pioneer SPH-DA120 Important Information For The User
Smartphone receivers (112 pages)
Receiver Pioneer SC-LX83 Service Manual
Audio/video multi-channel receiver (18 pages)
Receiver Pioneer SPH-10BT System Firmware Update Instructions
(7 pages)
Receiver Pioneer SPH-10BT Installation Manual
Smartphone receiver (33 pages)
Receiver Pioneer SPH-10BT Firmware Update Instructions
Smartphone receiver (6 pages)
This manual is also suitable for:
Xr-a4900
Print
Rename the bookmark
Delete bookmark?
Delete from my manuals?
Login
Sign In
OR
Sign in with Facebook
Sign in with Google
Upload manual
Upload from disk
Upload from URL


Need help?
Do you have a question about the S-A4900 and is the answer not in the manual?
Questions and answers