Bifinett KH 700 Operating And Safety Instructions Manual
700 w universal food processor
Hide thumbs
Also See for KH 700:
- Bedienungs- und sicherheitshinweise (22 pages) ,
- Operating instructions manual (12 pages)
Table of Contents
Advertisement
Quick Links
Advertisement
Table of Contents

Related Manuals for Bifinett KH 700


Summary of Contents for Bifinett KH 700
- Page 1 KH700 700 W Operating and safety instructions...
- Page 2 1 Device description ..................4 2 Purpose ....................4 3 Technical data....................4 4 Safety instructions ..................4 5 Start-up......................5 6 Assembling the food processor ..............6 7 Working with the mixing bowl ..............7 7.1 Working with the cutting blade ............7 7.2 Working with the cutting and gratings discs........8 7.3 Working with the kneading blade ............9 8 Working with the blender ................9 9 Cleaning ....................10...
- Page 3 • Before starting the device ensure that ... the attachments and before cleaning the - the device and all accessories and the Bifinett KH 700 device. Merely switching off is not suffi- power plug and the power cord are in cient since mains power is still connected perfect condition and ...
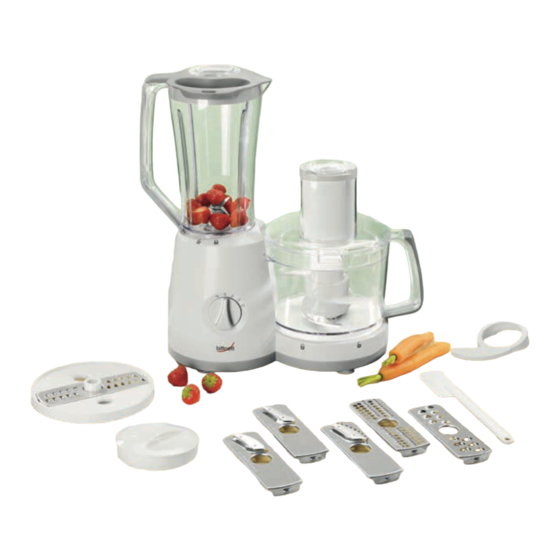
- Page 4 7 Working with the mixing bowl • Add the ingredients to 6 Assembling the Fitting the filling shaft and pusher The supplied accessories for the mixing bowl the mixing bowl. Fit the food processor consist of 6 grating and cutting discs, a lid to the bowl and Caution: Never use your fingers, spatula, kneading blade and a chopping blade for ver-...
- Page 5 7.2 Working with the cutting and 7.3 Working with the kneading 8 Working with the blender • Fit the retainer to the grating discs blade drive shaft. Insert thumb and index finger in the With the kneading blade you can knead Caution Caution: The cutting edges are very sharp! holes of the disc holder...
- Page 6 11 Warranty, Repair & Customer • Place the blender jug in • Then remove the blen- • Pull the plug from the socket before every Service the opening and turn it der jug by turning it cleaning. anti-clockwise until clockwise. •...
- Page 7 13 Table The following table serves as orientation help to determine the quantities and speeds for various ingredients. Do not exceed the specified operating period to avoid overheating of the device. In addition to the 3 speeds, a short powerful spurt of operation is available with the pulse stage “P”.
Need help?
Do you have a question about the KH 700 and is the answer not in the manual?
Questions and answers