Table of Contents
Advertisement
Advertisement
Table of Contents

Related Manuals for One for All XSight Lite


Summary of Contents for One for All XSight Lite
- Page 1 User Manual...
-
Page 2: Table Of Contents
Tilt On/Off (Xsight LITE) ........ -
Page 3: Getting To Know Xsight
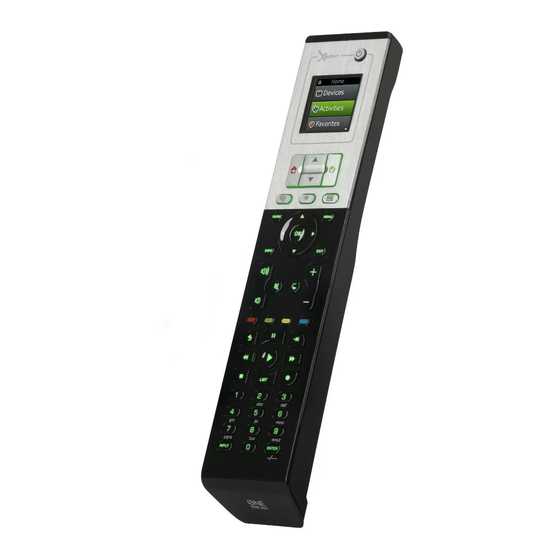
Getting to Know Xsight The Xsight LITE / Xsight PLUS is the latest fully-featured universal remote control from ONE FOR ALL. It offers full control of all your infra-red controlled Audio Video devices, as well as high-end features such as Learning, and Activity Control. You can set up your remote to control your devices by following the simple on-screen instructions on the remote, or connect to a PC for adding advanced features such as Activities and Favorites. -
Page 4: Keys Plus
Keys Xsight PLUS WWW.ONEFORALL.COM... - Page 5 Keys Xsight PLUS Power key Turns device ON/OFF. Home key Shortcut key – One short press goes one back to the previous level in the Menu structure. Holding down for two seconds takes the remote to the home screen. Also used to select the text displayed in a red field (red choice selection). Up/Down Scrolls up/down within the set-up menu screen.
-
Page 6: Keys Lite
Keys Xsight LITE WWW.ONEFORALL.COM... - Page 7 Keys Xsight LITE Power key Turns device ON/OFF. Home key Shortcut key – One short press goes one back to the previous level in the Menu structure. Holding down for two seconds takes the remote to the home screen. Also used to select the text displayed in a red field (red choice selection).
-
Page 8: Initial Setup
Initial Setup When you first power up your remote, it will enter Initial Setup Mode. In this mode, you will; First choose which language you prefer to be displayed on the remote. Once ready, press “Finish”. After this, a few Tutorial screens will be displayed in order to help you familiarize yourself with the remote. Once the tutorial is complete, the remote will lead you through the steps to set up all the devices you wish to control. -
Page 9: Home Screen And Everyday Use
Home Screen and Everyday Use To access the Home Screen at any time, you can hold down the “Home\Back” key for 2 seconds. Pressing this key once will take you back one screen. The Home Screen of the remote will display the following options: Devices This key will give you direct access to all the devices that your remote is set up to control. -
Page 10: Settings
Home Screen and Everyday Use Settings The “Settings” key will take you to a menu allowing you to change options on the remote, as well as adding or deleting devices, and learning commands from your original remote control(s). See the next section for more details. -
Page 11: Settings
Settings The Settings menu allows you to add or delete devices, learn functions from your original remote control, and adjust various options on your remote. The following section details each option in the Settings menu. Device Setup Once “Device Setup” is selected, you will be given the choice of adding or deleting a device, and also viewing the code the remote is using to operate your devices. -
Page 12: Delete Device
Settings ➭ ➭ “Delete Device” If “Delete Device” is selected, you will be asked to choose which device you would like to delete, followed by a confirmation screen. It is then possible to select another device to delete or to finish. Select “Device Setup”... -
Page 13: Learning
The next step is to select a key to learn onto, and to point the original remote towards the ONE FOR ALL remote and press the key on the original remote you wish to teach. -
Page 14: Volume
Receiver, you would not want to alter the Television’s volume when watch TV. In this case, you can set your ONE FOR ALL remote to always control the AV Receiver’s volume, even when in TV Mode. In the Volume Control section you will be given the option to set the Master Volume device, to remove a device from this group (allowing it use its own volume), or to unlock the Volume completely, allowing the remote to control each device’s volume individually. -
Page 15: Contrast
Settings Contrast This setting allows you to adjust the brightness of the screen on the remote. Select “Contrast” from the Settings menu. Select a contrast level. The screen will change to display the selected contrast. To view another contrast level, press “ + ” or “ - “. The screen will change to display the new contrast level. -
Page 16: Timeout
Settings Timeout To save battery power, the key backlight and LCD screen will automatically dim after a period of inactivity. The default period is 10 seconds. You can view and adjust the timing of this under the Timeout setting: Select “Timeout” from the Settings menu. The screen will change to display the current timeout length. -
Page 17: Pc Setup
PC Setup As well as all of the features mentioned in this manual, it is also possible to set up your remote using a PC with Internet Access. This will allow you to use the following features: “Activities” – Use your remote to control multiple devices as if they were one and to set all your device in the right state for Watch TV, Listen to Music, or any of your regular Home Entertainment Activities.
Need help?
Do you have a question about the XSight Lite and is the answer not in the manual?
Questions and answers