
Related Manuals for Synaps 11011322


Summary of Contents for Synaps 11011322
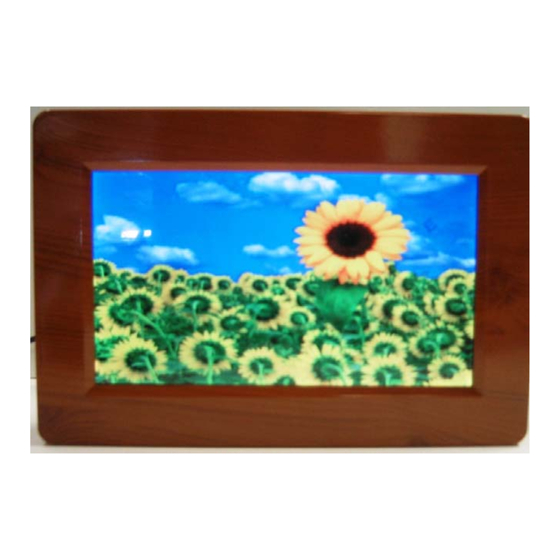
- Page 1 7” Digital Photo Frame Item Number: 11011322 Installation & User’s Guide All brand names and trademarks are the property of their respective owners...
-
Page 2: Table Of Contents
Contents Overview ............................3 Quick Start Guide ..........................3 Attaching the Easel Stand to the Digital Photo Frame ..............4 Package Contents ........................... 5 Digital Photo Frame Front View ..................... 5 Digital Photo Frame Back View ...................... 6 Installation Setup..........................7 Menu Control Buttons........................ -
Page 3: Overview
(up to 2GB) to transfer your files. 1-508-435-4830 3. If you have any questions, feel free to contact customer support at 800-639-3803 or via email at techsupport@fourstari.com, please reference item number: 11011322 and we will be happy to assist you. -
Page 4: Attaching The Easel Stand To The Digital Photo Frame
Attaching the Easel Stand to the Digital Photo Frame 1. Clear a flat clean area to set your photo frame down upon in order to attach the easel stand to the back of the frame. Make sure there are no sharp objects in the area that can make contact with the LCD screen of the photo frame that may cause damage to the screen. -
Page 5: Package Contents
Package Contents 7” Digital Photo Frame Easel Stand Power Adapter User’s Manual 7” Digital Photo Frame – Front View LCD Screen Wood Frame... -
Page 6: Digital Photo Frame Back View
7” Digital Photo Frame - Back View Horizontal Easel Bracket Wall Mount Positions USB Host Input 3 in 1 SD/MMC/MS Card Slot Power Adapter Input Vertical Easel Bracket... -
Page 7: Installation And Setup
Installation and Setup 1. Carefully position your Digital Photo Frame so that you can see all of the connection ports on the side of the frame. 2. Plug the Power Adapter Cable into the DC IN input on the side of the unit and plug the AC end of the adapter into a normal AC outlet. -
Page 8: Menu Control Buttons
Menu Control Buttons No. Button Function 1. Displays the main menu. MENU/ 2. Press 2 seconds to power ON/OFF. 1. Moves the cursor to the left on the main menu. << 2. Goes to the previous photo, while viewing your photos. -
Page 9: Setup Menu Instructions
Setup Menu Instructions 1. Turn on the Digital Photo Frame, insert a memory card into the card reader and press the “MENU” button on the Digital Photo Frame to display the OSD menu. << >> 2. Select the desired function menu, by pressing “ “or “... -
Page 10: Photo Menu Instructions
Photo Menu Instructions 1. While viewing a photo, press the “MENU” button on the Digital Photo Frame to display the Photo menu. Note: You must pause the slideshow you have playing in order to access the Photo Menu. EXIF Displays the photo information from the camera. (Exchangeable Image File) Save as logo Allows you to save the selected photo as the main logo. -
Page 11: Specifications
Specifications LCD Panel Type 7” TFT LCD Display Viewing Angle H: 120° , V: 100 Contrast Ratio 300: 1 Brightness 200 cd/m2 Response Time 18ms Resolution 480 X 234 Aspect Ratio 16 : 9 Built-in Card Reader Type SD, MMC, and MS memory card 100-240V AC 5V 50~60Hz Power Voltage... -
Page 12: Troubleshooting
Troubleshooting (FAQ) 1. Q: What type of file formats does this Digital Photo Frame support? A: This Digital Photo Frame supports standard JPEG file format. 2. Q: Why are some of my photos not able to be displayed on the viewer? A: Most digital cameras take and save the photos in a standard JPEG format which allows the digital photo frame to display the photos. -
Page 13: Maintenance
Maintenance To clean your digital photo frame, please refer to the instructions below: NOTE: To prevent electrical shock, do not open the Digital Photo Frame casing. Leave repair of the frame to qualified personnel, please see the tech support information in the warranty. 1. -
Page 14: Precautions
Precautions 1. Read all of these instructions and save this manual for later use. 2. Follow all warnings and instructions on the product. 3. Do not insert sharp objects or spill liquid into the digital photo frame through the cabinet slots; this may cause accidental fire, electric shock or failure. -
Page 15: Fcc Norm
FCC Norm This equipment has been tested and complies with limits for Class B digital devices pursuant to Part 15 of Federal Communications Commission (FCC) rules. FCC Compliance Statement These limits are designed to provide reasonable protection against frequency interference in residential installations. -
Page 16: Service Procedure
The service center will repair or replace the unit and send it back to the purchaser within 10 business days from receipt of the unit. To contact customer support, please call 508-435-4830 or 800-639-3803 and reference to Item number 11011322. The address for this facility is: Fourstar Group 26840 Fargo Ave. Unit C Bedford Heights, OH 44146 Email Support: techsupport@fourstari.com... -
Page 17: Warranty
1 year. The purchaser of this product is responsible for any shipping charges to the repair facility. In order to contact the service facility, please call 508-435-4830 or 800-639-3803, and reference to Item number: 11011322 The address for this facility is: Fourstar Group 26840 Fargo Ave.
Need help?
Do you have a question about the 11011322 and is the answer not in the manual?
Questions and answers