
Related Manuals for Bravo IND-100U

Summary of Contents for Bravo IND-100U
-
Page 1: User Manual
Thank You for purchasing the IND-100U 1-DIN DIGITAL MEDIA RECEIVER USER MANUAL V 1.0 Bravo View Technology 20153 Paseo Del Prado Walnut, CA 91789 United States of America 909-869-0699 www.bravoview.com... -
Page 2: Safety Precautions
Safety Precautions Thank you for purchasing this product. Please power off this unit at once and send it P l e a s e r e a d t h r o u g h t h e s e o p e r a t i n g back to the after-sales service center or the instructions so you will know how to operate dealer/distributor you purchased from if one... -
Page 3: Table Of Contents
Contents Features Safety Precautions ......... 1 WMA and MP3 Compatibility Features ............2 It is possible to playback WMA and MP3 files. Panel Controls ..........3 About WMA Remote Controls ..........4 General Operation .......... 5 The unit can playback WMA data. Windows Media and the Windows logo are Tuner Operation .......... -
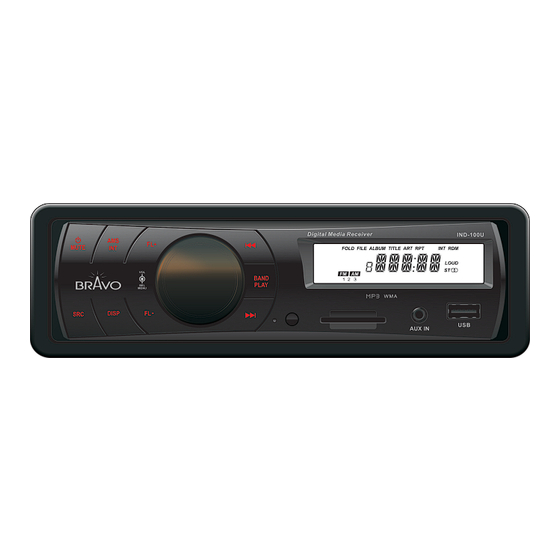
Page 4: Panel Controls
Panel Controls Power ON: Press [ /MUTE] button to turn on the unit. [FL+] [VOL/MENU] [FL-] 1. [ / MUTE]: Press to POWer on; When on, press to MUTe; Long press to POWer off. 2. [BAND/PLAY]: radio mode, press to switch BAND, In manual tuning mode, long press to store station. -
Page 5: Remote Controls
Remote Controls Operating range 1. - Power on/off 2. - Volume Point the remote control unit to the remote 3. - Mute sensor when you operate with it. 4. - Press to select VOL/BAS/Tre/BAL/FAD, The remote control can operate within a use volume button to adjust level. -
Page 6: General Operation
General Operation Power On/Off Button Display Selector (DISP) This unit can display the clock time, radio Press the [ / MUTe] button to turn the unit frequenc. Ordinarily, the radio frequency or on when the vehicle ignition switch is on. MP3/WMA track indication is displayed, but Press and hold the button to turn the unit off. -
Page 7: Tuner Operation
Tuner Operation USB/SD/MMC/MP3 Playback 1. Load SD/MMC Card Band Insert the SD/MMC card into the slot, with the During radio play, press the [BAND/PLAY] front side at top. button to choose between three FM and two The unit will show CArD, and read the card AM bands. -
Page 8: Playing Mp3/Wma Files
Playing MP3/WMA Files Menu Function Display Information Press and hold the [VOL/MeNU] knob more than 2 seconds to enter menu mode, then During playback, ID3 tag information display each press changes the mode as follows: scrolling on the screen: FOLDer, FILe, —... -
Page 9: Device Connections
Device Connections Wiring Diagram ANTENNA Function Location Connector A Connector B Rear Right (+) / Purple Rear Right (-) / Purple with Black Stripe Front Right (+) / Gray Battery 12V(+) / Yellow Front Right (-) / Gray with Black Stripe ANT/AMP control / Blue Front Left(+) / White with white stripe... -
Page 10: Installation Guide
Installation Guide Device Connections (continuous) Notes of connection Preparation 1. Disconnect battery • To avoid short circuit in the electrical system, ensure that the negative battery Before you begin, always disconnect the cable is disconnected before installation. battery negative terminal. •... -
Page 11: Iso Installation
Installation Guide (continuous) 4. Place the unit in front of the dashboard to the sub-dashboard according to the opening so the wiring can be brought instructions in the installation kit. through the mounting sleeve. Follow the 3. replace the dashboard trim panel. wiring diagram carefully and make certain ISO Installation all connections are secure and insulated... -
Page 12: Reconnect Battery
Installation Guide (continuous) Reset [FL-] The [reSeT] button is located the bottom of the front panel. resetting the unit will erase the time and preset memories. It should only be activated upon initial installation after all wiring is complete, or if there is a malfunction of any of the switches on the unit. -
Page 13: Troubleshooting
Troubleshooting If you suspect something is wrong, immediately switch power off. Immediately stop using it and call the store where you purchased it. Never try to repair the unit yourself because it is dangerous to do so. Problem Possible cause Solution General Car ignition is not on. -
Page 14: Specifications
Specifications General Power supply: 12VDC (11V-16V), Test voltage 14.4V, negative ground Maximum power output: 45W x 4 channels Continuous power output: 20W x 4 channels (4 10% T.H.D.) Suitable speaker impedance: 4-8ohm Pre-Amp output voltage: 4.0V (Play mode: 1KHz, 0dB, 10K load) Fuse: Dimensions (WxHxD):... - Page 16 PN: 127075004587...
Need help?
Do you have a question about the IND-100U and is the answer not in the manual?
Questions and answers