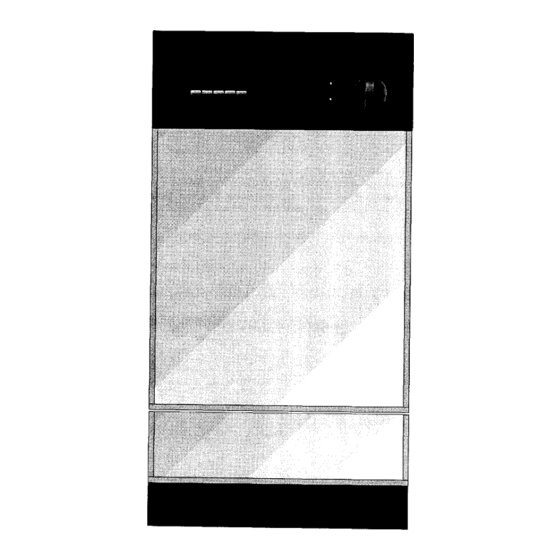
Summary of Contents for Sears Kenmore 58717242100
- Page 1 Installation Instructions For the 18" Built-In Dishwasher and Front Color Panels SEARS Sears, Roebuck and Co. Sears Canada, Inc. 154399201 Hoffman Estates, IL 60179 U.S.A. Toronto, Ontario, Canada M5B 2B8...
- Page 2 Before You Begin DO NOT INSTALL DISHWASHER Electrical Shock Hazard Disconnect electrical power at the UNTIL YOU HAVE READ ALL fuse box or circuit breaker box INSTRUCTIONS. before installing dishwasher. Fanure to do so can result In death or electrical shock. Please read this book completely before you begin.
-
Page 3: Installation Tips
Installation Tips Read all instructions prior to installation Water, electric, and drain connections are not the same foi" all age, brand, or models of dishwashers. Check and compare the location and length of your current utilities so you can plan your new installation (refer to pages 4 and 8). Each home installation is different and some parts may be needed to meet your individual installation needs. - Page 4 Location and Rough-In Electrical, drain and water supply line 34-114"Min. entrances must be confined to shaded areas to avoid interference 24" with components, Electrical 1-1/2' Widng 18" Min. Figure 1 Most of the installation work should be done before the dishwasher is moved into place.
-
Page 5: Preparing For Installation
Preparing for Installation 1. Remove the two bottom attach screws in the access panel/toeplate (see Figure 3). Open the dishwasher door and remove the two top screws. Close the door. The access panel can now be removed by pulling it forward. Access Install a 90 °... -
Page 6: Adjusting Door Spring Tension
Wood Door Panels A panel of up to 3he" thickness may be used in place I_177/18"_ of the aluminum insert panels furnished with your dishwasher. Wood door panels require the Wood Door Decorator Trim Kit, stock no. 5303293778, which is available from your Sears Service Center. Cut wood panels of your choice to match the 175/18"... - Page 7 Locating Drain, Water, and Electrical Supplies Before you begin, review this section in detail. Check your location to make sure you have the right drain, water, and electrical supplies to make these connections. Refer to the dimensional details in Figure 8 to help you decide where to run the drain, water, and electrical lines.
- Page 8 • If you connect to a sink drain, using the "Y" Branch Tailpiece and Connector Kit No. 19353 will make this connection easier. The kit includes all of the necessary fittings and complete installation instructions. • If you connect to a disposer, use the larger end of the corrugated hose which has been designed to fit the disposer without any special connectors (see inset of Figure 9).
-
Page 9: Electrical Power Supply
Water Determine where you will connect the dishwasher to the hot water supply. Review Figure 8 on page 7 and note the location of the water valve. Incoming water temperature should be approximately 140°F (60°C). Water temperature limits are 120°F minimum and 160°F maximum (49°C - 71 °C). The dishwasher water inlet valve has a %"... - Page 10 Position, Align, and Level the Dishwasher Tip Over Hazard Do not use dishwasher untilcompletely installed, Do not push down on open door. Measure height of cabinet opening from Doing so can result in serious injury or underside of countertop to floor. Check chart cuts.
-
Page 11: Drain Hose Routing
Drain Hose Routing Electrical Shock Hazard Disconnect electrical power at the fuse box or circuit breaker box before installing dishwasher. Make sure that the water supply line, drain hose, and wiring do not touch any exposed terminals of the dishwasher wiring. - Page 12 Connect Dishwasher to Electrical Supply The appliance MUSTbe permanently grounded in accordance with the National Electrical Code and local codes and ordinances. Electrical Shock Hazard Disconnect electrical power at the fuse box or circuit breaker box before installing dishwasher. Failure to do so can result in death or electrical shock.
- Page 13 Secure Dishwasher in Opening The dishwasher must be secured to keep it from tilting when the door is opened. Choose one of the two methods described below for securing the dishwasher. Countertop Anchoring: If necessary, adjust leveling screws so mounting brackets touch the underside of the countertop (see Figure 16).
- Page 14 Operate the Dishwasher Before you start your dishwasher, check the following: • Dishwasher is level and securely fastened in place. • Water supply is turned on. • No leaking from joints. • All wire connections are tight. • Electricity is turned on. •...


Need help?
Do you have a question about the Kenmore 58717242100 and is the answer not in the manual?
Questions and answers