Table of Contents
Advertisement
Quick Links
Owner's Manual
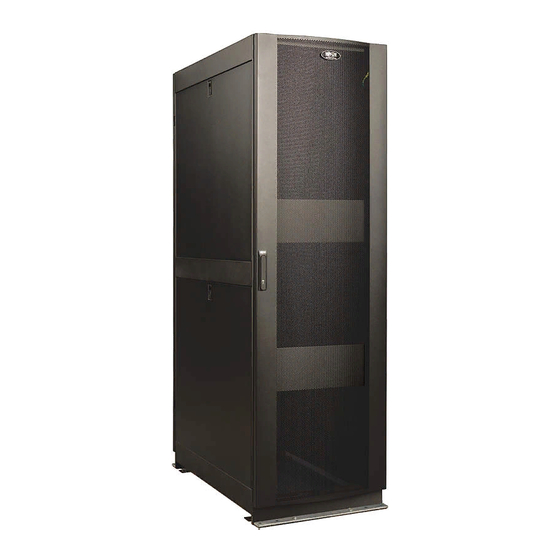
SmartRack™ Enclosure
with Zone 4 Seismic Rating
Model: SR42UBZ4
Español
1111 W. 35th Street, Chicago, IL 60609 USA
Copyright © 2011 Tripp Lite. All trademarks are the sole property of their respective owners.
www.tripplite.com/support
1
2
2
3
4
4
4
5
5
6
6
6
8
8
9
10
10
11
11
11
12
Advertisement
Table of Contents

Related Manuals for Tripp Lite SmartRack SR42UBZ4


Summary of Contents for Tripp Lite SmartRack SR42UBZ4
-
Page 1: Table Of Contents
Equipment Installation Installing or Removing Cage Nuts Specifications Storage and Service Warranty and Warranty Registration Español 1111 W. 35th Street, Chicago, IL 60609 USA www.tripplite.com/support Copyright © 2011 Tripp Lite. All trademarks are the sole property of their respective owners. -
Page 2: Important Safety Instructions
Overview SmartRack Enclosures accommodate all standard 19-inch rackmount equipment, regardless of vendor, and ship fully assembled for quick and easy deployment. They feature adaptable heavy duty cabinets with variable mounting depths, making them ideal for servers. The cabinets include quick release doors and side panels for convenient maintenance. Front and rear doors and side panels are lockable. The SR42UBZ4 is designed for use in earthquake zones. The enclosure features a welded construction, providing more security for use in unstable environments. Reinforcing Zone 4 Seismic Brackets offer enhanced stability and protection with a Zone 4 seismic rating. -
Page 3: Feature Identification
Feature Identification Roof Panel Locking Split Rear Doors Locking Side Panels Cable Management Rails Zone 4 Seismic Brackets Mounting Rails (Provide horizontal and vertical mounting points for equipment.) Keys (One for the doors and one for the side panels.) Locking Reversible Front Door Not Shown: Mounting hardware, documentation and other shipping materials. -
Page 4: Enclosure Installation
Enclosure Installation Caution! Read All Instructions and Warnings Before Installation! WARNING: The rack enclosure is extremely heavy. Do not attempt to unpack, move or install the enclosure without assistance. Until it has been properly installed and stabilized, the enclosure is prone to tipping and could cause property damage and/or personal injury. -
Page 5: Placement
Enclosure Installation Use the key to open the enclosure's doors and locate the base Zone 4 Seismic Brackets reinforcing brackets that are bolted into the shipping pallet. Note: The keys are shipped in the accessory carton that comes attached to the side panel carton. Use a 13 mm open-end wrench to remove the bolts attaching the enclosure to the shipping pallet. Be extremely careful, as the enclosure could shift unexpectedly after bolt removal. Save the reinforcing brackets and bracket hardware for later use. Position at least one person at the front of the enclosure and one person at the rear of the enclosure. -
Page 6: Enclosure Configuration
Enclosure Configuration Adding or Removing Front and Rear Doors WARNING: Do not attempt to add or remove doors without assistance. Removing Door Disconnect the door's ground wire. Open the door until it is perpendicular (90 degrees) to the front of the enclosure. 90° Lift the door from the hinges and remove it from the enclosure. To Reinstall Door, Reverse Steps 1-3 (Optional) If the enclosure is joined to another enclosure, turn the door back toward the enclosure as you lift it from the hinges. - Page 7 Enclosure Configuration Remove the screw and washer from the rear of the door handle and remove the latching mechanism. Rotate the latch washer counter-clockwise 90 degrees and reverse the latch so it points in the opposite direction, then use the screw and washer to re-attach the latch to the rear of the door handle. Remove the door by following the steps in the previous section. Remove the door hinges from the enclosure, rotate them 180 degrees and attach them on the opposite side of the enclosure. Note: The alternate door hinge attachment points have plastic plugs in the screw holes.
-
Page 8: Adding Or Removing Roof Panel
Adding or Removing Roof Panel WARNING: Do not attempt to use the roof panel for weight-bearing purposes other than those explicitly described and approved by Tripp Lite. Do not attempt to add or remove the roof panel without assistance. Removing Roof Panel Pull the 2 pins near the rear of the roof panel. While holding the pins, push the roof panel... -
Page 9: Adjusting Mounting Rails And Cable Management Rails
Enclosure Configuration Lift the panel away from the brace that supports it. To Reinstall Side Panel, Reverse Steps 1-3 Adjusting Mounting Rails and Cable Management Rails WARNING: Do not attempt to adjust rails without assistance. Do not attempt to adjust rails while equipment is installed in the enclosure. -
Page 10: Equipment Installation
Equipment Installation WARNING: Do not install equipment until you have stabilized the enclosure. Install heavier equipment first and install it toward the bottom of the enclosure. Install equipment starting from the bottom of the enclosure and proceeding toward the top of the enclosure - never the reverse. -
Page 11: Specifications
Specifications Load Rating Unit Dimensions Shipping Dimensions Model Static Rolling Height Width Depth Weight Height Width Depth Weight SR42UBZ4 3000 lb 2250 lb 78.5 in 23.63 in 43 in 353 lb 85 in 26 in 45 in 395 lb (1361 kg) (1021 kg) (1994 mm) (600 mm) (1093 mm)
Need help?
Do you have a question about the SmartRack SR42UBZ4 and is the answer not in the manual?
Questions and answers