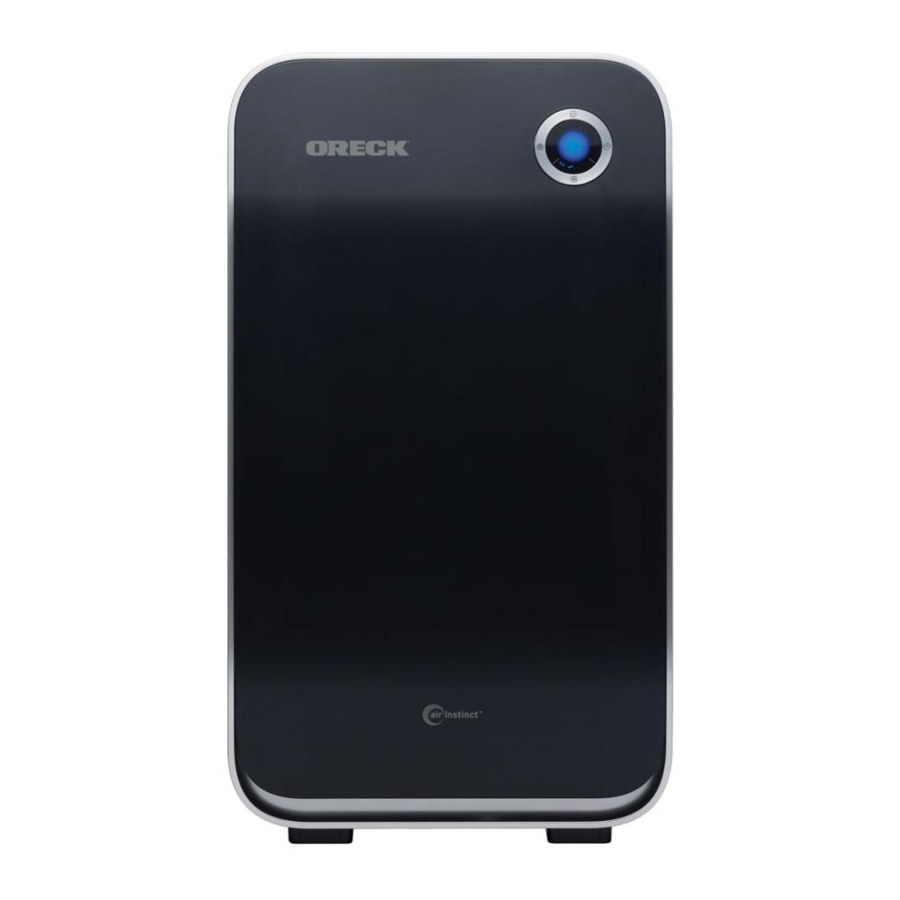
Summary of Contents for Oreck AirInstinct AIR75B
- Page 1 AirInstinct Air Purifier User’s Guide Model: AIR75B Important! Read this manual carefully, and keep for future reference.
- Page 2 Enjoy Congratulations on your purchase of the Oreck AirInstinct Air Purifier. Use this manual to learn the features, operation and maintenance of the Oreck Air Purifier. Welcome to our Call. Click. customer service program. To speak with an Oreck representative call: Call USA: 1•800•989•3535...
-
Page 3: Table Of Contents
Contents Safety ....... . . 4 General Warnings ..... . . 4 Placement Warnings . -
Page 4: Safety
Safety General Warnings IMPORTANT SAFETY INSTRUCTIONS Cleaning the unit while it is plugged in may result in electric shock, electric spark and serious injury. Unplug the unit before cleaning or maintenance WARNING: To reduce the risk of fire, electric shock or injury, read and understand this user guide before operating this appliance. -
Page 5: Placement Warnings
• Do not use in an area where toxic vapors, flammable dust or oxygen tanks are present. Check the location and make sure these elements are not present. • Warning: Product contains chemicals known to the State of California to cause cancer, birth defects, or other reproductive harm. -
Page 6: Features
Features Display Panel: Air purifier controls and indicator lights. Power Button: Turns the purifier On and Off. AUTO Mode and Speed Button: Auto Mode automatically adjusts the fan speed. Speed button manually sets the fan speed to low, medium or high. Check Filter Light: Indicates the filters may need to be replaced. - Page 7 10 . Exhaust Grille: Directs the flow of air as it exits the unit. 11 . Power Cord: Plug into the outlet to begin use. 12 . Pre-filter: Filters large particles such as dust, hair and lint that pass through the filter. 13 .
-
Page 8: Operation
Operation Note: Make sure to open cover and remove each filter’s plastic packaging before turning unit on. Order of filters: pre-filter, odor filter, Hepa filter 1 . Place . Place the air purifier on a solid surface. Do not block the grille with objects and remove candles or flames near the unit. -
Page 9: Maintenance
Maintenance Manual Mode A . Press and release the button for the desired fan speed: Lowee , Medium , High B . The indicator lights will display the speed. Automatic (AUTO) Mode Important: The Air Sensor is set to standard sensitivity when shipped from the factory. -
Page 10: Cleaning And Filter Replacement Intervals
WARNING! Cleaning the unit while it is plugged in may result in electric shock, electric spark and serious injury. Unplug the unit before cleaning or maintenance Cleaning and Filter Replacement Intervals Proper care and cleaning of the air purifier is critical to performance. -
Page 11: Replacing The Filters
Replacing the Filters IMPORTANT: A lways remove the protective plastic packaging from the filter before installing the filter. 1 . Unplug the air purifier. 2. Open the cover by gently pulling from the bottom corners. 3 . Press the two hooks above the pre-filter, pull straight out of the cabinet. -
Page 12: Filter Reset Mode
Filter Reset Mode 1 . When the indicator light comes on, the odor, Hepa or both indicator lights will illuminate; indicating which filter needs to be replaced. 2 . After installing a new or replacement filter, press and hold the reset button for approximately two seconds. Forced Reset Mode If you have replaced a filter before the filter replacement light is illuminated:... -
Page 13: Cleaning The Air Sensor
Cleaning the Air Sensor WARNING! Cleaning the unit while it is plugged in may result in electric shock, electric spark and serious injury. Unplug the unit before cleaning or maintenance 1 . Open the air sensor cover on the side of the product. 2 . -
Page 14: Adjusting The Air Sensor
Adjusting the Air Sensor The purifier is shipped with the Air Sensor set to standard sensitivity. Adjust the sensitivity of the sensor if you want the air purifier to adjust its fan setting in Auto Mode to more or less frequently. To adjust the sensitivity of Air Sensor: 1 . -
Page 15: Troubleshooting
Trouble- Service problems that appear to be major can often be solved easily. You can be your own troubleshooter by reviewing, shooting this guide. All other servicing should be done by an Oreck authorized service center. Problem Check Solution Unit does not turn •... -
Page 16: Warranty
God, the use of voltages other than on the data plate of this product or service of this product by other than Oreck or a participating Factory Authorized Service Center. - Page 20 © 2011 Oreck Holdings, LLC. All rights reserved. All marks, text, logo’s, product configurations and registered trademarks are owned and used under the authority of Oreck Holdings, LLC. 22103-02 12/11 ECN # R-10883...


Need help?
Do you have a question about the AirInstinct AIR75B and is the answer not in the manual?
Questions and answers