
Subscribe to Our Youtube Channel
Related Manuals for VuQube FLEX VQ2100


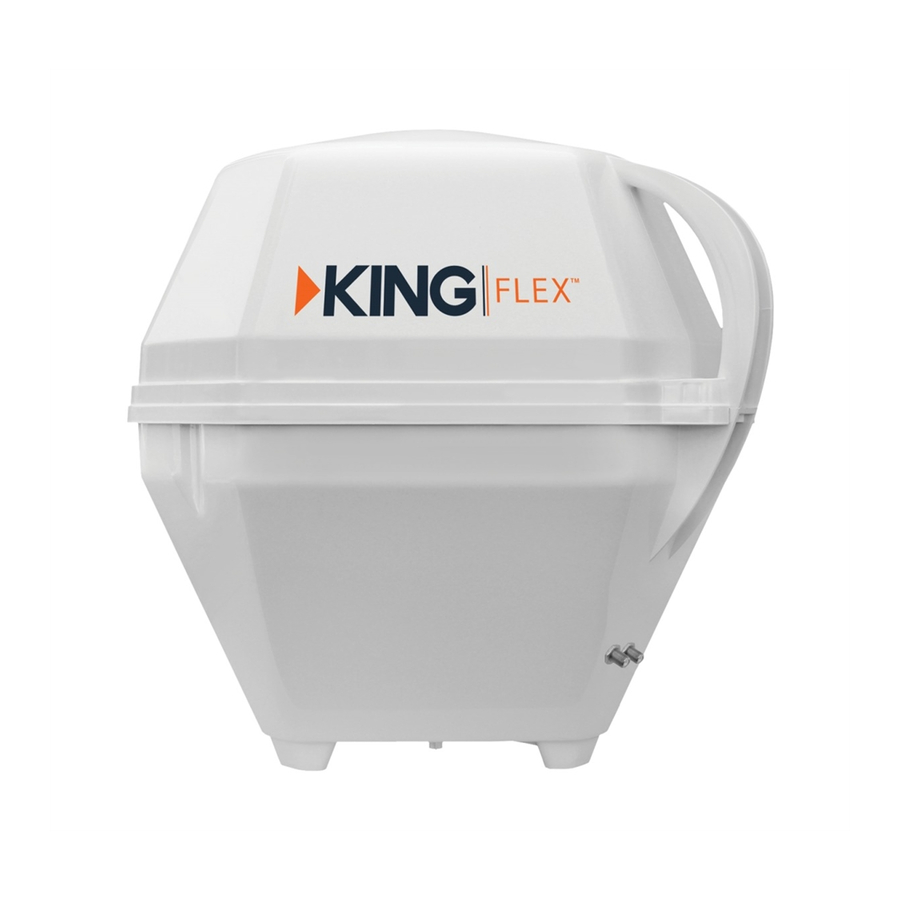
Summary of Contents for VuQube FLEX VQ2100
- Page 1 Portable Automatic Satellite TV Antenna VQ2100 Owner’s Manual ® Solutions for Mobile Markets 11200 Hampshire Avenue South, Bloomington, MN 55438-2453 Phone: (952) 922-6889 Fax: (952) 922-8424 www.kingcontrols.com 21438 REV B...
-
Page 3: Table Of Contents
DIRECTV is a registered trademark of DIRECTV, Inc. DISH and Tailgater are registered trademarks of DISH Network L.L.C. FLEX is a trademark of Electronic Controlled Systems, Inc. DBA King Controls. King Controls and VuQube are registered trademarks of Electronic Controlled Systems, Inc. DBA King Controls. Page 1... -
Page 4: Setup
SETUP Section 1 The FLEX portable satellite antenna is easily confi gured to lock onto the appropriate satellites ® necessary to receive your favorite SD programming from DIRECTV , or SD and HD programming ® from DISH or Bell TV The FLEX system includes: You will also need the following (sold separately): •... - Page 5 IMPORTANT! DISH and Bell TV Subscribers: Do not connect 2nd receiver at this time. DISH and Bell TV Subscribers: Do not connect 2nd receiver at this time. Page 3...
-
Page 6: Antenna Configuration
ANTENNA CONFIGURATION Section 2 NOTE: If you have DIRECTV SD service you do not need to confi gure your antenna. Go to step 5 on next page. The FLEX is factory pre-set for DIRECTV standard digital programming broadcast from the 101°... - Page 7 3. Press SCAN repeatedly to scroll thru the options. 4. When the correct lights turn on to show your desired satellite confi guration, simultaneously press and hold POWER and SCAN for fi ve seconds. All lights will turn off except for the COAX CONNECTION light. 5.
-
Page 8: Receiver Configuration - Dish And Bell Tv
RECEIVER CONFIGURATION - DISH AND BELL TV Section 3 IMPORTANT! YOU MUST HAVE COMPLETED THE ANTENNA CONFIGURATION (PAGES 4-5), AND PERFORMED A SUCCESSFUL SEARCH (STEP 2 BELOW), BEFORE RUNNING THE CHECK SWITCH TEST (STEP 3 ON NEXT PAGE). NOTE: For automatic satellite switching, King Controls recommends using a DISH model 311 receiver for DISH SD. If you do not have a clear view of the satellites, the switch will not load correctly. - Page 9 3. On the receiver remote, press MENU, 6, 1, 1. 4. Highlight “Check Switch.” Press SELECT on your remote. NOTE: Some receivers may prompt you to select “Check Switch” a second time to initiate Screen graphics may vary. the test. 5.
- Page 10 DISH SD and HD DISH SD and HD Alternate NO “X”s MUST SHOW “SW64” “NO SWITCH DETECTED” Bell TV SD Bell TV SD and HD “INSTALLED DEVICE UNKNOWN” similar MUST SHOW “SW21” NO “X”s If the indicated results are not obtained, go back to Step 3 and run test again. Contact King Controls if the check switch fails to load after 4 attempts.
- Page 11 This page intentionally left blank. Page 9...
-
Page 12: Operation
OPERATION Section 4 IMPORTANT: If you have a DISH receiver model ViP211z, ViP211k, ViP211 or 411 AND have confi gured the antenna for the DISH SD and HD setting, DO NOT use the instructions on this page. Go to the Tailgater Mode instructions on page 12. -
Page 13: Operation
SCAN FOR SATELLITES 1. Press and hold SCAN for 3 seconds. • The antenna will scan for the selected satellites. The four SCAN PROGRESS lights will cycle on and off to indicate a scan is in progress. • As satellites are located, the corresponding SCAN PROGRESS lights will turn on (see below). -
Page 14: Tailgater Mode
TAILGATER MODE Section 5 IMPORTANT: If you have a DISH receiver model ViP211z, ViP211k, ViP211 or 411 AND have confi gured the antenna for the DISH SD and HD setting, use the instructions on this page. See page 4 for confi... - Page 15 The Portable Antenna Setup screen will be displayed on your TV. NOTE: If the Portable Antenna Setup screen does not display, press MENU, 6, 1, 1 on your DISH remote. Highlight “Check Switch.” Press SELECT on your remote. The Portable Antenna Setup screen should now display.
- Page 16 6. Verify “Scan” is highlighted. Press SELECT on your remote. The scan will begin and may take several minutes to complete. This screen will display during the scan: 7. When the scan is complete, the Acquiring Signal message will display. Acquiring the signal may take up to 5 minutes to complete.
- Page 17 8. After your receiver has acquired the signal, the electronic program guide will download. This may take up to 5 minutes to complete (potentially longer if an external hard drive is connected for DVR use). If you are using a second receiver, see SECOND RECEIVER OPERATION on page 22. OPERATING NOTES If your system is inactive for an extended period of time, you may need to call DISH Customer Service at 1-800-333-DISH (3474) to re-authorize your receiver.
- Page 18 TAILGATER MODE: INITIAL SETUP WITH NEW (UN-ACTIVATED) RECEIVER IMPORTANT: If you have a NEW, not yet activated DISH receiver model ViP211z, ViP211k, ViP211 or 411, AND have confi gured the antenna for the DISH SD and HD setting, use the instructions on this page for fi...
- Page 19 4. Point your receiver’s remote at the front of the receiver and press SAT. Press RECORD. When a number appears in the box, verify “Continue” is highlighted. Press SELECT on your remote. The Portable Antenna Setup screen will display. 5. Use the arrow buttons on your remote to highlight the letter group that includes the fi...
- Page 20 7. Verify “Scan” is highlighted. Press SELECT on your remote. The scan will begin and may take several minutes to complete. This screen will display during the scan. The receiver will download current software. The receiver will update with the current software.
- Page 21 8. The receiver will reset and the Portable Antenna Setup Screen will appear. Choose your location again and initiate a second scan. The antenna will scan a second time. When the scan is complete, the Acquiring Signal message will display. Acquiring the signal may take up to 5 minutes to complete.
- Page 22 9. The Set Video Resolution screen will appear. Select the highest resolution your TV will display. Verify “Test” is highlighted. Press SELECT on your remote. 10. Verify “Save” is highlighted. Press SELECT on your remote. 11. While this screen is displayed you may be prompted with a “Continue”...
- Page 23 12. Call DISH to activate your new receiver. 1-800-333-DISH (3474) This completes the initial setup for new receivers. You may now use Tailgater mode on page 12 for subsequent use. If you are using a second receiver, see SECOND RECEIVER OPERATION on page 22. Page 21...
-
Page 24: Second Receiver Operation - Dish And Bell Tv
SECOND RECEIVER OPERATION - DISH AND BELL TV Section 6 INITIAL SETUP FOR SECOND RECEIVER IMPORTANT! Second receiver must 1. With the second receiver disconnected from be disconnected during the dome unit’s AUX port coax, use your initial confi guration. DISH remote control and press MENU, 6, 1, 1 to display the Point Dish screen. - Page 25 DOWNLOADING PROGRAMMING TO THE SECOND RECEIVER 1. With the second receiver now connected, and the antenna locked on (see OPERATION section), re-set the second receiver by pressing the POWER button on the front panel for 10 seconds. The TV picture will go away and should reappear within two minutes. The receiver will then download the program guide to show only the channels available on the current satellite as determined by the channel selected on the main receiver.
-
Page 26: Troubleshooting
TROUBLESHOOTING Section 7 SYMPTOM POSSIBLE CAUSE COURSE OF ACTION No lights turn on. No power to controller. Verify power supply is properly connected to FLEX controller. Verify power supply is plugged into a 110-120 VAC power source. ERROR light and all 4 SCAN No satellites found. -
Page 27: Security
SECURITY Section 8 The FLEX can be secured to an object using a padlock and cable (not included) to deter theft. ACCESSORIES Section 9 Visit your local dealer or call King Controls to order. Page 25... -
Page 28: Fcc Guidelines
FCC GUIDELINES Section 10 This device complies with Part 15, sub-part B, of the FCC Rules. Operation is subject to the following two conditions: 1) This device must not cause harmful interference, and 2) This device must accept any interference received, including interference that may cause undesired operation. -
Page 29: Limited Warranty
LIMITED WARRANTY Section 11 Every new FLEX Satellite System is thoroughly inspected and tested before leaving the factory, and is covered by the following one year parts limited warranty from the date of original purchase: • One year parts warranty: The customer is not responsible for the cost of replacement parts if the original part is determined to be defective under the terms of the warranty. - Page 30 NOTES: Page 28...
- Page 32 ® 11200 Hampshire Avenue South, Bloomington, MN 55438-2453 Phone: (952) 922-6889 Fax: (952) 922-8424 www.kingcontrols.com...
Need help?
Do you have a question about the FLEX VQ2100 and is the answer not in the manual?
Questions and answers