Table of Contents
Advertisement
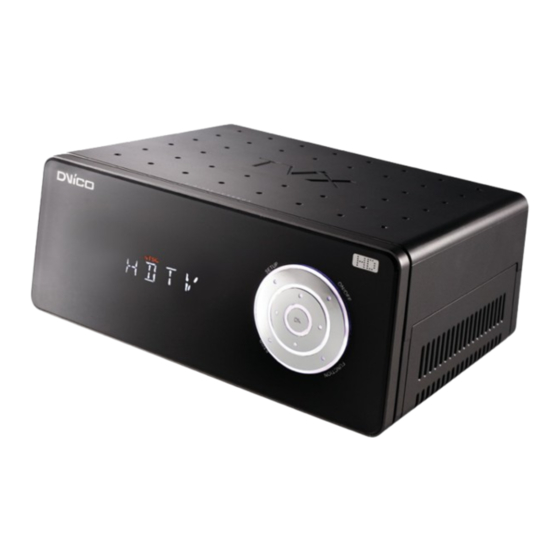
TViX
HD R-3300 – A/V IN + optional DTV tuner box.
◈ ◈ ◈ ◈
TViX PVR R
-3310 – NTSC Analog TV & ATSC Digital TV + A/V IN
◈ ◈ ◈ ◈
TViX PVR R
-3330 – DVB-T Digital TV only + A/V IN
◈ ◈ ◈ ◈
** Some specifications could change according with new firmware versions. Please refer to the FAQ
on our homepage for further information- http://www.tvix.co.kr.
** Without internal tuner box, some functions of PVR ( EPG or Channels) will not work.
User Manual
TViX PVR R-3330/ 3300
Advertisement
Table of Contents


Need help?
Do you have a question about the R-3330 and is the answer not in the manual?
Questions and answers