Sign In
Upload
Download
Table of Contents
Contents
Add to my manuals
Delete from my manuals
Share
URL of this page:
HTML Link:
Bookmark this page
Add
Manual will be automatically added to "My Manuals"
Print this page
×
Bookmark added
×
Added to my manuals
Manuals
Brands
Raymarine Manuals
Antenna
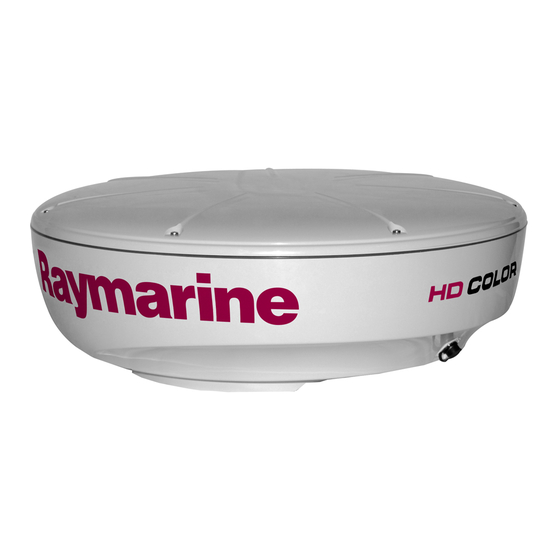
RD418HD
User manual
Raymarine RD418HD User Manual
18” 4 kw hd digital radome antenna; 24” 4 kw hd digital radome antenna
Hide thumbs
1
2
3
4
Table Of Contents
5
6
7
8
9
10
11
12
13
14
15
16
17
18
19
20
21
22
23
24
25
26
27
28
29
30
31
32
33
34
35
36
page
of
36
Go
/
36
Contents
Table of Contents
Troubleshooting
Bookmarks
Table of Contents
Table of Contents
Chapter 1 Important Information
Introduction
Transmitted Power Density Levels
IMO and SOLAS
Radar Licensing
FCC Notice - Radar
EMC Conformance
Product Disposal
Display Compatibility
Warranty Registration
Technical Accuracy
Chapter 2 Installation
Planning
Power Requirement
Installation Procedures
Post Installation Procedures
Chapter 3 Maintenance & Troubleshooting
Safety
Maintenance
Troubleshooting
Raymarine Technical Support
Chapter 4 Technical Specification
Advertisement
Quick Links
1
Display Compatibility
2
Chapter 2 Installation
3
Power Requirement
4
Installation Procedures
5
Troubleshooting
6
Chapter 4 Technical Specification
Download this manual
Table of
Contents
Previous
Page
Next
Page
1
2
3
4
5
Advertisement
Table of Contents
Troubleshooting
Chapter 3 Maintenance & troubleshooting
27
Troubleshooting
29
Need help?
Do you have a question about the RD418HD and is the answer not in the manual?
Ask a question
Questions and answers
Related Manuals for Raymarine RD418HD
Antenna Raymarine RD424HD User Manual
18” 4 kw hd digital radome antenna; 24” 4 kw hd digital radome antenna (36 pages)
Antenna Raymarine STV60 Installation & Operation Instructions
(82 pages)
Antenna Raymarine GA150a Installation Instructions Manual
Boat antenna (34 pages)
Antenna Raymarine GA150 Installation Instructions
(2 pages)
Antenna Raymarine STV33 Installation & Operation Instructions
(74 pages)
Antenna Raymarine STV37 Installation & Operation Instructions
(78 pages)
This manual is also suitable for:
Rd424hd
Table of Contents
Print
Rename the bookmark
Delete bookmark?
Delete from my manuals?
Login
Sign In
OR
Sign in with Facebook
Sign in with Google
Upload manual
Upload from disk
Upload from URL


Need help?
Do you have a question about the RD418HD and is the answer not in the manual?
Questions and answers