Advertisement
Quick Links
Advertisement

Related Manuals for Fisher Labs F2


Summary of Contents for Fisher Labs F2
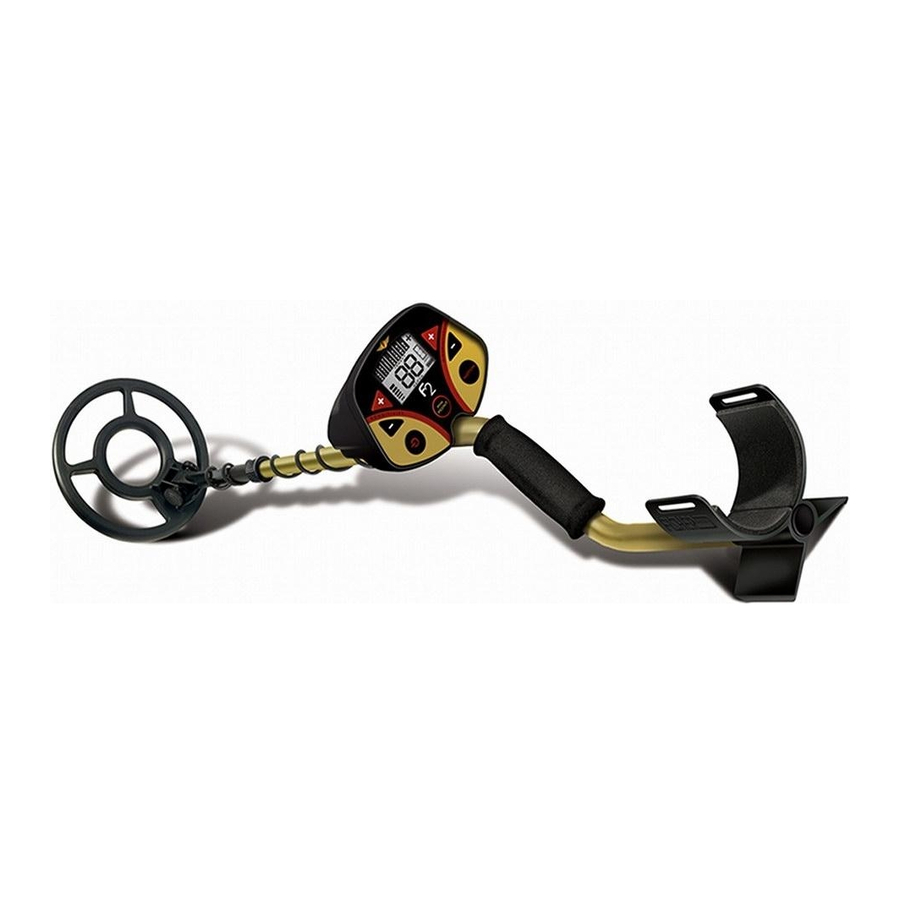
- Page 1 O P E R A T I N G M A N U A L...
- Page 2 TABLE OF CONTENTS ........3 .
- Page 3 SETTING UP No tools required. Insert the lower stem (plastic tube) into the Middle Stem middle stem. Position the lower stem with the silver button toward the back. Locking Collar Using the bolt and knurled knob, attach the search coil to the Knurled Knob lower stem.
- Page 4 BATTERIES The batteries have been inserted backwards in the compartment for storage during transportation. Please remove batteries, turn them around, and install correctly. Use A batteries only. To install the batteries: Remove the battery cover by disengaging the clip at the back. ;...
- Page 5 QUICK-START DEMONSTRATION • A Nail • A Quarter • A Zinc Penny (dated after 1982) • A Nickel a. Place the detector on a table, with the search coil hanging over the edge. (or better, have a friend hold the detector, with the coil off the ground).
- Page 6 QUICK-START DEMONSTRATION (continued) a. The Nail will not be detected. b. The Nail has been "Discriminated Out." Only the Dime, Quarter and + icons will remain illuminated. The Nail, Nickel and Penny will not be detected. quarter will detected with a high tone. •...
-
Page 7: Control Panel
CONTROL PANEL SENSITIVITY These controls change the detector’s sensitivity; higher settings enable detection of deeper targets. At power-up, the detector is pre-set to 75% of maximum sensitivity. At minimum, the sensitivity is 35% of maximum. With each press of the touch pads, the sensitivity level is displayed on the bar graph on the left of the display. - Page 8 CONTROL PANEL DISCRIMINATION Press DISCRIMINATION at any time (other than immediately after pressing ) to adjust the target discrimination level. will increase or decrease the level of discrimination. Each press of the pads will cause a target icon to appear or disappear on the display.
- Page 9 CONTROL PANEL PINPOINT Press and hold to activate this feature This is a static detection mode; no coil motion over the target is required to detect metal while pinpoint is depressed. This feature most effective pinpointing the exact location of small buried objects.
-
Page 10: Tone Audio System
4-TONE AUDIO SYSTEM While the LCD (Liquid Crystal Display) is very accurate in identifying buried objects, the user in the field does not always maintain the display screen in his field of vision. Therefore, we have incorporated an audio feedback mechanism to alert the user to the nature of buried objects. -
Page 11: Depth And Target Display
DEPTH AND TARGET DISPLAY READING THE DISPLAY will The Liquid Crystal Display (LCD) shows register under Nickel or Tab. the PROBABLE identification of the will register under targeted metal, as well as the PROBABLE Tab or Zinc. depth of the target, in inches. Silver objects will An arrow will illuminate under the normally register to the right of the... - Page 12 While the F2 will eliminate buried objects. The target value can vary or indicate the presence of most...
-
Page 13: Sensitivity Adjustment
To manage chatter, which is most likely from electrical interference: until the chatter stops. Try sweeping it over the ground. If the F2 chatters while held still, or held up in the air, it may be much quieter when sweeping over the ground. SEVERE GROUND CONDITIONS A secondary use for the Sensitivity Control is to reduce false detection signals caused by severe ground conditions. - Page 14 SEARCH TECHNIQUES (in DISC mode) After detecting a target, do the following: WRONG Walk around the target in a circle. While circling target, continue sweeping searchcoil across the target. Sweep once every 30° or 40° of CORRECT the circle. If the tone does not change and the target ID value is consistent as you circle the target, you can be highly...
- Page 15 TARGET PINPOINTING (no-motion PINPOINT mode) After you have identified a target using a motion mode of detection, press to identify the target’s exact location. This technique can yield more information about the target’s shape and size and also find its exact location to facilitate excavation. Position the searchcoil just barely off the ground, and to the side of the target.
- Page 16 Fisher Labs. Shipping cost to Fisher Labs is the responsibility of the consumer. To return your detector for service, please first contact Fisher Labs for a Return Authorization (RA) Number. Reference the RA number on your package and...
Need help?
Do you have a question about the F2 and is the answer not in the manual?
Questions and answers