Sign In
Upload
Download
Table of Contents
Contents
Add to my manuals
Delete from my manuals
Share
URL of this page:
HTML Link:
Bookmark this page
Add
Manual will be automatically added to "My Manuals"
Print this page
×
Bookmark added
×
Added to my manuals
Manuals
Brands
Polk Audio Manuals
Speakers
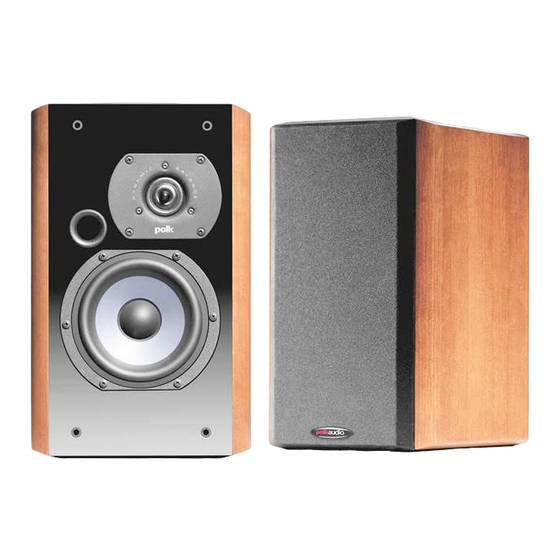
LSi 7
Owner's manual
Polk Audio LSi7 Owner's Manual
Ls series loudspeakers bookshelf/floorstanding loudspeaker
Hide thumbs
Also See for LSi7
:
Brochure & specs
(12 pages)
,
Owner's manual
(8 pages)
1
2
3
4
5
6
7
8
page
of
8
Go
/
8
Contents
Table of Contents
Bookmarks
Advertisement
Table of Contents
1
Low Frequency
2
High Frequency
3
Limited Five Year Warranty
4
Specifications
Download this manual
LSi 7
Bookshelf Loudspeaker
LSi 9
Bookshelf Loudspeaker
LSi 15
Floorstanding Loudspeaker
Owner's
Manual
Previous
Page
Next
Page
1
2
3
4
5
Advertisement
Table of Contents
Need help?
Do you have a question about the LSi7 and is the answer not in the manual?
Ask a question
Questions and answers
Related Manuals for Polk Audio LSi7
Speakers Polk Audio Lsi Series Brochure & Specs
Lsi series loudspeakers (12 pages)
Speakers Polk Audio AM2177-B Owner's Manual
Lsi series bookshelf/floorstanding loudspeakers (8 pages)
Speakers Polk Audio LSi25 Owner's Manual
Lsi series floorstanding loudspeaker (9 pages)
Speakers Polk Audio LSi25 Owner's Manual
Lsi series floorstanding loudspeaker (8 pages)
Speakers Polk Audio LSi25 Owner's Manual
Lsi series floorstanding loudspeaker (9 pages)
Speakers Polk Audio LSi 15 Owner's Manual
Ls series loudspeakers bookshelf/floorstanding loudspeaker (8 pages)
Speakers Polk Audio LSi 9 Owner's Manual
Ls series loudspeakers bookshelf/floorstanding loudspeaker (8 pages)
Speakers Polk Audio LSiFX Owner's Manual
Ls series center channel loudspeaker surround fx loudspeaker (8 pages)
Speakers Polk Audio LSiC Owner's Manual
Lsi series center channel loudspeaker surround fx loudspeaker (9 pages)
Speakers Polk Audio LSiM series Manual
(20 pages)
Speakers Polk Audio LSiM705 Quick Start Manual
(29 pages)
Speakers Polk Audio LSiM707 Quick Start Manual
(29 pages)
Speakers Polk Audio LSiM706c Quick Start Manual
Polk audio loudspeakers quick start guide (28 pages)
Speakers Polk Audio LSiM704c Quick Start Manual
Polk audio loudspeakers quick start guide (28 pages)
Speakers Polk Audio LSIM702F Specifications
Lsim702f; lsim702x (1 page)
Speakers Polk Audio LS SERIES Owner's Manual
(4 pages)
This manual is also suitable for:
Lsi9
Lsi15
Table of Contents
Print
Rename the bookmark
Delete bookmark?
Delete from my manuals?
Login
Sign In
OR
Sign in with Facebook
Sign in with Google
Upload manual
Upload from disk
Upload from URL


Need help?
Do you have a question about the LSi7 and is the answer not in the manual?
Questions and answers