Table of Contents
Advertisement
Quick Links
OL10000
CLASS D MonoBlock
Car Audio Amplifiers
OL8000
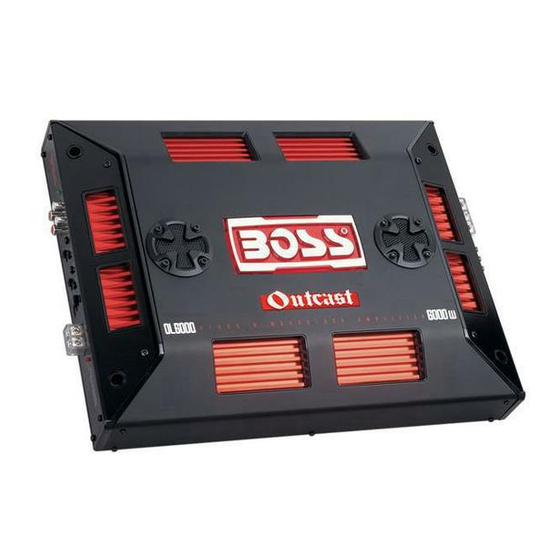
OL6000
Congratulations on your
purchase of a
Outlaw Class D Amplifier.
It has been designed, engineered
and manufactured to bring you
the highest level of performance
and quality, and will afford you
years of listening pleasure.
Thank you for making
your choice for car audio
entertainment!
U S E R ' S M A N U A L
CONTENTS
page
2
Introduction
2
Features
3
What is included?
3
General precautions
3
Installation precautions
3
Mounting the amplifier
4
Connecting the amplifier
5
Important system considerations
5
Tips for a safe system
6
Low level input wiring
6
Speaker wiring
7
Power connections
Normal and with Stiffening Capacitor
8
Bridging two Outlaw
CLASS D Amplifiers
10 Troubleshooting
11 Specifications
OL10000 • OL8000 • OL6000 Amplifier User's Manual - page 1
Advertisement
Table of Contents

Related Manuals for Boss OL10000


Summary of Contents for Boss OL10000
- Page 1 Low level input wiring entertainment! Speaker wiring Power connections Normal and with Stiffening Capacitor Bridging two Outlaw CLASS D Amplifiers 10 Troubleshooting 11 Specifications OL10000 • OL8000 • OL6000 Amplifier User’s Manual - page 1...
-
Page 2: Introduction
• Nickel-plated speaker and power an astounding 20,000 watts, terminals depending on the model selected. • LED power and protection indicators • Red anodized heatsink • Remote subwoofer level control OL10000 • OL8000 • OL6000 Amplifier User’s Manual - page 2... -
Page 3: What Is Included
2. Make sure there is sufficient air local dealer or service center as soon circulation around the intended as possible. mounting location. OL10000 • OL8000 • OL6000 Amplifier User’s Manual - page 3... -
Page 4: Connecting The Amplifier
11. Further fine tuning of the various accidentally touches the chassis controls may be necessary to obtain ground on its run to the amplifier. best results. OL10000 • OL8000 • OL6000 Amplifier User’s Manual - page 4... - Page 5 Ignoring these instructions will result in an input overload to the amplifier, and excessive audio distortion. It can also cause the protection circuit to engage. OL10000 • OL8000 • OL6000 Amplifier User’s Manual - page 5...
-
Page 6: Speaker Wiring
Although the layout of front and rear panels varies slightly between models, the controls and connectors themselves are functionally identical. OL10000 • OL8000 • OL6000 Amplifier User’s Manual - page 6... -
Page 7: Power Connections
REMOTE TURN-ON terminal of head unit FUSE Battery With Stiffening Capacitor Chassis Distribution ground Block point Battery FUSE to REMOTE TURN-ON terminal of head unit Stiffening Capacitor Chassis ground point OL10000 • OL8000 • OL6000 Amplifier User’s Manual - page 7... - Page 8 PLEASE NOTE: In this MASTER AMP/SLAVE AMP configuration, the Slave amp receives its audio signal from the Master Amp. Therefore, DO NOT USE THE INPUTS ON THE SLAVE AMP! OL10000 • OL8000 • OL6000 Amplifier User’s Manual - page 8...
- Page 9 Master Stiffening Amp. Therefore, DO NOT Capacitor USE THE SUBWOOFER Chassis LEVEL CONTROL ON THE ground to REMOTE TURN-ON SLAVE AMP! point terminal of head unit OL10000 • OL8000 • OL6000 Amplifier User’s Manual - page 9...
-
Page 10: Troubleshooting
Check that speaker leads are not shorted to the vehicle chassis. Engine noise (alternator Check that the RCA grounds are not shorted to the vehicle chassis. whine) Check that the head unit is properly grounded. OL10000 • OL8000 • OL6000 Amplifier User’s Manual - page 10... -
Page 11: Specifications
30A x 4 30A x 3 35A x 2 Fuse rating Dimensions: 17-1/8" 14-3/16" 12-3/8" " x 2 " x ...) -5/16 -5/8 All specifications subject to change without notice. OL10000 • OL8000 • OL6000 Amplifier User’s Manual - page 11... - Page 12 Notes...
Need help?
Do you have a question about the OL10000 and is the answer not in the manual?
Questions and answers