
Related Manuals for Shark NV80


Summary of Contents for Shark NV80
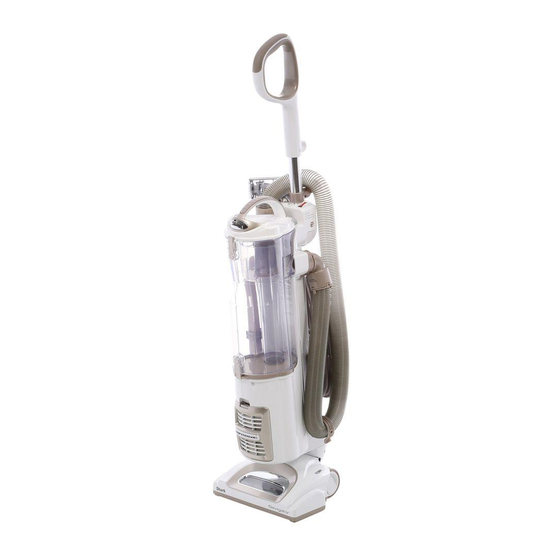
- Page 1 NV80 Owner’s Guide www.sharkclean.com NV80_26_IB_E_111130_3.indd 1 11-11-30 3:26 PM...
- Page 2 This manual covers model numbers: NV80 26 TECHNICAL SPECIFICATIONS Voltage: 120V. Watts: 1200W Amps: 10A Hertz: 60Hz TOLL FREE: 1-800-798-7398 NV80_26_IB_E_111130_3.indd 2 11-11-30 3:26 PM...
-
Page 3: Table Of Contents
Contents Thank you for Important Safety Instructions purchasing Getting Started the Shark ® Using the Vacuum Navigator ™ Cleaning with the Vacuum Accessories Professional. Emptying the Dust Cup Assembly Proper Care of Your Vacuum Troubleshooting Checking for Blockages Maintenance Warranty and Registration www.sharkclean.com... -
Page 4: Important Safety Instructions
IMPORTANT SAFETY INSTRUCTIONS For Household Use Only WARNING: WHEN USING YOUR SHARK ® TO REDUCE THE RISK OF FIRE, ELECTRIC NAVIGATOR PROFESSIONAL VACUUM, ™ SHOCK OR INJURY: BASIC SAFETY PRECAUTIONS SHOULD ALWAYS BE FOLLOWED, INCLUDING THE GENERAL ELECTRICAL SAFETY: FOLLOWING: 1. - Page 5 DUST CUP/FILTERS/ACCESSORIES: HOSE ATTACHMENTS: 1. DO NOT use if air flow is restricted; if the air Before turning on the vacuum: paths, the hose, or the accessories become 1. Make sure that all filters are thoroughly dry blocked, turn the vacuum cleaner off. Remove after routine cleaning.
-
Page 6: Getting Started
Getting Started Your Shark Navigator ® ™ Secure the handle assembly in Professional is easy to place with included nut/bolt assemble: (shipped attached to handle WHAT’S IN THE BOX YOU JUST assembly). OPENED: Lay your vacuum body on a level surface. - Page 7 Attach the Super Stretch Hose: To store the vacuum: To carry the vacuum: Snap hose into swivel When storing your vacuum, With the unit in the standing connector wind the cord around the two position, lift by the Dust Cup cord holders and secure with Assembly Handle (carry handle).
-
Page 8: Using The Vacuum
Floor Power Nozzle. Power Switch Settings Suction Release Bare Floors / Tools Carpets Your Shark Navigator ® ™ Press the On/Off switch to the“I" IMPORTANT: Professional Vacuum can be used to position to vacuum bare floors or Your Brushroll Indicator Light clean bare floors or carpets –... -
Page 9: Cleaning With The Vacuum Accessories
Cleaning with the Vacuum Accessories Using the Cleaning Wand: Stand the vacuum into upright position. Remove the Cleaning Wand with handle (with hose attached) from the unit. Push the selected tool into the end of the Cleaning Wand. Vacuum Accessories Before cleaning with your For a longer reach, add the extra accessories:... - Page 10 Option A: For Quick Empty: before continuing to vacuum; Locate the Dust Cup Door Insert Dust Cup deep inside Shark advanced cyclonic ® release button within the trash trash receptacle to contain dust action will sweep the metal bag and press to release as you and debris.
- Page 11 COMPONENT MAINTENANCE SCHEDULE Dust Cup Empty each time you vacuum. Pre-Motor Foam Filter Rinse and air dry every month under normal use. Pre-Motor Felt Filter Rinse and air dry every month under normal use. Post-Motor HEPA Filter Clean every 2 years under normal use. DO NOT operate the vacuum without ALL the filters in place.
-
Page 12: Troubleshooting
Troubleshooting WARNING: to reduce the risk of electric shock, the power cord must be disconnected before performing maintenance/troubleshooting checks. PROBLEM POSSIBLE REASONS & SOLUTIONS Check filters to see if they need cleaning. Follow instructions for rinsing and drying the filters before re-inserting back into the vacuum. (See “Maintenance”... -
Page 13: Checking For Blockages
Checking for Blockages Unplug the vacuum before checking for Dust Cup Air Duct: Floor Power Nozzle Hose blockages. Connector: Stand vacuum into upright position. Lay vacuum flat. Reassemble all parts securely before Remove Dust Cup Assembly and Remove Nozzle Hose and check operating vacuum. -
Page 14: Maintenance
Remove debris from turbine wheel and air passage. CLEANING THE MOTORIZED Resetting the Motor Thermostat FLOOR BRUSH Your Shark Navigator™ ® When your motorized floor brush Professional Vacuum is equipped needs cleaning or locks onto an with a protective Motor Thermostat. - Page 15 Product Registration Please visit www.sharkclean.com or call 1-800-798-7398 to register your new Shark product within ten (10) ® days of purchase. You will be asked to provide the store name, date of purchase and model number along with your name and address.
- Page 16 Euro-Pro Operating LLC USA: Newton, MA 02459 CAN: 4400 Bois Franc, St-Laurent, QC H4S 1A7 English: 1-800-798-7398 www.sharkclean.com Copyright © Euro-Pro Operating LLC 2011 Printed in China Illustrations may differ from actual product. NV80.E.111130.3 NV80_26_IB_E_111130_3.indd 14 11-11-30 3:26 PM...
Need help?
Do you have a question about the NV80 and is the answer not in the manual?
Questions and answers