Table of Contents
Advertisement
Advertisement
Table of Contents

Subscribe to Our Youtube Channel
Related Manuals for Jazz DV140


Summary of Contents for Jazz DV140
- Page 1 Video Recorder User’s Manual...
- Page 2 DV140 FCC statement This device complies with part 15 of FCC rules. Operation is subject to the following two conditions: (1) this device may not cause harmful interference, and (2) this device must accept any interference received, including interference that may cause undesired operation.
-
Page 3: Product View
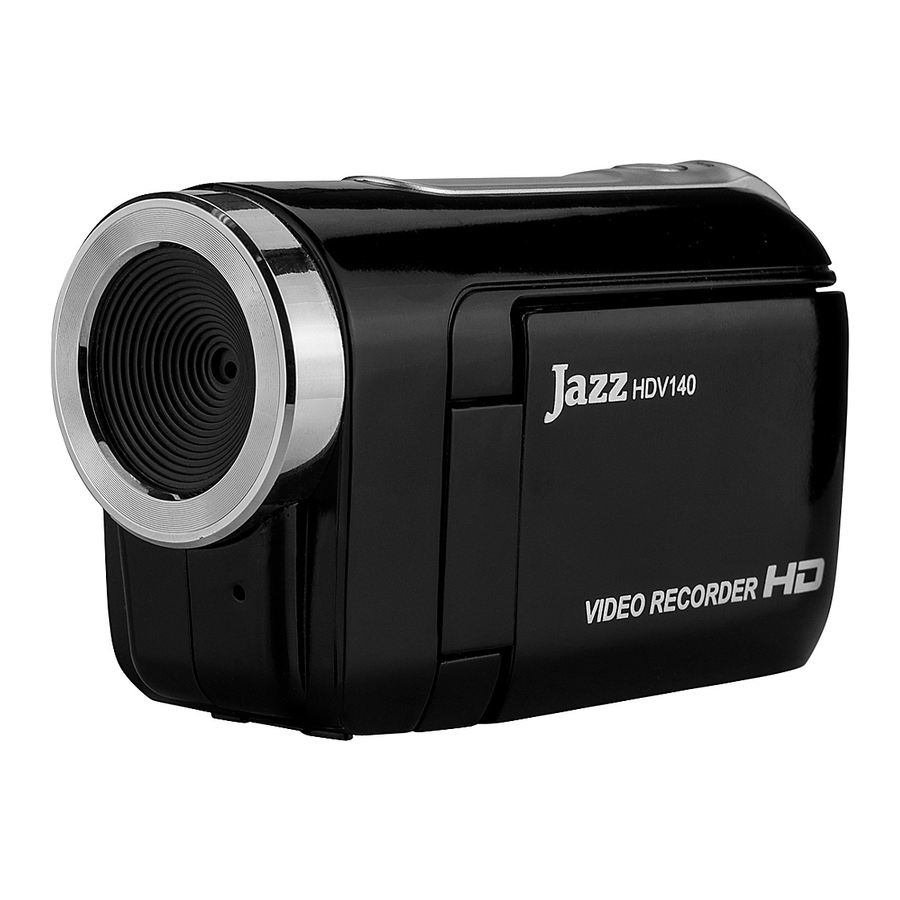
Reorient or relocate the receiving antenna. Increase the separation between the equipment and receiver. Connect the equipment into an outlet on a circuit different from that to which the receiver is connected Consult the dealer or an experienced radio TV technician for help. Pertinent testing documentation is available for verification. - Page 4 Mode key Battery lid Speaker Wrist strap loop Wrist strap hole Zoom in key Zoom out key USB/TV out port LED light Self timer light (red LED) Tripod socket SD card slot LCD Screen...
-
Page 5: Installing Batteries
Please insert three fresh AAA batteries and SD/SDHC memory card to NOTE: operate the recorder 1. Installing Batteries 1. Open the battery lid 2. Insert three AAA alkaline batteries according to the terminals polarity location. 3. Insert the front end of the battery lid into the battery latch, press the back end of the battery lid and then press the lid securely closing the battery compartment. -
Page 6: Selecting Lens Mode
Press Right Direction key and then press Up or Down Direction key to select ‘Yes’ option. The memory card will be formatted automatically. Please note that all the previous DATA in card will be deleted when formatted. 3. Selecting Lens Mode Slide the Macro / Normal lens selector to set either Normal (for everyday use) or Macro mode (only for close-up) depending on the distance of the main subject. -
Page 7: Selecting Mode Of Recorder
OFF. Auto Power OFF: When recorder has been left idle for 1 minute, the recorder will turn OFF automatically. The automatic power OFF delay time can be set at 1, 3 or 5 minutes. Go to Setup Mode / Power Save and make adjustment if necessary (see also Section 11 Setup the recorder). - Page 8 To change the date and time, use the Direction key: Up or Down to adjust, Right key to move the cursor, OK key to confirm, then OK key to Exit setup mode. To leave the date and time unaltered, press Left key and then OK key to Exit setup mode. 7.
-
Page 9: Video Mode
8. Video mode: Preview mode Video resolution; it can be selected at 640x480 or 320x240 Video Recording Icon The remaining time for recorded Video; ex 1 minute 8 seconds left Zoom ratio range SD card icon; card inserted Battery icon The LED Lamp is turned ON Recording the Video clip 1. - Page 10 NOTE: Please note that recorded video and images appear slightly narrower on recorder LCD screen than actual recorded scene. • The LCD screen acts as a viewfinder to help you more accurately point at and center the main subject or person while recording. Changing the resolution setting of video Press OK key to open the menu.
- Page 11 9. Camera mode: Preview mode Image resolution mode Self timer mode icon Image counter Camera Mode icon Zoom ratio range SD card icon; card inserted Self timer counter; photo Will be taken after 10 sec Battery icon LED light icon Shooting 1.
- Page 12 NOTE: Please note that recorded video and images appear narrower on recorder LCD screen than actual recorded scene. Changing the resolution setting of photo Press OK key to open the menu. Press Up or Down Direction key to select ‘Resolution’ option. Press Right Direction key.
- Page 13 To take a photo in self timer mode, press Shutter key. Recorder will beep for 10 seconds or 2 seconds and will take one photo automatically. To delete self timer mode setting, press Left Direction key once. Continuously taking three photos: Press OK key to open the menu then select ‘Driver Mode’.
- Page 14 10. Playback mode: 1. Press / hold the Power key to turn the recorder ON 2. Press the Mode key twice to select the Playback mode. Playback Video Photo You can view still images or video by pressing direction key Left or Right and for a video file just press the shutter key to play it.
- Page 15 Slide Show: You can setup the Slide Show and activate it. Effect: You can create special effects on the photo files. Rotate: You can rotate the photo image by 90 degrees clockwise. Voice Memo: You can add/delete voice record to the photo files. Start-up Image: You can select one photo taken and set it as the Start-up Image of the recorder.
- Page 16 : This icon indicates recorded Video (AVI file) : This icon indicates still picture (JPG file) with added voice Memo. No icon is displayed on still pictures. In PLAYBACK mode, press Zoom Out Key (adjacent to LCD screen) selecting the “thumbnail” format. Press UP, DOWN, LEFT or RIGHT keys to browse through images, then press OK (center key) to select image for an instant review.
- Page 17 Add voice memo on photo file Switch the recorder to playback mode. Browse to the photo you wish to add voice memo. Press OK key and select ‘Voice Memo’ option by pressing Up Down Direction key. Press Right Direction key and a sub-menu appears on LCD screen. Select ‘Add’...
- Page 18 1 Playback mode icon 2 Image counter 3 Voice Memo indicator 4 PHOTO file indicator 5 Playing time 6 Control panel for playing voice memo Note: 1 The files stored in card will be lost during formatting operation, please backup all important memories or data before formatting the memory card.
- Page 19 Power Save: You may make the power turn off in 1 minute, 3 minutes or 5 minutes. Date & Time: Set up the date and time (see Section 6: Setting Date and Time). Language: Change the menu to a different language. Language option selection: Your video recorder has the option to display commands and messages on the screen in English, French, Spanish, Italian, Portuguese or Dutch or possibly alternative languages.
- Page 20 Select ‘Start-up Ima’ option by pressing Up Down Direction key. Press Right Direction key. A sub-menu appears on LCD screen. Select ‘My Image’ option by pressing Up Down Direction key. Then press OK key to confirm. 10. Press OK key again to exit the Setup Menu. 11.
-
Page 21: Application To Pc
Connect to PC Use supplied USB cable and connect recorder to the computer. Download files from the recorder to the computer: After connecting the recorder to PC, a removable disc icon will appear in the window of “My Computer”. The photos/video files you have taken will be saved in the file folder \ DCIM\ 100MEDIA in the removable disc. - Page 22 (If the screen does not appear as the auto-run, please click on Set up.exe under the CD-ROM drive icon on the computer.) Follow on-screen instructions and complete installation.
- Page 24 After installation, please restart the computer. Run MediaImpression : icon on the desktop or follow “Start → Programs” to open: Double click the MediaImpression After starting MediaImpression, click “Import” to import the media.
- Page 25 Choose the video recorder storage and choose the output location.
- Page 26 Choose require file and click the import, selected file will be stored in the output location. Click “Go to start page” to return the main screen, click the “Video” or “All media” to use the “YouTube” function.
- Page 27 Choose file and click the “upload to YouTube”. Enter your username and password to login to YouTube, execute upload.
- Page 28 Video resolution VGA: 640x480(30fps), QVGA: 320×240(30fps) Picture resolution 640×480 pixels, 320x 240 pixels Lens F3.1 f=6.5mm Focus settings 2.5cm~5cm (Macro) / 140cm~infinity (standard mode) Digital zoom 4× LCD display screen 1.44〞TFT LCD Memory card support Maximum 8GB Video storage VGA: Up to 7 hours approximately with 8GB SD/MMC card Still Image storage VGA (640 x 480): over 40,000 pictures (with 8GB SD/MMC card) Self- timer...
-
Page 29: System Requirements
Sound Card, Display Card The sound card and the display card shall support DirectX8 or higher version. CD Driver 4 times speed or above Hard Disk Available space 1 GB or more Other One standard USB 1.1 or USB 2.0 interface DV140 -06202011...
Need help?
Do you have a question about the DV140 and is the answer not in the manual?
Questions and answers