Subscribe to Our Youtube Channel
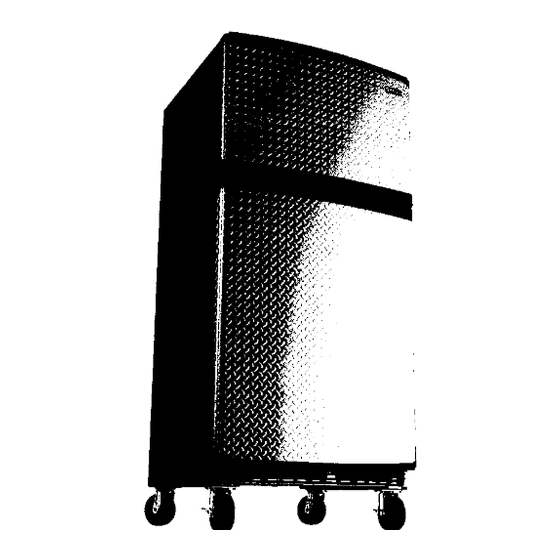
Summary of Contents for Gladiator Freezer
- Page 1 FREEZEP.ATOR TMFREEZER FREEZERATOR TMCONGELADOR CONGI_LAIEUR FREEZERATOR TM Table of Contents/[ndice/Table des matieres ... 2 BEST GARAGE BLOCK. MEJOR GARAGE CUADRA. MEILLEUR GARAGE QUARTIER.
-
Page 2: Table Of Contents
FREEZER SAFETY ... INSTALLATION INSTRUCTIONS ... Unpacking ... Location Requirements ... Electrical Requirements ... Freezer Doors: Removing, Reversing (optional) and Replacing..5 Door Closing and Alignment ... Caster Installation ... Normal Sounds ... FREEZER USE ... Ensuring Proper Air Circulation ... 9 Using the Controls ... -
Page 3: Freezer Safety
All safety messages will tell you what the potential hazard is, tell you how to reduce the chance of injury, and tell you what can happen if the instructions are not followed. IMPORTANT SAFETY INSTRUCTIONS WARNING: To reduce the risk of fire, electric shock, or injury when using your freezer, follow these basic precautions: • Plug into a grounded 3 prong outlet. -
Page 4: Installation Instructions
To ensure proper ventilation for your freezer, allow for _/zin. (1.25 cm) space on each side and at the top. When installing your freezer next to a fixed wall, leave 2 in. (5.08 cm) minimum on each side (depending on your model) to allow for the door to swing open. - Page 5 1. Unplug freezer or disconnect power. 2. Open lower compartment door and remove base grille from the bottom front of the freezer (see Base Grille graphic). 3. Close the lower compartment door and keep both doors closed until you are ready to lift them free from the cabinet.
- Page 6 1. Bottom Hinge Hole Plug Top Hinge I Top Hinge Cover 2 %6" Hex-Head Hinge Screws 3. Top Hinge iiii Ceo,o,.inge Bottom Hinge !. Bottom Hin le 2 "_/_ Hex-Head Hir_ge Screws I CabinetHinge Hole Plugs _" °'=\1 1. Door Hinge Hole Plug Removal of Door Stops 1 Door Stop 2.
-
Page 7: Door Closing And Alignment
Door Closing Your freezer has two front adjustable rollers - one on the right and one on the left. If your freezer seems unsteady or you want the doors to close easier, adjust the freezer's tilt using the instructions below: 1. - Page 8 2. Unit bolt 12. Place the slot in the rear of the caster bracket over the hole in the rear of the freezer. Align the hole in the front of the caster bracket with the hole in the front of the freezer.
-
Page 9: Normal Sounds
The high efficiency compressor and fans may cause your freezer to run longer than your old one. You may also hear a pulsating or high-pitched compressor or fans adjusting to optimize performance. -
Page 10: Upper Compartment Features
IMPORTANT: If the control is not turned all the way to FREEZE, the upper compartment will not function properly as a freezer. Your freezer is designed for use in the garage. If the upper compartment is set to Freeze, your usual setting for the lower compartment should be adequate for most summer or winter conditions. -
Page 11: Lg Upper Compartment Floor
If you are interested in purchasing one of the accessories, please call the toll-free number on the cover or in the "Assistance or Service" section. The shelves in your freezer are adjustable to match your individual storage needs. Storing similar food items together in your freezer and adjusting the shelves to fit different heights of items will make finding the exact item you want easier. -
Page 12: Full-Width Shelf
Ice crystals inside a sealed package are normal. Put no more unfrozen food into the freezer than will freeze within 24 hours (no more than 2 to 3 Ibs. of food per cubic foot [907- 1,350 g per L] of freezer space). Leave enough space in the freezer for air to circulate around packages. -
Page 13: Freezer Care
Remove all frozen food and store it in a frozen food locker. • Place 2 Ibs (907 g) of dry ice in the freezer for every cubic foot (28 L) of freezer space. This will keep the food frozen for 2 to 4 days. -
Page 14: Troubleshooting
See the "Door Closing and Alignment" section. g. Tape the doors closed and tape the power cord to the freezer cabinet. When you get to your new home, put everything back and refer to the "Installation Instructions"... -
Page 15: Assistance Or Service
Rub a thin coat of paraffin wax on the gaskets following cleaning. • Does the freezer wobble or seem unstable? Level the freezer. See the "Door Closing and Alignment" section. Were the doors removed during product installation _ _J not properly replaced? Remove and replace the doors according to the "Freezer Doors: Removing, Reversing... -
Page 16: In Canada
GarageWorks will not pay for: 1. Service calls to correct the installation of your freezer, to instruct you how to use your freezer, to replace house fuses or correct house wiring or plumbing, to replace light bulbs, or replacement water filters other than as noted above.


Need help?
Do you have a question about the Freezer and is the answer not in the manual?
Questions and answers