Sign In
Upload
Download
Table of Contents
Contents
Add to my manuals
Delete from my manuals
Share
URL of this page:
HTML Link:
Bookmark this page
Add
Manual will be automatically added to "My Manuals"
Print this page
×
Bookmark added
×
Added to my manuals
Manuals
Brands
Husqvarna Manuals
Seeders
DT22
Operator's manual
Husqvarna DT22 Operator's Manual
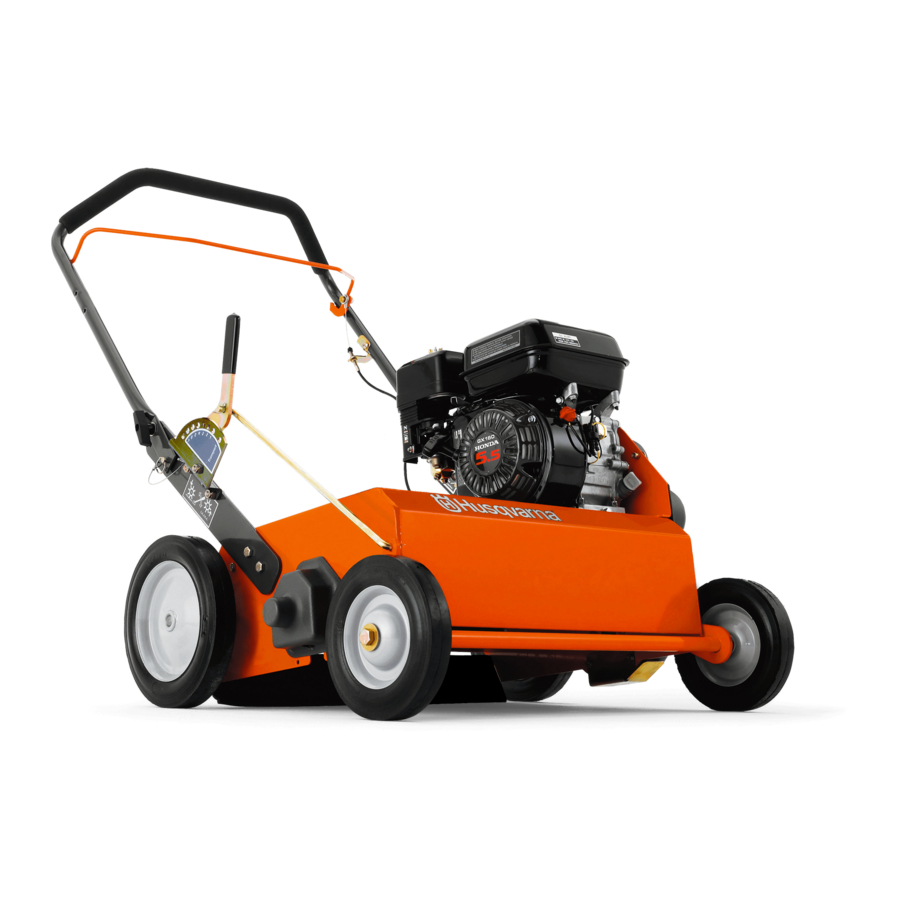
Power rake seeder
Hide thumbs
Also See for DT22
:
Operator's manual
(56 pages)
1
2
Table Of Contents
3
4
5
6
7
8
9
10
11
12
13
14
15
16
17
18
19
20
21
22
23
24
25
26
27
28
29
30
31
32
page
of
32
Go
/
32
Contents
Table of Contents
Troubleshooting
Bookmarks
Table of Contents
Table of Contents
Introduction
Good Service
Serial Number
General Information
Symbols and Decals
Decals
Decal Locations
Safety
General Use
Preparations
Operating
Movement/Transport
Storage
Children
Fuel System
Maintenance
Assembly/Controls
Controls
Engine
Fueling
Cutting Unit
Depth Lever
Clutch
Blade Versatility
Flail Blades
Delta Blades
Spring Tines
Operation
Seed Application
Preparing the Lawn
Seed Application Chart
Seed Application Recommendations
Bagger Attachment and Removal
Before Starting
Starting
Finishing
Maintenance
Maintenance Schedule
Drive Belt
Flail Blades
Delta Blades
Spring Tines
Two Minute Rule
Cleaning and Washing
Lubrication Schedule
Blades
Handle
Troubleshooting
Storage
Winter Storage
Service
Technical Data
Service Journal
Advertisement
Quick Links
1
Operating
2
Depth Lever
3
Seed Application Chart
4
Seed Application
5
Drive Belt
Download this manual
See also:
Operator's Manual
Operator's Manual
Power Rake
Seeder
Models
DTF226 / 966067101
DTF6(BF) / 966067201
SD22B5DSA / 966067801
DTF22 / 966068401
DTF226 / 966068501
SD22H5DSA / 966068701
Please read the operator's manual carefully and make sure you
understand the instructions before using the machine.
Table of
Contents
Previous
Page
Next
Page
1
2
3
4
5
Advertisement
Table of Contents
Need help?
Do you have a question about the DT22 and is the answer not in the manual?
Ask a question
Questions and answers
Related Manuals for Husqvarna DT22
Tiller Husqvarna DT22 Operator's Manual
Lawn dethatcher (56 pages)
Seeders Husqvarna DT18BF Operator's Manual
Power rake seeder (36 pages)
This manual is also suitable for:
Sd22
Dtf226
Sd22b5dsa
Dtf6
Dtf6bf
Dtf22
...
Show all
Sd22h5dsa
Table of Contents
Save PDF
Print
Rename the bookmark
Delete bookmark?
Delete from my manuals?
Login
Sign In
OR
Sign in with Facebook
Sign in with Google
Upload manual
Upload from disk
Upload from URL


Need help?
Do you have a question about the DT22 and is the answer not in the manual?
Questions and answers