Table of Contents
Advertisement
Quick Links
Download this manual
See also:
Installation Manual
Advertisement
Table of Contents

Related Manuals for Rand McNally Foris


Summary of Contents for Rand McNally Foris
- Page 1 Quick Start Guide...
- Page 2 IMPORTANT INFORMATION Make sure you observe the following safety instructions in order to prevent accidents or serious injuries: • This navigation device for outdoor use is merely an orientation and navigation aid that cannot be a substitute for making a sensible assessment of the situation you are in.
-
Page 3: Installing Batteries
INSTAllING BATTeRIeS Insert the batteries: To open the battery cover, lift battery the silver fastener, turn it 90° counterclockwise compartment and pull it up so that the cover of the battery compartment is removed. Insert the batteries as indicated in the battery compartment. -
Page 4: Your Device
YOUR DevICe Power button: switches the device on and off. When the device is on, use this button to access the following options: • Keylock: Activates or disables the display lock. • Screen: Switches off the display to save power. However, ongoing navigations and track recordings remain active. -
Page 5: System/General Menu
You can change the address at any time in the Settings menu. Before navigating with the Foris, first calibrate the compass and the barometer in the Settings > System/General menu. Note: For best results, recalibrate the barometer before starting a trip, after elevation changes of several hundred feet, and after changing the batteries. -
Page 6: Enter Destination
MAIN MeNU From the main menu, you can enter a destination, access settings, save positions/waypoints, record tracks, and more. Use the left and right arrows to scroll through the options. Note: The red dots at the top indicate how many screens are available at this level, and which one you are currently viewing. - Page 7 ROUTING After you have entered a destination, enter the specifics for the route. 1. Select Bicycle or Pedestrian. 2. Tap OK to go directly to the route confirmation screen, or tap Next to continue. 3. Select terrain preference (not available in all models): •...
-
Page 8: Track Manager
TRACK MANAGeR The Track Manager shows all of the tracks that are on the device. You can also record your own tracks so that you can retrace a route you have traveled at a later date. From the main menu, tap Track Manager. starts/continues the recording pauses the recording ends the recording and saves the track... -
Page 9: Advanced Routing Features
ADvANCeD ROUTING FeATUReS Note: Not available in all models. loop Me!: Calculate a looped route that starts and ends at the same place. 1. Tap Trip Manager > loop Me! 2. Specify the loop parameters by distance or duration. 3. If calculating by duration, enter the time and confirm biking/walking speed. -
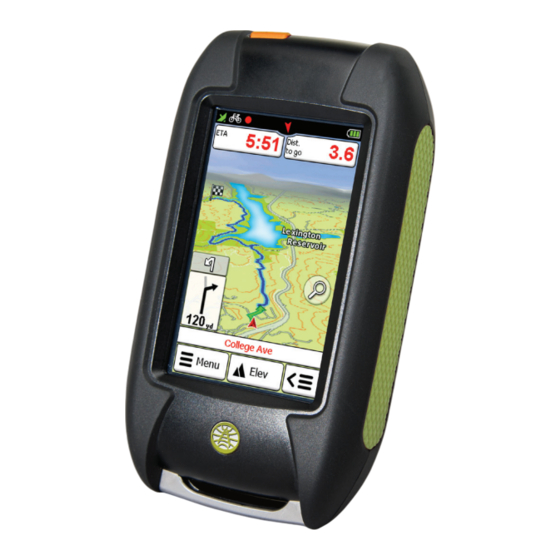
Page 10: Map Screen
MAP SCReeN Compass Pedestrian/bicycle routing GPS signal quality Info field 1: Information about the calculated route. Tap on the field to select other information. (Tap to hear voice.) Maneuver Following maneuver Tap for Main Menu Tap for Elevation profile Tap for Rapid access menu: can be customized in settings Battery life Info field 2... - Page 11 GeOCACHING Your device is equipped with comprehensive functionality for paperless geocaching. To transfer geocaches to your device, register on a geocaching site on the Internet (e.g., www.geocaching.com). You can then save geocaches on your PC and transfer them to your device via the Trailhead software. From the main menu, tap Geocaching and select Search For Geocache.
- Page 12 Rand McNally navigation system. The User should be aware of situations where current traffic conditions and the instructions from the navigation system may be in conflict.
- Page 13 This license will terminate automatically if User fails to comply with any of the terms of this license and User agrees to stop using the Product. Rand McNally may revise or update the Product and is not obligated to furnish any revisions or updates to User.
- Page 14 Rand McNally will, without charge, repair or replace (with a new or newly reconditioned unit), at its option, defective Products or component parts. For repair or replacement of defective Products, User must contact Rand McNally at 1-800-333-0136 for return authorization and instructions.
- Page 15 Data provided to the User hereunder. User shall not export the Product in violation of any U.S. or foreign laws. Rand McNally’s licensors shall be third party beneficiaries of Rand McNally’s rights under this license, but are not parties hereto and have no obligations hereunder.
- Page 16 Support www.randmcnally.com/support 800-333-0136...
Need help?
Do you have a question about the Foris and is the answer not in the manual?
Questions and answers